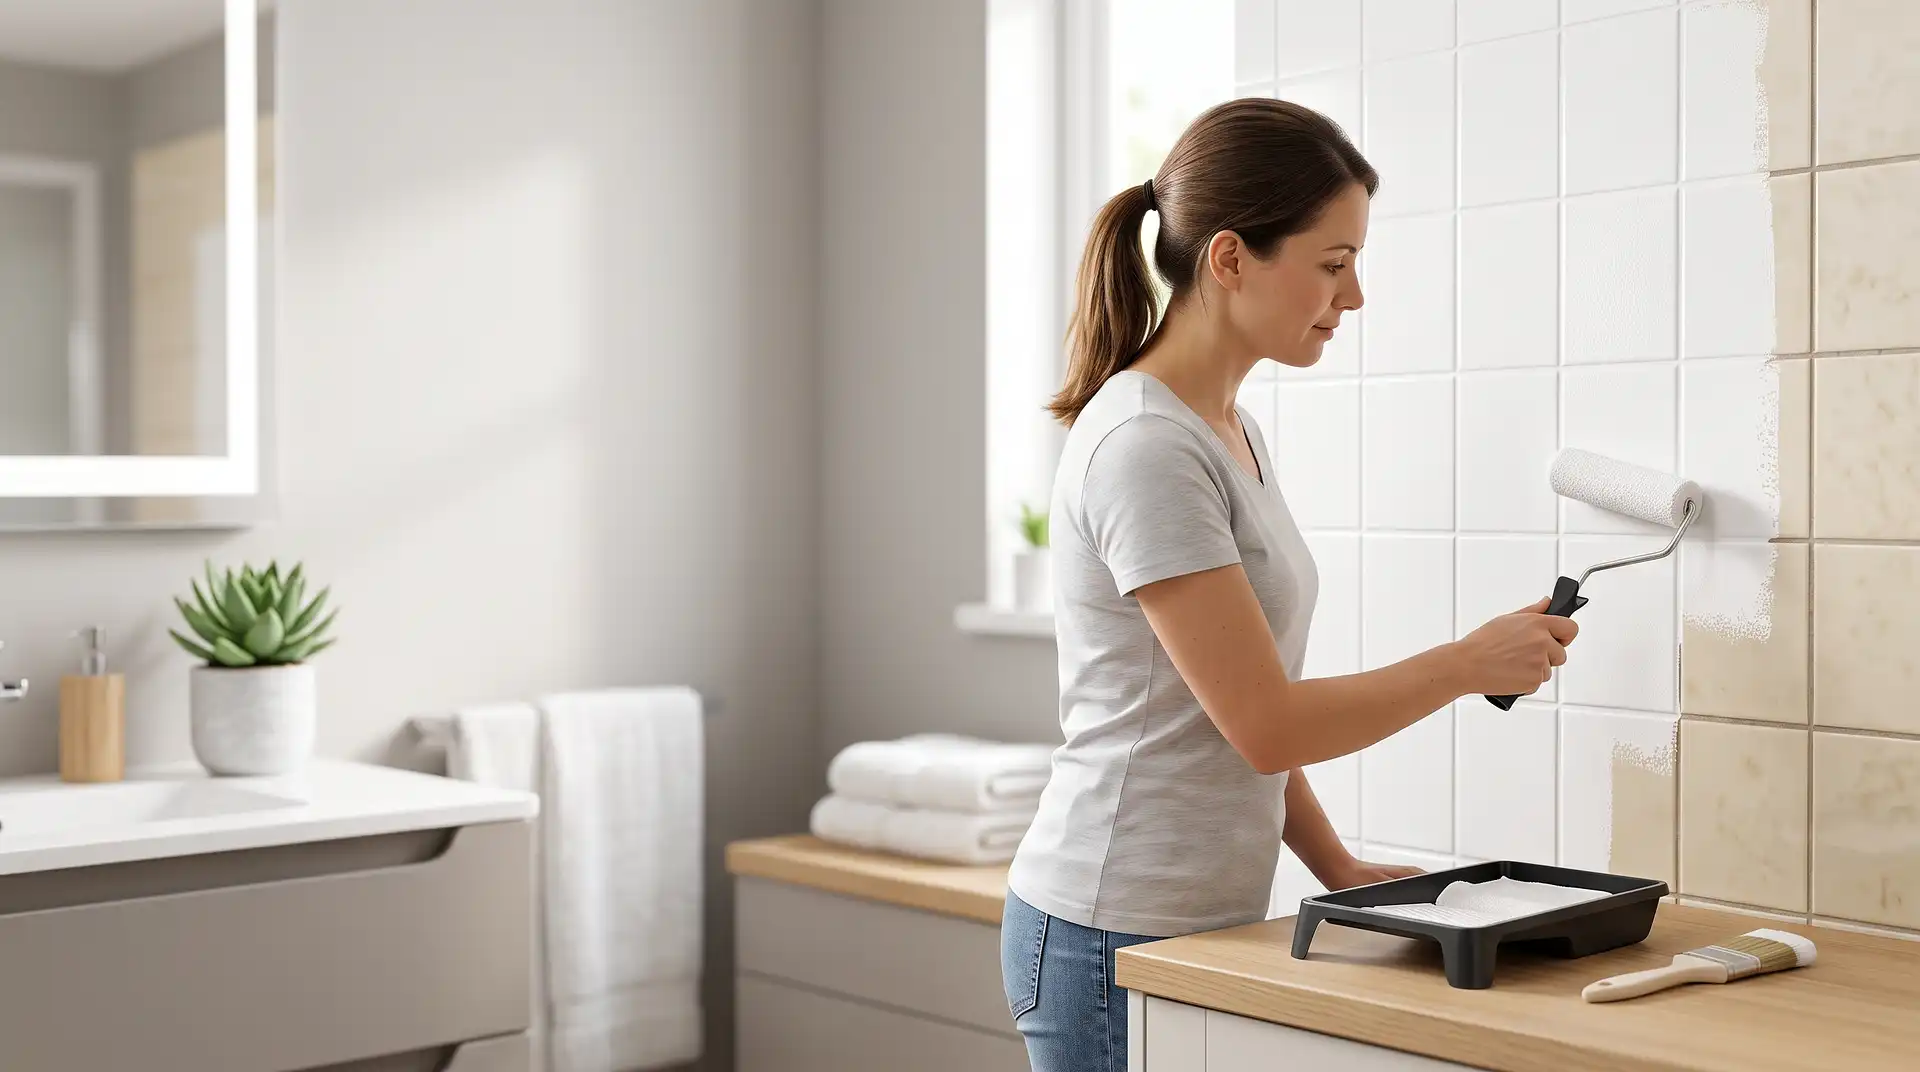
Can You Paint Bathroom Tiles
22 July 2026
Can You Paint Bathroom Tiles? (Yes — Here's How to Do It Properly)
Painting over bathroom tiles is a genuine, durable option — not a temporary fix — provided the tiles themselves are structurally sound and you use the right products in the right order. The reason DIY tile painting sometimes fails within months isn't that the concept doesn't work; it's that standard wall paint or the wrong primer was used on a glazed, non-porous surface that paint doesn't naturally bond to. Done with a proper tile primer and a two-part epoxy-based paint, a painted tile finish can genuinely last years in a working bathroom.
When Painting Tiles Is a Good Option
Painting works well when the tiles themselves are in good structural condition — no cracks, no missing pieces, no significant lifting or hollow-sounding tiles — but the colour or style is simply dated. It's a strong option for a budget refresh, for rental properties where full retiling isn't practical, or as an interim solution before a bigger renovation. It's particularly effective on splashbacks and less water-intensive areas, where the painted surface faces less constant, direct water exposure than an enclosed shower.
When Painting Tiles Isn't the Right Call
Painting isn't a good fix for tiles that are cracked, chipped, loose, or showing signs of water getting behind them — paint sits on the surface and won't address any underlying structural or moisture issue, and can actually make a hidden problem harder to spot until it's more advanced. Heavily used shower enclosures with constant direct water contact are a tougher environment for painted tiles than a splashback or bath surround, and while epoxy-based tile paint is designed to handle moisture, it's still not as durable in that specific environment as a proper glazed tile surface. If grout or sealant is failing and there's any suspicion of damp behind the tiles, that needs addressing before painting, not covered by it.
What You Need
Sugar soap or a degreasing cleaner — tiles, especially in a kitchen or near a shower, carry grease and soap scum film that needs removing before anything else will bond properly.
Fine-grit sandpaper (120–180 grit) — to key the glazed surface so primer has something to grip; glazed tile is otherwise too smooth for paint to adhere to reliably.
A specialist tile primer — this is the non-negotiable product in the whole process, formulated specifically to bond to non-porous, glazed ceramic or porcelain in a way general primer can't.
Two-part epoxy tile paint, or a dedicated tile and tub refinishing product — standard wall emulsion isn't durable or water-resistant enough for tile use; a proper tile-specific paint is formulated to handle moisture and cleaning.
A small foam roller and a fine brush — for flat tile faces and grout lines respectively.
Painter's tape — for masking grout lines if you're painting tiles a different colour from the grout, or protecting adjacent surfaces like the bath or sink.
Step 1: Clean and Degrease Thoroughly
Wash every tile with sugar soap or a degreaser, paying particular attention to areas near the shower or bath where soap scum builds up fastest. Rinse fully and let dry completely — any residual grease or soap film left behind is one of the most common reasons a paint job doesn't hold, regardless of how good the primer and paint are.
Step 2: Repair Any Damage First
Fill any small chips or cracks with a suitable tile filler and let it cure fully before continuing. This is also the point to reassess whether painting is really the right fix — if you find more damage than expected once you're looking closely, that's worth pausing on before committing further materials and time.
Step 3: Sand to Key the Surface
Lightly sand every tile being painted with 120–180 grit sandpaper, enough to dull the glossy glaze rather than strip it back. This step is what allows the primer to actually grip a surface that's otherwise too smooth and non-porous for paint to bond to on its own. Wipe away all dust with a damp cloth before moving to priming.
Step 4: Apply the Tile Primer
Apply an even coat of a specialist tile primer, following the manufacturer's stated drying time before the next step. This is the single most important product in the process — skipping it or substituting a general primer is the most common cause of tile paint peeling within weeks or months of application.
Step 5: Apply the Tile Paint
Use a small foam roller for the flat tile faces and a fine brush for edges and grout lines, applying thin, even coats — two coats minimum, with full drying time between each, is standard for most tile paint products. Thick single coats are more prone to drips and take longer to cure properly, similar to painting kitchen cabinets.
Step 6: Let It Cure Fully Before Normal Use
This is the step most rushed DIY tile paint jobs get wrong. The paint can feel dry to the touch within hours, but full cure — the point at which the surface is genuinely hard-wearing and water-resistant — often takes several days to a couple of weeks depending on the product. Avoid using the shower or bath normally, and don't wipe the tiles with any cleaning product, until the manufacturer's full cure time has passed.
Common Mistakes and What to Do Instead
Mistake: skipping the degreasing step. Grease and soap scum residue left on the tile is one of the most common causes of paint failing to bond properly. Always clean and degrease thoroughly before sanding.
Mistake: using standard wall paint instead of a tile-specific product. Wall emulsion isn't formulated to bond to glazed ceramic or to handle bathroom moisture and cleaning. Use a proper tile primer and a two-part epoxy or dedicated tile paint.
Mistake: painting over damaged or cracked tiles without repairing them first. Paint doesn't address structural issues, and painting over damage can hide a developing problem rather than fix it. Repair chips and cracks, and investigate any suspected water ingress, before painting.
Mistake: using the shower normally before the paint has fully cured. A surface that feels dry can still be days or weeks from full cure. Using it too soon is a common cause of early peeling or a soft, easily marked finish.
Mistake: painting a heavily used shower enclosure and expecting the same durability as a splashback. Constant direct water exposure is a tougher environment for painted tile than lighter-use areas. It can still work with the right product, but expect it to need more careful maintenance and potentially a shorter lifespan than in a drier area.
How Long Painted Tiles Last
A properly prepped and painted tile surface, using a tile-specific primer and a quality two-part epoxy paint, typically lasts 3–7 years in a working bathroom before it needs refreshing or repainting, depending on how heavily the area is used and how well it's maintained day to day (avoiding abrasive cleaners on the painted surface extends this considerably). This is meaningfully shorter than a proper retile, which can last decades, but at a fraction of the cost and disruption — which is why painting tiles is best thought of as a genuinely good interim or budget option, not a permanent equivalent to retiling.
What It Costs in the UK
DIY tile paint kits typically cost £25–£60 for a small to medium bathroom's worth of coverage, covering primer, paint, and basic application tools. Professional tile painting, where a specialist handles the prep, priming, and application, typically costs £150–£800 in the UK depending on the size of the space and the type of tiles being painted, considerably less than a full retile in almost every case.
For comparison, a full professional retile — the alternative if tiles are damaged or you want a permanent rather than interim fix — typically costs £20–£40 per m² for labour alone on a straightforward job, or £30–£60 per m² for more complex layouts or natural stone, with materials adding £10–£200+ per m² depending on tile choice. A typical bathroom retile, covering both walls and floor, commonly lands at £800–£2,500 including materials and labour, and tile removal beforehand adds roughly £20–£40 per m² if old tiles need taking off first. If the wider bathroom needs more than just new tiles — new fixtures, plumbing changes, a full refit — that shifts into full renovation territory. According to InstantCost.co.uk's 2026 UK pricing data, a basic like-for-like bathroom refit typically costs £3,500–£5,500, rising to £5,500–£8,500 for a mid-range renovation.
Option | Typical UK Cost (2026) |
|---|---|
DIY tile paint kit | £25–£60 |
Professional tile painting | £150–£800 |
Professional retile (labour only, per m²) | £20–£40 (£30–£60 for complex/stone) |
Professional retile, full bathroom (materials + labour) | £800–£2,500 |
Full bathroom renovation (if more than tiles need work) | £3,500–£8,500+ |
These are UK market estimates and vary by tile size, condition, region, and provider — tile painting is the clear budget option, but it's worth being realistic about its shorter lifespan compared with retiling when deciding which makes more sense for your specific bathroom.
Staying Safe
Tile primers and two-part epoxy paints are stronger and release more fumes than standard wall paint, so ventilate the room thoroughly — open a window and, if possible, use a fan to keep air moving — and check the specific product's label for any additional ventilation guidance, since some epoxy products are more demanding on this point than standard primers.
Keep all paint, primer, and any solvent used for cleanup in their original labelled containers, stored well out of reach of children, particularly during the project when tins and tools are likely to be out and accessible for several days. Dispose of any solvent-soaked cloths carefully rather than leaving them in a pile, since some pose a fire risk as they dry.
Product-specific safety data, ventilation requirements, and cure times vary by manufacturer, so it's worth checking the specific product's safety data sheet before starting, particularly for two-part epoxy products.
FAQ
Can you paint over bathroom tiles permanently? Not permanently in the same way retiling is, but properly prepped and painted tiles using a tile-specific primer and epoxy paint typically last 3–7 years, making it a genuinely durable interim or budget option rather than a quick fix.
Do I need special paint for bathroom tiles? Yes. Standard wall paint doesn't bond to glazed ceramic or withstand bathroom moisture and cleaning. A specialist tile primer followed by a two-part epoxy or dedicated tile paint is needed for a lasting result.
Can you paint cracked or damaged tiles? It's not recommended. Paint doesn't fix structural issues and can hide a developing problem, like water getting behind a cracked tile, rather than resolve it. Repair or replace damaged tiles before painting.
How long does painted tile paint need to cure before I can use the shower? Often several days to a couple of weeks, depending on the specific product, even though it may feel dry to the touch much sooner. Check the manufacturer's stated full cure time and avoid normal use until it's passed.
Is it cheaper to paint tiles or retile a bathroom? Painting is significantly cheaper — typically £25–£800 depending on DIY or professional, compared with £800–£2,500 for a full professional retile, though retiling lasts considerably longer.
Can I paint tiles in a shower enclosure? Yes, with the right products, but constant direct water exposure is a tougher environment than a splashback or bath surround, so expect more careful maintenance and potentially a shorter lifespan in a heavily used shower.