How Do I Replace a Radiator
26 July 2026
How Do I Replace a Radiator? (A Full Step-by-Step Guide)
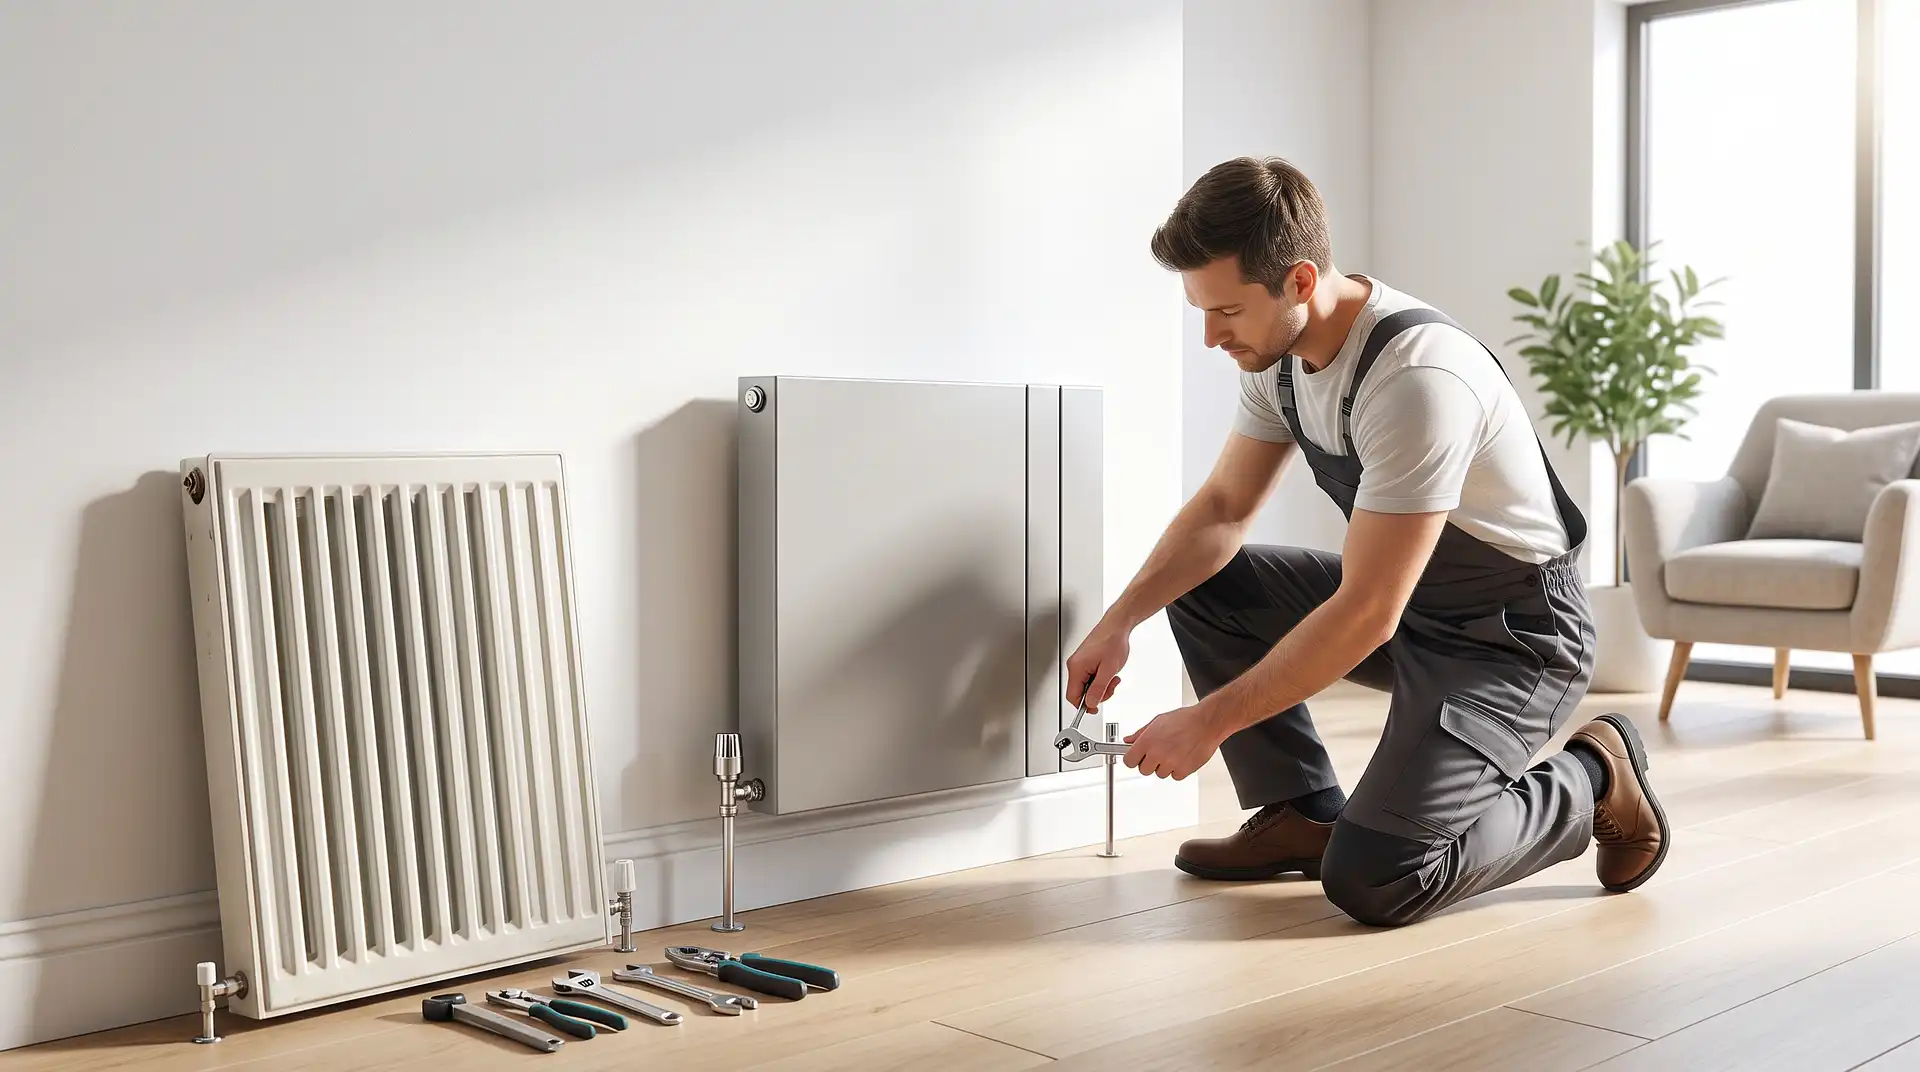
Replacing a radiator is really two jobs stitched together safely removing the old one without flooding the floor, and correctly fitting a new one that's actually sized right for the room. The removal side is mostly about controlling water; the fitting side is where people most often go wrong, usually by assuming any radiator that physically fits the wall space will heat the room adequately, without checking its output against what the room actually needs.
Step 1: Choose the Right Replacement Radiator
Before removing anything, confirm the new radiator's heat output (measured in BTUs or watts) is appropriate for the room, not just that it matches the physical dimensions of the old one. If you're upgrading to a more decorative or differently shaped radiator a vertical or designer style, for instance — its output can differ meaningfully from a standard panel radiator of similar wall footprint, and undersizing it means the room won't heat properly regardless of how well the rest of the installation goes. A rough room heat-loss calculation (widely available as free online calculators) or a quick check with a heating engineer avoids this being an expensive guess.
Step 2: Turn Off the Heating and Let It Cool
Switch the heating off and wait until the radiator is completely cool before starting. This isn't just about comfort draining a hot radiator risks a scald from the water inside, and it's considerably easier to work with a cool system throughout.
Step 3: Close Both Valves and Isolate the Radiator
Close the control valve (TRV) and the lockshield valve fully, isolating the radiator from the rest of the heating system so you're only dealing with the water inside it, not the whole system's supply. Note the lockshield's position (number of turns to fully close) if you want to replicate the system's existing balance on the new radiator afterward.
Step 4: Drain the Old Radiator
Position a tray or basin beneath the valve you'll disconnect first, with towels as extra protection. Open the bleed valve at the top to help air in and speed draining, then slowly loosen the union nut at one valve, using a second spanner to hold the valve body steady, letting water drain gradually rather than all at once. Repeat at the second valve once the first side is fully drained.
Step 5: Remove the Old Radiator
With both ends disconnected, lift the radiator off its wall brackets — get help for anything beyond a small radiator, since a water-filled radiator is heavier than it looks even once drained, due to residual water still trapped inside. Tip it over a bucket to empty any remaining water before setting it aside.
Step 6: Check and Adjust the Brackets
Compare the new radiator's bracket spacing and height against the old one. If they match exactly, you may be able to reuse the existing wall brackets; if the new radiator is a different size, shape, or style, new brackets will likely need fitting in the correct position, which is worth measuring carefully and marking before drilling, since a misaligned bracket is one of the more common causes of a radiator that doesn't sit level once hung.
Step 7: Fit the New Radiator
Hang the new radiator on its brackets, checking it's level and properly seated before connecting the pipework. Use new PTFE tape or appropriate jointing compound on the valve threads to ensure a good seal, and connect both valves, tightening firmly but not aggressively.
Step 8: Refill and Bleed the System
Slowly open both valves to allow water back into the radiator, and bleed it as it fills to release trapped air, closing the bleed valve once water (rather than air) starts to escape steadily. Check the boiler's pressure gauge once the radiator is refilled, topping up via the filling loop if pressure has dropped below the normal range as a result of filling the new radiator.
Step 9: Check for Leaks and Test
With the heating running, check every reconnected joint closely for leaks, including underneath where a slow drip is easy to miss. Let the system run for a while and recheck after it's been through a full heating cycle, since a joint that seems fine when first pressurised can sometimes show a slow leak only once it's been through a few heat-cool cycles.
Common Mistakes and What to Do Instead
Mistake: choosing a replacement based on wall space alone. A radiator that fits the available space but has a lower heat output than the room needs will leave that room noticeably colder than before. Always check BTU or wattage output against the room's actual heating requirement, not just physical dimensions.
Mistake: not closing both valves fully before draining. If either valve isn't fully closed, you'll be draining the whole system rather than just the radiator, turning a contained job into a much bigger one. Double-check both are closed before disconnecting anything.
Mistake: reusing old, worn valve tape or sealant. Old thread sealant residue on reused valves creates an uneven surface that doesn't seal reliably. Clean threads and apply fresh PTFE tape or jointing compound on any reconnected or new fittings.
Mistake: not checking the new radiator is level before final tightening. A radiator hung slightly off-level looks wrong and, in some cases, can affect how evenly it bleeds and heats. Check with a spirit level before finishing the pipework connections.
Mistake: skipping the pressure check after refilling. Filling a newly fitted radiator draws water from the system, which can lower boiler pressure. Check the gauge and top up via the filling loop if needed once the new radiator is filled and bled.
Mistake: not rechecking for leaks after a full heating cycle. A joint that looks dry when first pressurised can develop a slow leak once it's been through the expansion and contraction of a full heat-cool cycle. Recheck the connections after the system has run properly at least once.
When to Hire a Professional Instead
Replacing a radiator with an identical or very similar model in the same location is a reasonable DIY project for someone comfortable with basic plumbing tools. It's worth hiring a heating engineer if you're changing radiator type or style significantly (which often means new pipework or bracket positions), if you're upgrading a system as part of a wider heat pump conversion (which typically requires radiators sized differently than for a standard gas boiler), if old pipework or valves are corroded or difficult to work with, or if you're not confident with any step of the drain-and-refill process, particularly checking and correcting boiler pressure afterward.
What It Costs in the UK
A straightforward like-for-like radiator replacement — same type, same location — typically costs £150–£350 including the new radiator, labour, and valves, with an average around £180–£280 for a standard swap. Installing a radiator in a new location, or changing to a different type requiring pipework modifications, typically costs more, commonly £300–£600 or higher depending on the complexity of the pipework changes involved. A small business or sole trader typically charges £150–£250 for a straightforward job, while a larger national company may charge £200–£350 for comparable work.
Extras commonly add to the total: thermostatic radiator valves (TRVs), if being upgraded or replaced alongside the radiator, typically cost £70–£140 per radiator fitted, and if the wider system has sludge or debris buildup, a power flush is often recommended before or alongside a radiator replacement, typically adding £150–£1,000 depending on system size. If several radiators are being replaced together as part of a broader heating upgrade, pricing generally works out more cost-effective per radiator than pricing each one individually — as a rough guide, a full day's labour replacing multiple radiators (roughly 10–11 across a property, for instance) has been quoted at around £300–£400 for the labour portion alone, separate from the radiators and materials themselves.
Job | Typical UK Cost (2026) |
|---|---|
Like-for-like radiator replacement | £150–£350 (avg. ~£180–£280) |
New location / different radiator type | £300–£600+ |
TRV upgrade (per radiator, fitted) | £70–£140 |
Power flush (if needed alongside replacement) | £150–£1,000 |
Multiple radiators (day rate labour only) | ~£300–£400/day |
These are UK market estimates and vary by radiator size, provider, and region — always confirm whether the quote includes disposal of the old radiator and any necessary system flushing, since these are sometimes charged as separate extras.
Staying Safe
A water-filled radiator is heavier than it looks, particularly larger or cast-iron models — get a second person to help lift anything beyond a small radiator, since dropping one risks both injury and damage to flooring. Always let the system cool fully before starting, since draining a hot radiator risks a scalding splash.
If children are in the home, keep them well away from the work area while valves are open and the radiator is disconnected, and clear up any spilled water immediately, since a wet floor near tools and a partially disconnected radiator is a genuine slip hazard.
Radiator sizing calculations and heating system configurations vary by property, so it's worth checking a proper heat-loss calculation or consulting a heating engineer if you're changing radiator type or size, rather than assuming a similar-looking model will perform the same.
FAQ
How do I know what size replacement radiator I need? Check the heat output (BTU or wattage) against your room's heating requirement using a heat-loss calculation, rather than just matching the physical dimensions of the old radiator — a similarly sized but lower-output radiator can leave the room noticeably colder.
Can I replace a radiator myself? Yes, for a straightforward like-for-like swap in the same location, provided you're comfortable with basic plumbing tools and the drain-refill-bleed process. Changing radiator type, location, or dealing with corroded pipework is often better left to a heating engineer.
Do I need to turn off my whole heating system to replace one radiator? No. Closing both valves on the specific radiator isolates it from the rest of the system, so the whole house's heating doesn't need draining for a single radiator replacement.
How much does it cost to replace a radiator in the UK? A like-for-like replacement typically costs £150–£350, averaging around £180–£280. Installing a different type or in a new location typically costs £300–£600 or more due to additional pipework.
Why did my boiler pressure drop after replacing a radiator? Filling a new radiator draws water from the system, which can lower overall pressure. Check the gauge and top up via the filling loop once the new radiator is filled and bled.
Should I upgrade my radiator valves when replacing the radiator? It's a reasonable time to do it if your existing valves are old or you want thermostatic control (TRVs), typically £70–£140 per radiator fitted, since the system is already drained and accessible during the swap.