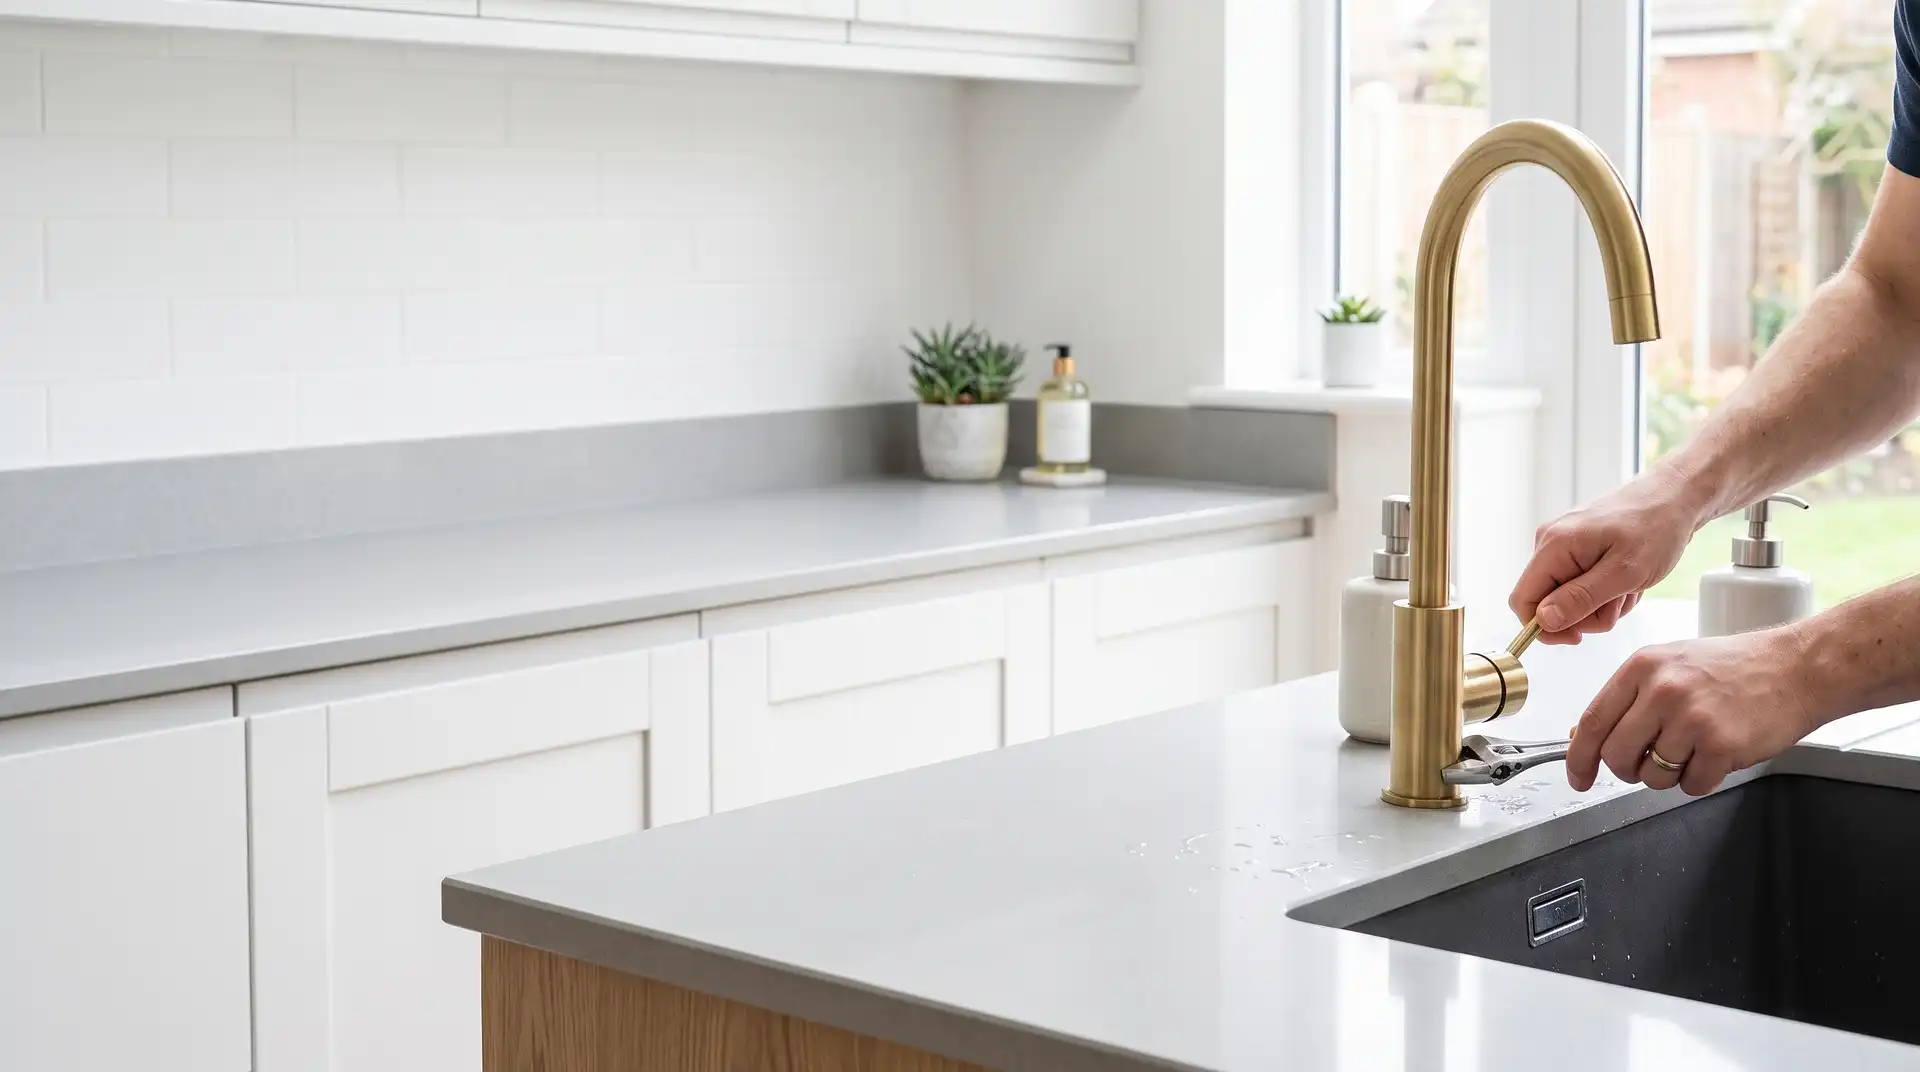
How to Change a Kitchen Tap
8 August 2026
How to Change a Kitchen Tap (Step by Step)
Changing a kitchen tap is a genuinely achievable DIY job when the access is good and the existing fittings are sound, and a considerably more frustrating one when they aren't. The tap itself is rarely the hard part, what actually determines whether this takes thirty minutes or half a day is the condition of what's underneath the sink: whether the isolation valves work, whether the old fittings have seized, and how much room you've actually got to work in.
A Note on Pricing
The InstantCost.co.uk page linked for this article covers full kitchen renovation, cabinets, worktops, appliances, and full fits, which isn't the right source for a single tap swap. The figures below instead come from dedicated UK tap replacement cost data.
Check This Before You Buy Anything
Look under the sink and confirm you have working isolation valves on both the hot and cold supply, these let you shut off water locally rather than needing to isolate the whole property's mains supply. Corroded or seized isolation valves are one of the most common reasons a straightforward swap turns into a longer job, since they may need replacing before you can even safely start.
Also check how many holes your sink or worktop has for the tap and any accessories, and whether your new tap is designed for the same configuration. A single-hole mixer won't directly replace old separate hot and cold pillar taps without either an adapter plate or, in some cases, worktop modification, worth confirming before you've already bought the new tap.
What You Need
An adjustable spanner and a basin wrench, the basin wrench specifically is what lets you reach and turn nuts in the tight, awkward space directly behind a sink where a standard spanner simply won't fit.
PTFE tape, for sealing the new tap's threaded connections properly.
A bucket and old towels, for the water that will drain out once you disconnect the old tap.
A torch, since the space under a sink is rarely well lit.
Silicone sealant, if your new tap needs bedding onto the worktop or sink surface.
New flexible tap connector hoses, worth replacing rather than reusing old ones, particularly if the existing hoses show any sign of wear or corrosion.
Step 1: Isolate the Water Supply
Turn off both isolation valves under the sink. If you don't have isolation valves, or they're seized and won't turn, you'll need to turn off the water at the property's main stopcock instead, worth checking this before you start rather than discovering it mid-job.
Step 2: Open the Tap and Drain Remaining Water
With the isolation valves closed, turn the existing tap on to release any pressure and drain water still in the pipes, keeping a bucket and towels ready underneath for what comes out.
Step 3: Disconnect the Old Tap
Using your basin wrench, disconnect the flexible hoses or pipework connecting the old tap to the supply. This is where a basin wrench genuinely earns its cost, reaching a nut tucked behind a sink bowl with a standard spanner is often close to impossible. If fittings feel seized rather than just stiff, a penetrating oil applied and left for a few minutes before trying again is worth doing rather than forcing it.
Step 4: Remove the Old Tap
Once disconnected, the old tap typically lifts out from above once its retaining nut is removed from below. Clean the area around the tap hole thoroughly once it's out, old sealant and years of grime tend to accumulate here and need removing before the new tap goes in.
Step 5: Fit the New Tap
Feed the new tap's tails or hoses through the tap hole from above, and secure it in place from below with the retaining nut or bracket supplied. If the tap needs bedding with silicone sealant against the worktop or sink surface, apply this now, before final tightening, for a clean, watertight seal.
Step 6: Connect the Supply Lines
Attach the flexible hoses to the isolation valves, using PTFE tape on any threaded connections to ensure a proper seal. This is a genuinely important step, a poorly sealed threaded connection is one of the most common causes of a slow, easy-to-miss leak under a sink discovered weeks later rather than immediately.
Step 7: Turn the Water Back On and Test
Slowly open both isolation valves and check every connection closely for leaks, including from underneath where a slow drip is easy to miss. Run the tap for a minute or two and recheck, since a connection that looks dry when first pressurised can sometimes show a slow leak only once water's been running through it for a while.
Common Mistakes and What to Do Instead
Mistake: not checking isolation valve condition before starting. Seized or missing isolation valves turn a straightforward swap into a bigger job. Check these first, before you've bought the new tap, so you know what you're actually dealing with.
Mistake: reusing old, worn flexible hoses. Deteriorated braided hoses are a common cause of leaks appearing later, even if the rest of the installation is sound. Replace them at the same time as the tap, they're inexpensive relative to the risk of a leak.
Mistake: forcing a seized fitting rather than using penetrating oil first. Forcing a corroded nut risks rounding it off or damaging the pipework behind it, turning a simple job into a genuinely bigger repair. Give penetrating oil time to work before applying more force.
Mistake: not using PTFE tape on threaded connections. This is a common cause of slow, hard-to-spot leaks discovered well after the job's considered finished. Tape every threaded connection properly, checking the wrap direction matches the fitting's tightening direction.
Mistake: not checking tap hole compatibility before buying. A single-hole mixer tap won't directly fit where separate pillar taps previously sat without an adapter plate or worktop modification. Confirm this before purchasing your new tap, not after.
Mistake: turning the water back on too quickly without checking connections. Open isolation valves slowly and check every joint as pressure builds, rather than opening fully and walking away before confirming everything's watertight.
If you're taping any of the threaded connections during this job and want the technique right the first time, wrap direction genuinely determines whether a joint seals or not. Our related guide on the InstantCost blog covers how to apply plumbers tape correctly, worth a quick check before you reconnect the supply lines, since the wrong direction unwinds rather than seals as the fitting tightens.
When to Call a Plumber Instead
It's worth hiring a plumber if isolation valves are seized or missing and you're not confident replacing them, if the tap hole configuration doesn't match your new tap and worktop modification is needed, if fittings are badly corroded or seized beyond what penetrating oil resolves, or if you're simply not confident working in the confined space under a sink. Any work connecting to the mains water supply should comply with the Water Supply (Water Fittings) Regulations 1999, and using a WaterSafe-approved plumber for mains-connected work is genuinely worth it for the compliance assurance alone, particularly since non-compliant work can affect insurance and future liability.
What It Costs in the UK
A straightforward like-for-like mono mixer swap, good access, working isolation valves, typically costs £60 to £120 in labour if you're hiring a plumber, with most sources converging on this as the standard, uncomplicated job price. Including the tap itself, total cost for a standard swap typically runs £120 to £300, or roughly £150 to £350 once VAT and any incidentals are included. More complex jobs, corroded pipework, seized fittings, or new pipework needed, typically push costs to £200 to £400 or more. Boiling water or 3-in-1 taps are a genuinely different category of job, involving a tank, filter, and power connection, and typically cost £400 to £1,500 or more depending on the specific model and installation complexity.
If a burst or leaking pipe is discovered during the job, which does happen on older properties, this typically adds an average of £330 to the final bill depending on severity, worth asking your plumber to flag any visible issues during the initial quote rather than being surprised later.
Item or Service | Typical UK Cost (2026) |
|---|---|
DIY (tap plus incidentals, no labour) | £30 to £150 depending on tap |
Labour only, straightforward swap | £60 to £120 |
Total supply and fit, standard tap | £120 to £300 |
Complex job (corroded pipework, new pipework) | £200 to £400+ |
Boiling water/3-in-1 tap installation | £400 to £1,500+ |
Flexible connector hose (each, if replacing) | £5 to £15 |
Unexpected leak/burst pipe found during job | Adds around £330 on average |
These are UK market estimates and vary by region, access, and existing pipework condition. London and the South East typically run higher than the rest of the UK. For any work connecting to mains water, a WaterSafe-approved plumber is recommended for compliance with Water Fittings Regulations.
Staying Safe
Always isolate the water supply properly before starting, and confirm it's actually off by opening the tap and checking flow stops, rather than assuming a valve turned is a valve working. If you find yourself needing to isolate at the main stopcock rather than local isolation valves, be aware the whole property loses water supply for the duration of the job, worth planning around if other people are home.
Keep children away from the work area while pipework is disconnected and tools are out, and clear up any spilled water promptly to avoid a slip hazard around the kitchen.
Water Fittings Regulations and specific compliance requirements can be updated, so it's worth checking current guidance or using a WaterSafe-approved plumber for any work connecting to the mains supply.
FAQ
Can I change a kitchen tap myself? Yes, for a straightforward like-for-like swap with working isolation valves and good access, this is a genuinely achievable DIY job. Seized fittings, missing isolation valves, or a tap hole configuration mismatch are all reasons to consider hiring a plumber instead.
Do I need to turn off the whole house's water to change a kitchen tap? Not if you have working isolation valves under the sink, these let you isolate just the tap's supply locally. If they're missing or seized, you'll need to use the main stopcock instead, which does affect the whole property.
Why is my new tap leaking after I fitted it? Most commonly an improperly sealed threaded connection. Check PTFE tape was applied correctly in the right direction on every threaded joint, and confirm the tap is properly bedded with sealant if required.
How much does it cost to have a plumber change a kitchen tap? A straightforward like-for-like swap typically costs £60 to £120 in labour, or £120 to £300 total including the tap, according to current UK data. Complex jobs with corroded pipework can cost £200 to £400 or more.
Should I replace the flexible hoses when changing a tap? Yes, it's worth doing regardless of whether the old ones look fine, deteriorated braided hoses are a common cause of leaks discovered later, and they're inexpensive to replace at the same time as the tap itself.
Do I need a specially qualified plumber to change a kitchen tap? For mains-connected work, using a WaterSafe-approved plumber is recommended, since they're trained and assessed on Water Fittings Regulations compliance, which matters for both the work itself and future insurance or liability considerations.