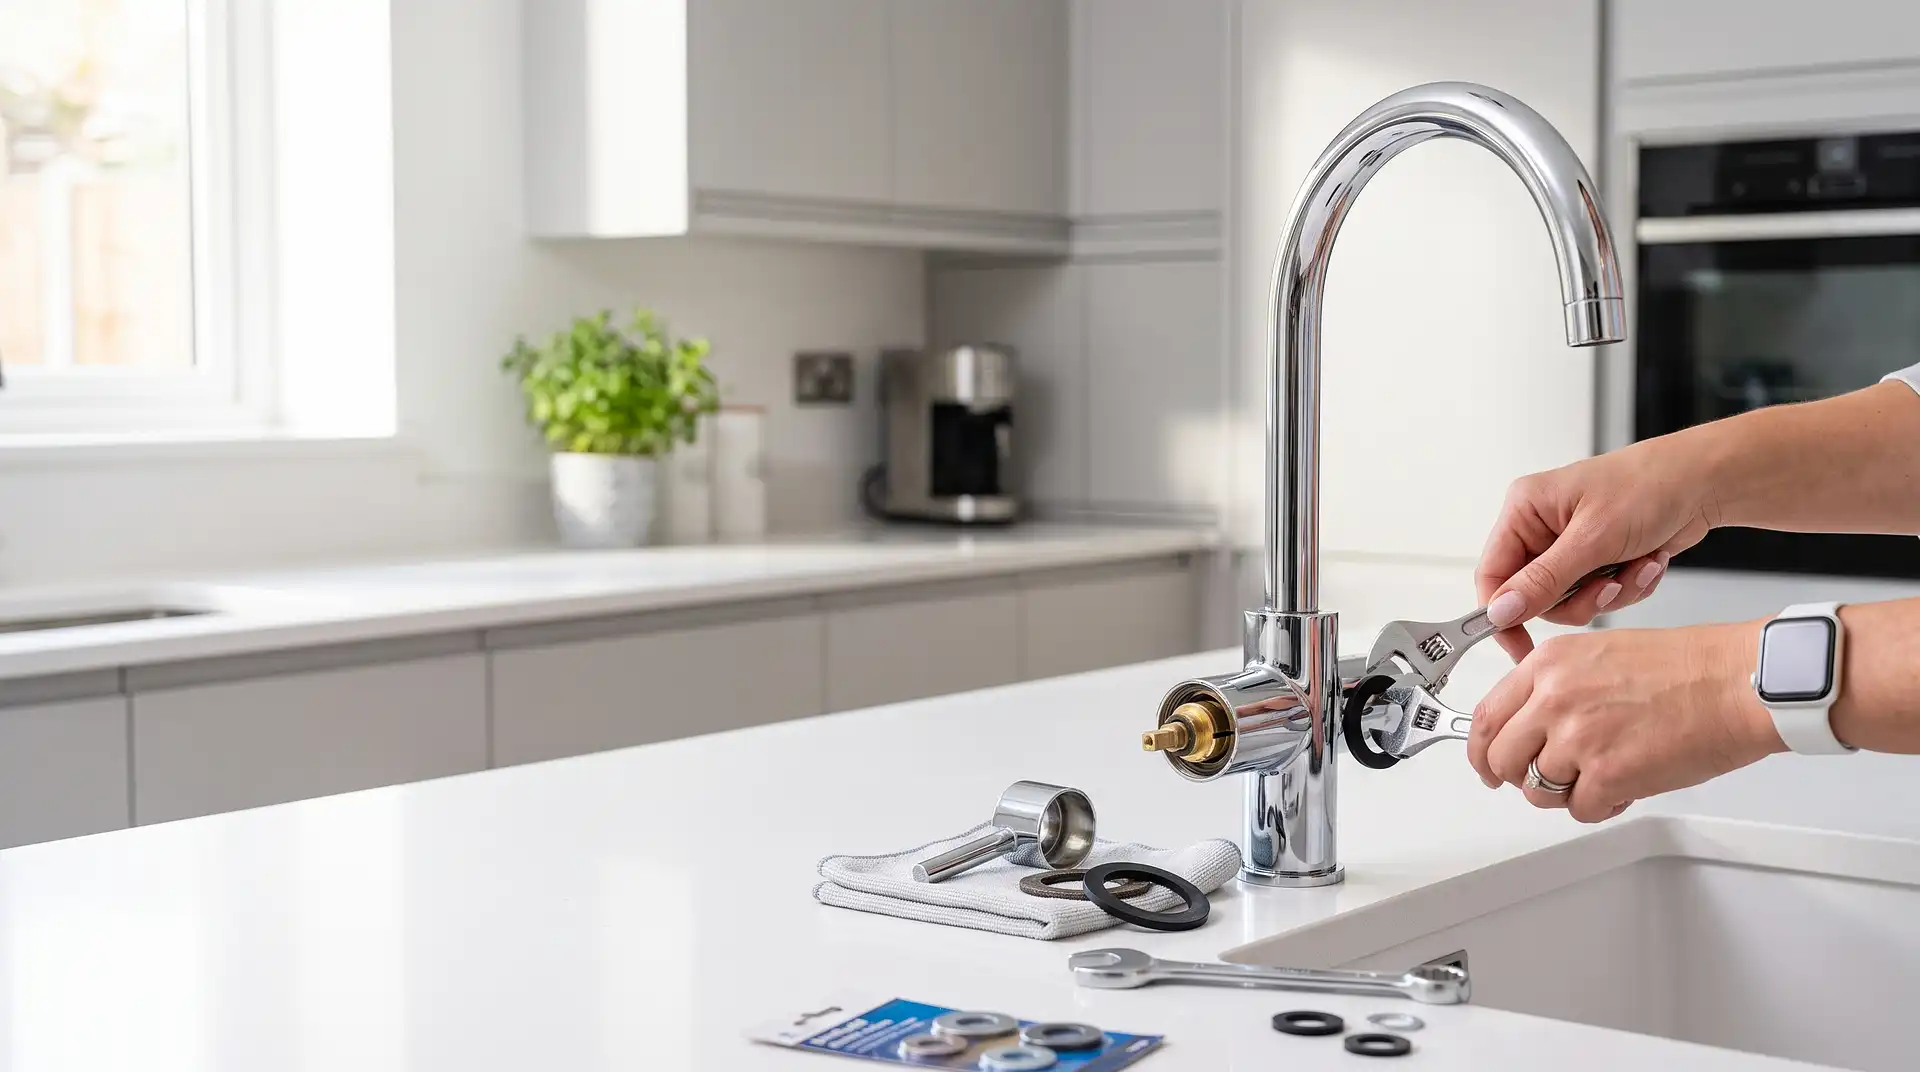
How to Change a Washer on a Kitchen Mixer Tap
25 August 2026
How to Change a Washer on a Kitchen Mixer Tap
Before looking for a washer, it is worth knowing that most modern UK kitchen mixer taps do not use a rubber washer at all. Mixer taps installed in the UK from roughly the mid-1990s onwards typically use ceramic cartridges rather than traditional rubber washers, and the repair process for each is completely different.
A traditional rubber washer sits against a brass seat inside the tap body and compresses to stop water flow. When it wears, the tap drips. Replacing it costs under £1 and takes 20 minutes. A ceramic cartridge is a self-contained precision unit with ceramic discs that rotate against each other to control flow. When it fails, the whole cartridge is replaced rather than a component within it. Cartridge replacement costs £8 to £30 depending on the manufacturer and takes a similar amount of time.
Identifying which type your tap has before disassembling anything determines whether the job is a washer or a cartridge, and ordering the wrong part wastes a trip to the merchant.
Identifying Your Tap Type
Quarter-turn taps -- those that go from fully off to fully on in a 90-degree turn of the handle -- use ceramic cartridges. There is no rubber washer to replace.
Multi-turn taps -- those that require several full rotations of the handle from off to fully on -- typically use rubber washers. Traditional pillar taps and older mixer taps fall into this category.
Lever mixer taps can use either type. A lever that moves through a small arc and has a stiff, precise feel is almost certainly ceramic. A lever with a longer, softer travel may be rubber washer. If unsure, disassemble to the cartridge or jumper valve and the answer is immediately clear.
Modern kitchen mixer taps from mainstream UK brands including Grohe, Bristan, Franke, Hansgrohe, and most own-label ranges from Wickes, B&Q, and similar are almost all ceramic cartridge. If the tap was installed in the last 15 years and is from a recognisable brand, assume cartridge.
Tools You Will Need
Adjustable spanner or basin wrench. Cross-head and flat-head screwdrivers. Needle-nose pliers for cartridge extraction. PTFE tape. A cloth to protect chrome surfaces from the spanner jaws. A small container to hold the screws and parts as they come out.
For the cartridge replacement: the correct replacement cartridge for the specific tap model. The cartridge is not universal. Different brands, and often different models within the same brand, use different cartridges. The model name is usually on the tap body or on the original documentation. If you do not have the documentation, photograph the cartridge once removed and search the measurements online or take it to a plumber's merchant.
Step 1: Turn Off the Water Supply
Turn off the isolation valves under the kitchen sink. These are the small inline valves on the hot and cold supply pipes. Turn the screw slot 90 degrees so it sits perpendicular to the pipe, confirming the valve is closed. Turn the tap on to release any pressure and confirm the supply has stopped.
If there are no isolation valves, turn off the mains at the household stopcock. While you have the valves in view, check their condition. A seized or weeping isolation valve is worth replacing at the same time.
Step 2: Remove the Handle
Most mixer tap handles are fixed by a screw concealed under a decorative cap at the top or back of the handle. Prise the cap off with a flat-head screwdriver -- gently, as these are often plastic and crack if forced. The screw beneath is usually a cross-head. Remove it and lift the handle clear.
Some handles are retained by a grub screw on the underside or back of the handle rather than a cap. Look for a small hex socket, typically 2 or 2.5 mm, requiring an Allen key.
Step 3: Access the Cartridge or Headgear
For ceramic cartridge taps: with the handle off, a retaining nut or collar is visible. This holds the cartridge in the tap body. Unscrew it anticlockwise with the adjustable spanner, using a cloth between the spanner and any chrome surface. The cartridge lifts straight out once the retaining nut is clear. Note the orientation before removing -- most cartridges are directional and must go back the same way.
For rubber washer taps: the headgear (the internal mechanism) is below a packing nut visible once the handle is removed. Unscrew the packing nut anticlockwise. The headgear lifts out. At the bottom of the headgear is the jumper valve, a small brass or plastic disc with a rubber washer pressed into a recess on the underside. The washer is either clipped or pressed in. Prise it out with a flat-head screwdriver, fit the new washer of the same diameter, and reassemble in reverse.
Step 4: Replace the Cartridge or Washer
Cartridge replacement: Take the old cartridge to a plumber's merchant or search by manufacturer and tap model for the correct replacement. Installing an incorrect cartridge produces a tap that either does not seal, has reversed hot and cold, or has a handle that no longer aligns with the on and off positions.
Insert the new cartridge in the same orientation as the old one. Fit and hand-tighten the retaining nut, then snug it with the spanner. Do not overtighten -- ceramic cartridges crack under excessive torque. Firm resistance plus a quarter turn is correct.
Washer replacement: Fit the new washer into the recess on the jumper valve. It should sit flat and seat fully without gaps. Reassemble the headgear into the tap body, thread the packing nut by hand first to avoid cross-threading, then tighten with the spanner. Firm resistance is sufficient.
Step 5: Reassemble and Test
Refit the handle and secure the retaining screw. Replace the decorative cap. Open the isolation valves slowly and check each supply pipe connection for drips before turning both on fully.
Turn the tap on and off several times. A correctly installed ceramic cartridge should have smooth, consistent operation through the full range of movement. A correctly installed washer should seal completely with moderate handle pressure. A tap that still drips immediately after a new washer is fitted has either a worn brass seat that the washer cannot compress against, or a washer that was not correctly seated.
When the Drip Is Not the Washer or Cartridge
A kitchen mixer tap that drips from the spout when closed has a washer or cartridge fault. A tap that drips or weeps from around the base of the spout, from around the handle, or from the connection points under the sink is a different problem.
Weeping from around the spout base or handle indicates a failed O-ring seal. O-rings sit in grooves on the cartridge body or on the spout shank and prevent water escaping sideways rather than through the spout. They are inexpensive and available in tap repair kits. The repair requires disassembling the same components but replacing a rubber ring rather than the cartridge.
Drips from connections under the sink indicate a supply pipe joint issue rather than a tap fault. These are addressed at the compression or push-fit joint rather than by disassembling the tap.
When to Replace Rather Than Repair
A tap body that has a visibly worn brass seat (visible as a rough or pitted surface at the base of the tap chamber when the headgear is removed) cannot be reseated effectively with a new washer. A tap seat grinder tool cuts a fresh seat surface, but on an inexpensive tap it is more cost-effective to replace the tap than to regrind and then fit a washer.
A ceramic cartridge for which the correct replacement is unavailable -- common on discontinued own-label ranges from budget kitchen suppliers -- is also a replacement scenario. Cartridge compatibility across brands is limited and substituting an incorrect cartridge produces unpredictable results.
If the tap body itself is pitted, the chrome is lifting, or the spout has play in it that is not explained by a loose fitting, replacement is the more durable solution. A new kitchen mixer tap costs £50 to £300 for a mid-range model and gives 15 to 20 years of reliable service when correctly installed.
If the repair reveals unexpected complexity -- corroded fittings, a cracked tap body, or supply pipework in poor condition -- stopping and calling a plumber produces a better outcome than working past unfamiliar territory. Plumbers charge £40 to £80 per hour in the UK. A tap repair or replacement is typically one to two hours of labour.
For a broader view of what kitchen tap and plumbing work costs alongside a kitchen renovation or refresh, the InstantCost kitchen renovation cost guide has a full 2026 UK breakdown by cabinet tier, worktop material, appliances, and labour, with a calculator to understand what different elements cost separately before deciding whether a tap repair or a broader kitchen update makes more sense at this point.
A tap washer replacement is also the starting point for understanding how much of the work in a bathroom is the same job done in a slightly different space. Our related guide on how to change bathroom taps covers the basin wrench access problem that makes bathroom tap work harder than kitchen tap work, and the isolation valve and PTFE steps that are identical across both.
Common Mistakes and What to Do Instead
Mistake: buying a rubber washer for a ceramic cartridge tap. Modern quarter-turn mixer taps do not use rubber washers. Identify the tap type before purchasing any part.
Mistake: ordering a cartridge by tap appearance rather than model number. Cartridges are not interchangeable across brands or models even when the taps look similar. Match by manufacturer and model number, or take the old cartridge to the merchant.
Mistake: overtightening the cartridge retaining nut. Ceramic cracks under excessive torque. Firm resistance plus a quarter turn is sufficient. A cracked cartridge drips immediately and requires a replacement cartridge to fix.
Mistake: reassembling without checking the cartridge orientation. Most cartridges have a flat face or a locating lug that must align with the tap body. An incorrectly oriented cartridge has reversed hot and cold, a handle that does not align, or a mechanism that will not fully close.
Mistake: not replacing O-rings when replacing the cartridge. A new cartridge with old O-rings produces a tap that drips from around the base of the spout within weeks. Replace both at the same visit since access is already achieved.
Mistake: ignoring a worn brass seat when fitting a new washer. A pitted or rough seat means the new washer cannot seal cleanly and the tap drips immediately. Check the seat while the headgear is out and grind or replace as appropriate.
What It Costs in the UK
Item or service | Typical UK cost (2026) |
|---|---|
Replacement rubber washer | Under £1 |
Ceramic cartridge (budget tap) | £8 to £15 |
Ceramic cartridge (mid-range brand) | £15 to £30 |
Ceramic cartridge (premium brand) | £30 to £80 |
O-ring tap repair kit | £3 to £8 |
Tap seat grinder tool | £10 to £20 |
New mid-range kitchen mixer tap | £50 to £200 |
New premium kitchen mixer tap | £200 to £500+ |
Plumber hourly rate UK (2026) | £40 to £80 |
Plumber call-out, tap repair or replace | £60 to £160 |
Figures based on UK market data 2026 and vary by region, tap brand, and provider.
Staying Safe
Tap repair is low-risk when the water supply is correctly isolated before starting. The main risk is water damage from an undetected drip at a reconnected supply joint, rather than any hazard from the repair itself.
Always confirm the isolation valve has closed by turning the tap on before disassembling anything. A valve that has not fully closed produces a slow trickle during the repair that makes reassembly messy and risks water in the cabinet below.
Keep children and pets away from the work area. Open pipe ends with isolation valves that are not perfectly closed can release a jet of water if the valve slips during work. Have a bucket positioned and a towel ready.
If the supply pipework under the sink is lead -- dull grey, bends easily, with characteristic bulbous joint fittings -- do not disturb it without understanding what you are dealing with. Disturbing lead pipework in poor condition risks releasing lead particles into the water supply. A plumber who is aware of the lead supply can work safely and advise on replacement.
Tap replacement and repair in the UK is notifiable work under Part P of the Building Regulations only when it involves electrical components -- for example, a tap with an integral water heater or LED indicator. A standard cold or hot supply tap replacement does not require Part P notification. Any work that modifies the configuration of the water supply in a way that creates a backflow or contamination risk must comply with the Water Supply (Water Fittings) Regulations 1999.
FAQ
Do kitchen mixer taps have washers? Modern kitchen mixer taps -- those installed in the last 15 to 20 years -- almost all use ceramic cartridges rather than rubber washers. Quarter-turn taps definitely use ceramic cartridges. Older multi-turn taps use rubber washers. Identify the tap type before purchasing any replacement part.
How do I know if my mixer tap has a ceramic cartridge or a rubber washer? Turn the handle from off to fully on. A quarter-turn movement indicates a ceramic cartridge. Multiple full rotations indicate a rubber washer. When in doubt, remove the handle and the retaining nut and inspect directly -- a ceramic cartridge is a self-contained cylindrical unit; a rubber washer tap has a brass headgear with a small washer at the bottom.
How much does a ceramic cartridge cost? £8 to £15 for a budget tap, £15 to £30 for a mid-range brand such as Bristan or Grohe entry-level, and £30 to £80 for premium brands. The cartridge must match the tap manufacturer and model -- it is not universal.
Why is my mixer tap still dripping after I changed the washer? Either the brass seat the washer presses against is worn or pitted and cannot form a seal, or the new washer was not correctly seated. Remove the headgear again, inspect the seat for roughness, and check the washer is flat and fully seated in its recess.
Can I change a tap cartridge myself? Yes. It is a straightforward job with basic tools, provided the isolation valves work correctly and the correct replacement cartridge is available. The critical steps are identifying the cartridge by model number before ordering, and noting the orientation before removing the old cartridge.
When should I replace the tap rather than repair it? When the replacement cartridge is unavailable for the model, when the tap body shows visible corrosion or damage, when the brass seat cannot be reground satisfactorily, or when the tap is old enough that repeated repairs are less cost-effective than a new fitting.