How to Clean Your Exterior Dryer Vent
11 August 2026
How to Clean Your Exterior Dryer Vent (A Genuine Fire Safety Task)
This isn't just a maintenance chore, it's a genuine fire safety task, and UK fire services treat it as one. Fire and Rescue Services responded to 23,008 home fires in England in the year to March 2024, and over half, 54%, were attributed to domestic appliances, with tumble dryers a recurring and specifically named cause. Lint is highly flammable, and when it builds up in the vent hose or the external vent itself rather than staying trapped in the filter, restricted airflow causes the machine to run hotter, which is exactly the combination fire services warn creates a genuine hazard.
A Note on Pricing
The InstantCost.co.uk page linked for this article covers house exterior cleaning services, driveways, roofs, patios, walls, and windows, which doesn't include dryer vent cleaning specifically. The figures below instead come from dedicated UK tumble dryer vent cleaning providers.
Why the Filter Alone Isn't Enough
Every tumble dryer has a lint trap, and most people clean it religiously after every load, which genuinely helps, but it doesn't catch everything. A small amount of lint escapes the filter with each cycle regardless of how diligent you are, clinging to the vent hose, the back of the drum, and the airways beyond the filter. Over months of regular use, particularly if you dry towels, bedding, or fleece items that shed more fibre, this builds up steadily in places the filter was never designed to protect.
Warning Signs Your Vent Needs Cleaning
Watch for clothes taking noticeably longer to dry than they used to, especially heavier items like towels or jeans. Clothes or the machine itself feeling hotter than normal at the end of a cycle is another clear sign. Check whether the external vent flap, the small hinged cover on the outside wall where warm air exits, is actually opening while the dryer runs, if it stays shut, air isn't getting through properly. A burning or unusually strong hot smell during drying is a sign to stop and investigate immediately rather than finish the cycle first.
Step 1: Disconnect the Dryer Safely
Unplug the dryer from the power source before doing anything else. If you have a gas dryer, also turn off the gas valve near the machine and take care not to overstretch or damage the gas line when you move it. Let the machine cool fully if it's just been used.
Step 2: Access the Vent Connection
Carefully slide or pull the dryer away from the wall to reach the vent connection, typically a 4-inch opening at the back of the machine connected to a duct running to the external vent. Disconnect this duct from the dryer itself.
Step 3: Clear the Duct
Vacuum both the dryer's vent opening and as much of the duct as you can access. Where the duct is long enough, separate it into shorter sections for better access, clearing each section individually before reassembling. This is also the point to check the type of ducting you have, flexible foil or plastic accordion-style ducts trap considerably more lint than smooth rigid ducting, since lint catches in the ridges and any sagging low points. If yours is the flexible, crinkly type, it's genuinely worth considering an upgrade to rigid or semi-rigid ducting while you're already working on it.
Step 4: Clean the External Vent Itself
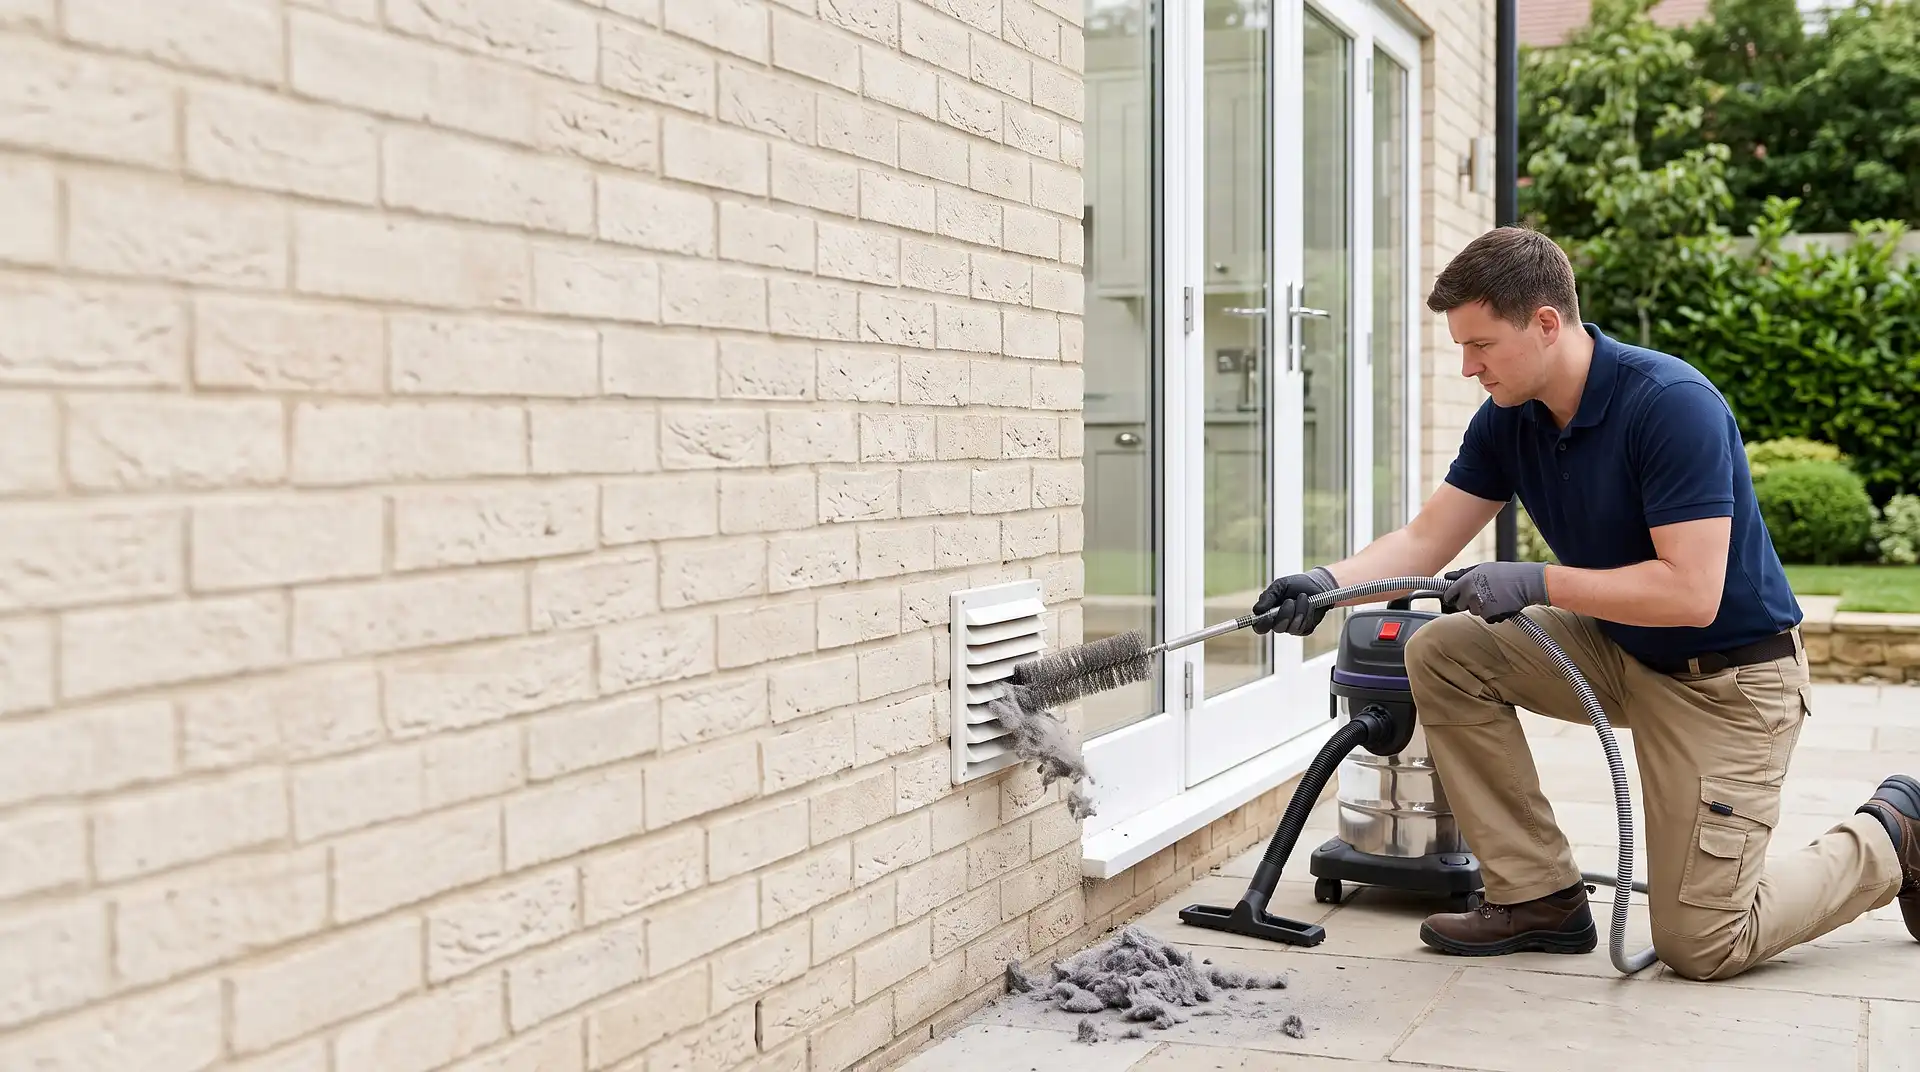
Go outside and check the external vent cover, the point where warm air actually exits the house. Remove any visible lint, debris, or nesting material, birds and insects are drawn to the warmth and can build nests here, which is another common cause of a blocked vent quite apart from lint buildup. Check the flap moves freely and closes properly when the dryer isn't running.
Step 5: Clean Behind and Underneath the Dryer
While the machine is pulled away from the wall, vacuum the floor and wall area behind and underneath it too, lint accumulates here as well as inside the ducting itself, and it's worth clearing while you have access rather than treating it as a separate job.
Step 6: Reassemble Properly
Reconnect the duct to the dryer, making sure every joint is properly secured with clamps or foil tape rather than just pushed together, a loose joint lets warm, moist air and lint escape into the space behind the dryer instead of venting outside as intended. Push the dryer back into position, checking the duct isn't kinked, crushed, or sagging in a way that would let lint collect at a low point again.
Step 7: Test
Run a short cycle and check you can feel or see exhaust air at the external vent while it's running. If you can't, the duct or vent may still be partially blocked somewhere, worth rechecking each section rather than assuming the job's finished.
How Often to Do This
Annually is the general recommendation for most households, more often if you use the dryer heavily or dry a lot of towels, bedding, or pet blankets, which shed more fibre than average laundry. Clean the lint filter itself after every single load regardless, this is separate from and doesn't replace the deeper vent clean covered above.
If You're Doing a Wider Appliance and Utility Room Clean
Dryer vent cleaning is exactly the kind of behind-appliance task that gets missed during routine cleaning but is included as standard in a genuine deep clean of a property. Our related guide covers how much a professional deep clean costs, useful if you're thinking about tackling the dryer vent alongside a broader reset of areas that don't get attention during normal weekly cleaning.
Common Mistakes and What to Do Instead
Mistake: only ever cleaning the lint filter and never the vent itself. The filter catches most lint, not all of it. What escapes builds up in the hose and external vent over time regardless of how often you empty the filter.
Mistake: not checking what type of ducting you have. Flexible foil or plastic accordion ducting traps considerably more lint than rigid ducting, due to its ridges and tendency to sag. If yours is the flexible type, an upgrade is genuinely worth considering.
Mistake: ignoring warning signs like longer drying times or a hot machine. These are the practical, noticeable signals a vent is restricted, and fire services specifically flag them as reasons to act rather than wait for the annual clean.
Mistake: not securing duct joints properly on reassembly. A loose joint lets warm air and lint escape into the space behind the dryer rather than venting outside, which both undermines drying efficiency and creates a lint accumulation point of its own.
Mistake: forgetting the external vent cover itself. Cleaning the internal ducting but not checking the outside vent misses nesting material and debris that can block airflow from the outside in, quite separately from internal lint buildup.
When to Call a Professional Instead
DIY cleaning is genuinely achievable for most households with straightforward access to the dryer and duct. It's worth calling a professional if the duct run is long, awkward, or inaccessible, if you're not confident handling a gas dryer's connections, if you've cleaned it yourself and drying times or the burning smell haven't improved, or if you'd simply rather have it checked properly given the genuine fire risk involved. A professional will clear the full vent length, test airflow, and reconnect everything to a proper standard.
What It Costs in the UK
DIY cleaning costs very little beyond a vacuum you likely already own, foil tape or new clamps for reassembly typically cost £3 to £8, and if you're upgrading from flexible to rigid ducting, that typically adds £15 to £30 in materials for a standard run.
Professional tumble dryer vent cleaning in the UK is commonly priced around £60 for a standard household job, covering the full vent system from the dryer connection through to the external vent, with airflow tested and everything reconnected properly. Exact pricing varies by region and how accessible your specific duct run is.
Item or Service | Typical UK Cost (2026) |
|---|---|
DIY cleaning (vacuum, own tools) | Free to minimal |
Foil tape or duct clamps | £3 to £8 |
Rigid ducting upgrade (materials) | £15 to £30 |
Professional vent cleaning | Around £60 |
Professional pricing is based on current UK provider data and varies by region and property access. This is one of the more affordable professional cleaning services available, given the genuine fire safety benefit.
Staying Safe
Always disconnect the dryer from its power source, and the gas supply if applicable, before starting any cleaning work, and let the machine cool fully first. Never leave a tumble dryer running overnight or while the house is empty, this is standard UK fire service advice regardless of how recently the vent was cleaned. Check the vent flap opens properly when the dryer runs and stay nearby during cycles where practical.
If you notice a burning smell, unusual noise, or the machine running noticeably hotter than normal, stop using it immediately, unplug it, and have it checked before running it again rather than finishing the current cycle first.
Fire safety guidance from UK fire and rescue services is reviewed periodically, so check current advice from your local fire service if you're at all unsure about your specific dryer or ducting setup.
FAQ
Is a blocked dryer vent really a fire risk? Yes, genuinely. UK fire services specifically warn that lint buildup restricting airflow causes tumble dryers to overheat, and lint itself is highly flammable, a combination that's a recognised cause of house fires.
How often should I clean my tumble dryer's external vent? Annually for most households, more often with heavy use or if you regularly dry towels, bedding, or pet blankets. This is separate from cleaning the lint filter, which should happen after every single load.
What are the warning signs my dryer vent needs cleaning? Longer drying times than usual, clothes or the machine feeling hotter than normal, the external vent flap staying shut while running, or a burning smell during a cycle.
Should I replace flexible foil ducting with rigid ducting? It's worth considering. Flexible, crinkly ducting traps considerably more lint than smooth rigid ducting due to its ridges and tendency to sag, both of which create spots where lint accumulates faster.
Can I clean my dryer vent myself? Yes, for most households with reasonable access to the dryer and duct. Disconnect the power, and gas supply if applicable, first, and take extra care with gas dryer connections specifically.
How much does professional dryer vent cleaning cost in the UK? Typically around £60 for a standard household job, covering the full vent system with airflow tested and everything properly reconnected.