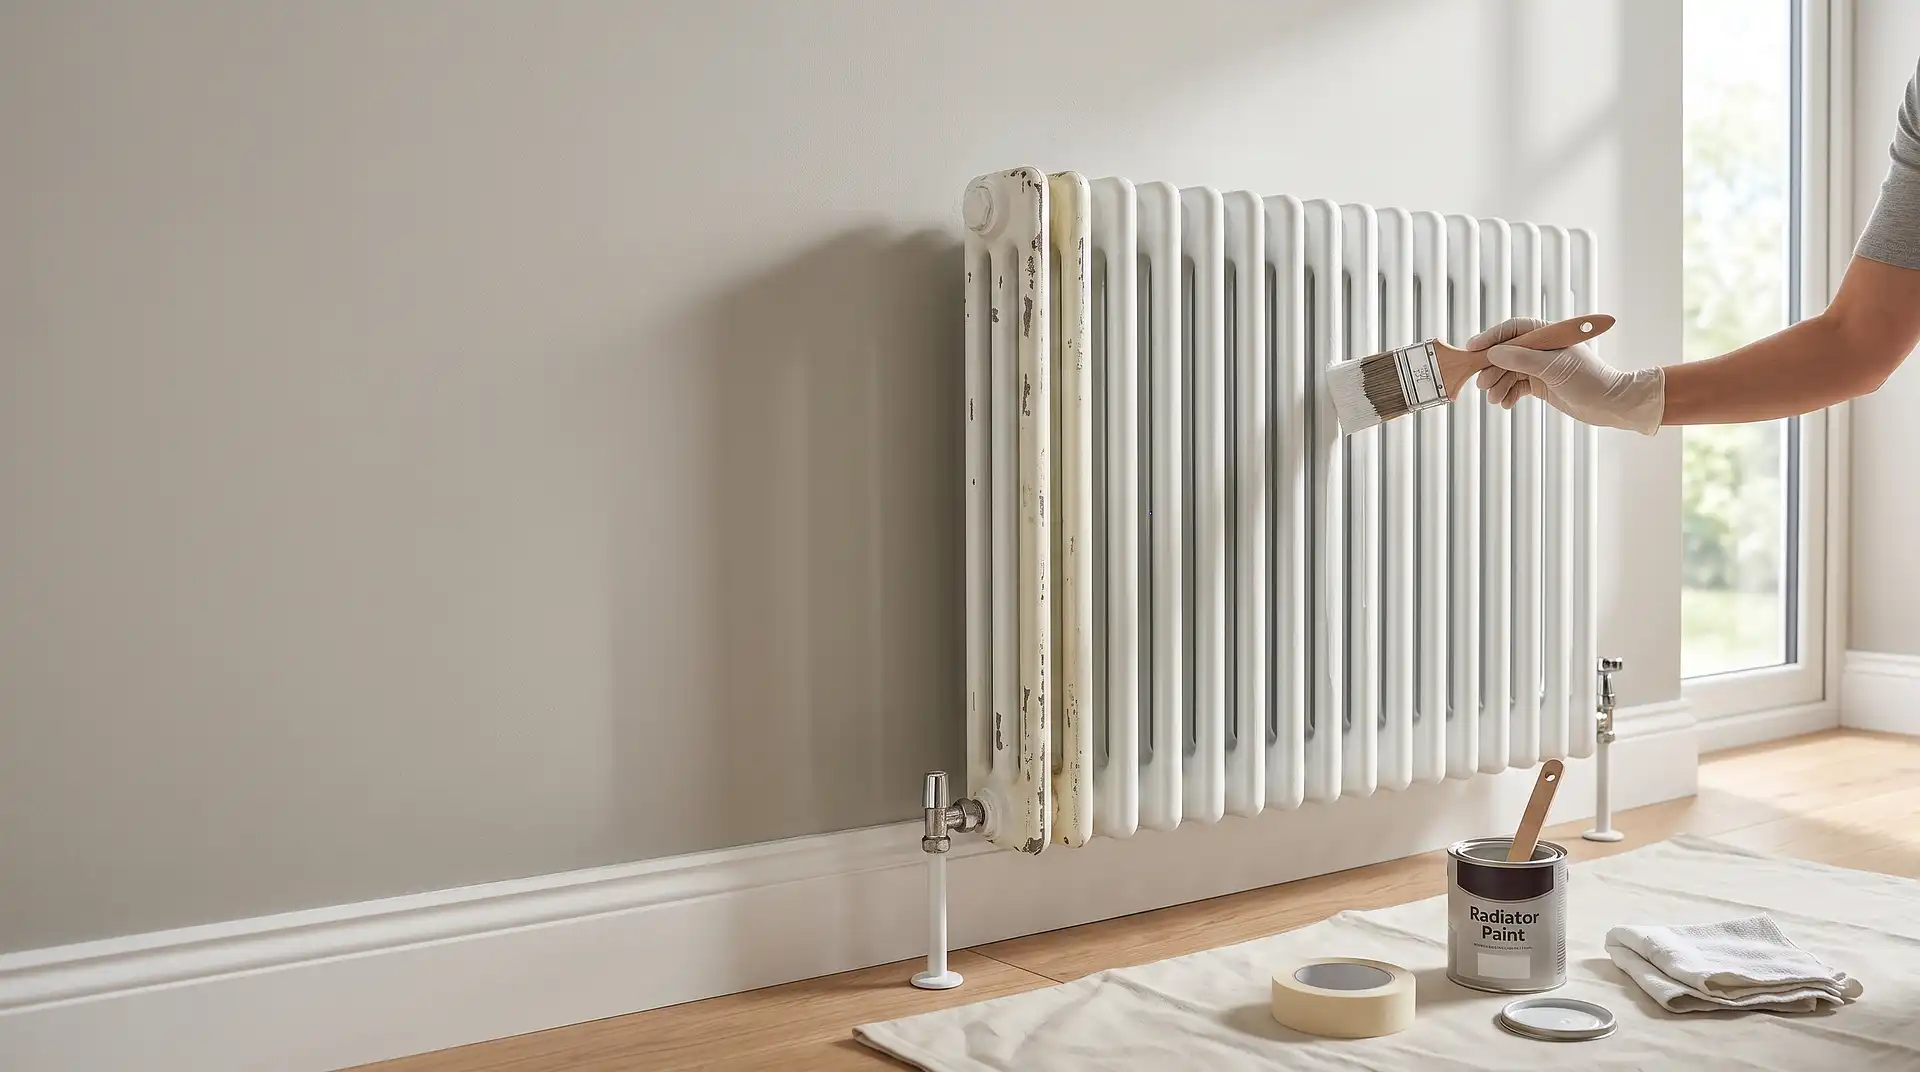
How to Paint a Radiator
26 July 2026
How to Paint a Radiator (Without It Blistering the First Time It Heats Up)
Standard wall or furniture paint on a radiator fails almost immediately once the heating comes on it discolours, blisters, or gives off a noticeable smell as it heats and cools, because it simply isn't formulated to handle the repeated temperature cycling a radiator goes through every day. The single most important decision in this whole project is using genuine heat-resistant radiator paint, which is formulated specifically to withstand temperatures up to around 130°C without cracking or discolouring everything else in the process is standard prep and technique, but the wrong paint undoes all of it the first time the heating switches on.
Step 1: Turn the Radiator Off and Let It Cool Completely
This applies regardless of radiator type, and it matters for more than comfort — painting a hot radiator causes uneven drying and a poor-quality finish, since the paint dries unevenly as it contacts a warm surface. Switch off the radiator (turning down the TRV, or fully isolating it if you're planning to remove it) and wait until it's genuinely cold to the touch before starting any prep work.
Step 2: Test for Lead Paint on Older Radiators
If your radiator or property is older and has been painted multiple times over the years, particularly pre-1960s properties, it's worth testing the existing paint for lead before sanding. Sanding lead paint creates fine dust that's hazardous to breathe in, and a simple test kit (available cheaply from hardware shops) tells you whether extra precautions — wet sanding, a proper respirator, and careful dust containment — are needed before you start.
Step 3: Clean and Degrease
Wash the radiator thoroughly with sugar soap or a general cleaner to remove dust, grease, and any residue, particularly around areas handled often or near the kitchen. Let it dry completely before moving to sanding, since any residual grease affects how well the primer and paint bond.
Step 4: Sand Lightly
Lightly sand the whole radiator with fine-grit sandpaper (around 120 grit), enough to dull any existing gloss or factory finish and give the new paint something to grip. This isn't about stripping back to bare metal — a light, even scuff across the surface is the goal, similar to prepping kitchen cabinets or furniture for paint. Wipe away all dust with a damp cloth afterward.
Step 5: Treat Any Rust
If there's visible rust, treat it with a rust-inhibiting product before painting, following the product's specific instructions. Painting directly over untreated rust means it will likely continue developing beneath the new paint, eventually showing through or causing the paint to fail in that spot.
Step 6: Prime If Needed
A primer or undercoat isn't always essential, particularly if using a self-priming radiator paint (a growing category that combines primer and topcoat in one product), but it's recommended for previously painted radiators, especially if you're switching to a lighter or brighter colour than the existing finish, since it helps ensure even coverage and true colour.
Step 7: Apply Heat-Resistant Radiator Paint
Use a paint specifically labelled as heat-resistant or radiator paint, available in both brush-on and spray forms. Spray paint tends to give the most even, professional-looking finish and reaches into grooves and gaps between radiator fins more easily than a brush, while brush application lets you work more precisely into tight crevices if you're painting in place rather than after removal. Apply in thin, even coats, letting each coat dry fully before applying the next — most radiator paints need at least two coats for full, even coverage.
Step 8: Let It Cure Before Switching the Heating Back On
Even once touch-dry, give the paint the full curing time stated on the product before switching the heating back on and returning the radiator to normal use — this is typically at least 24 hours, sometimes longer for oil-based or solvent-based products. Turning the heating back on too soon can cause the still-curing paint to blister or give off a stronger smell than it otherwise would once fully cured.
Should You Remove the Radiator First?
It's not essential to remove a radiator to paint it, and most people don't — painting in place with careful technique gives a perfectly good result for most radiators. However, removing it first gives considerably better access to the back panel and between sections, which produces a noticeably cleaner, more even finish, particularly on older or more elaborate radiators with more surface detail. It also lets you paint the wall behind it properly if needed. This is worth considering for older radiators or ones with significant detailing, but isn't necessary for a standard, straightforward repaint.
Common Mistakes and What to Do Instead
Mistake: using standard wall or furniture paint instead of heat-resistant radiator paint. This is the single most common cause of a radiator paint job failing almost immediately — normal paint blisters, discolours, or smells as the radiator heats and cools repeatedly. Always use paint specifically labelled as heat-resistant or radiator paint.
Mistake: painting a radiator that's still warm. This causes the paint to dry unevenly, giving a poor-quality finish. Always wait until the radiator is completely cold before starting.
Mistake: skipping rust treatment. Painting directly over untreated rust means it typically continues developing beneath the new paint. Treat any rust with an inhibiting product before painting over it.
Mistake: applying thick coats to finish faster. Thick coats are more prone to drips, uneven drying, and a longer overall cure time. Thin, even coats with proper drying time between each give a better, more durable result.
Mistake: switching the heating back on before the paint has fully cured. Even touch-dry paint may not be fully cured, and heating it too soon can cause blistering or a stronger-than-expected smell. Check and follow the product's specific cure time before returning to normal use.
Mistake: not testing older paint for lead before sanding. Sanding lead paint creates hazardous dust. If your radiator or property is older, it's worth a quick, cheap test before sanding, particularly if a heavy build-up of old paint layers is visible.
What It Costs in the UK
DIY materials for painting a single average radiator typically add up to £30–£70 in total: heat-resistant radiator paint typically costs £15–£25 per tin, an undercoat or primer (if used) around £10–£20 per litre, sandpaper £2–£6, sugar soap or cleaner £3–£8, and dust sheets £4–£15 if you don't already have suitable protection for the floor and surrounding area. A single tin or aerosol is usually enough for one or two average-sized radiators, so the per-radiator cost drops if you're doing several at once.
If you'd rather have it done professionally, painting is typically charged per radiator or as part of a broader decorating job, generally landing in a similar range to professional furniture painting — commonly £100–£250 per radiator depending on size, condition, and whether it's removed for painting, with a discount often available for multiple radiators done in the same visit.
Item/Service | Typical UK Cost (2026) |
|---|---|
Heat-resistant radiator paint (per tin) | £15–£25 |
Undercoat/primer (per litre) | £10–£20 |
Sandpaper | £2–£6 |
Sugar soap/cleaner | £3–£8 |
Dust sheets | £4–£15 |
DIY total (single radiator) | £30–£70 |
Professional painting (per radiator) | £100–£250 |
These are UK market estimates and vary by radiator size, condition, region, and provider — always confirm with a professional whether the radiator will be removed for painting, since this affects both cost and the quality of the final finish.
Staying Safe
Ventilate the room well while painting and while the paint cures, since both radiator paint and any rust treatment or primer release fumes worth not breathing in a concentrated, enclosed space. If you're using an aerosol spray paint, this matters even more, given how easily fine overspray particles can be inhaled compared with brush application.
If your radiator or property is older, test for lead paint before sanding rather than assuming it's safe, and if lead is present, use wet sanding methods and a proper respirator rather than dry sanding, which creates hazardous airborne dust. Keep children and pets out of the room while painting and until the paint has fully cured, and store all paint, primer, and rust treatment products in their original labelled containers, out of reach.
Product-specific safety data, cure times, and lead-testing guidance vary by manufacturer and property age, so it's worth checking the specific product's label and testing for lead paint on any older radiator before sanding.
FAQ
Can I use normal paint on a radiator? No. Standard wall or furniture paint isn't formulated to handle a radiator's repeated heating and cooling, and will typically blister, discolour, or smell once the heating is switched on. Always use heat-resistant radiator paint, rated to around 130°C.
Do I need to remove a radiator to paint it? Not usually — most radiators can be painted in place with good results. Removing it first gives better access for a cleaner finish, particularly on older or more detailed radiators, but isn't essential for a standard repaint.
How long should I wait before turning the heating back on after painting a radiator? At least 24 hours, sometimes longer depending on the specific product's stated cure time. Turning the heating on too soon can cause the paint to blister or smell more than it would once fully cured.
Should I sand a radiator before painting it? Yes, lightly — enough to dull any existing gloss and give the new paint something to grip, similar to prepping furniture or cabinets. It's not necessary to strip back to bare metal.
How much does it cost to paint a radiator in the UK? DIY materials typically cost £30–£70 for a single radiator, while professional painting typically costs £100–£250 per radiator, often cheaper per radiator if multiple are done in the same visit.
Do I need to test for lead paint before sanding an old radiator? It's worth it for older radiators or properties, particularly with visible layers of old paint. A cheap test kit tells you whether extra precautions like wet sanding and a respirator are needed before you start.