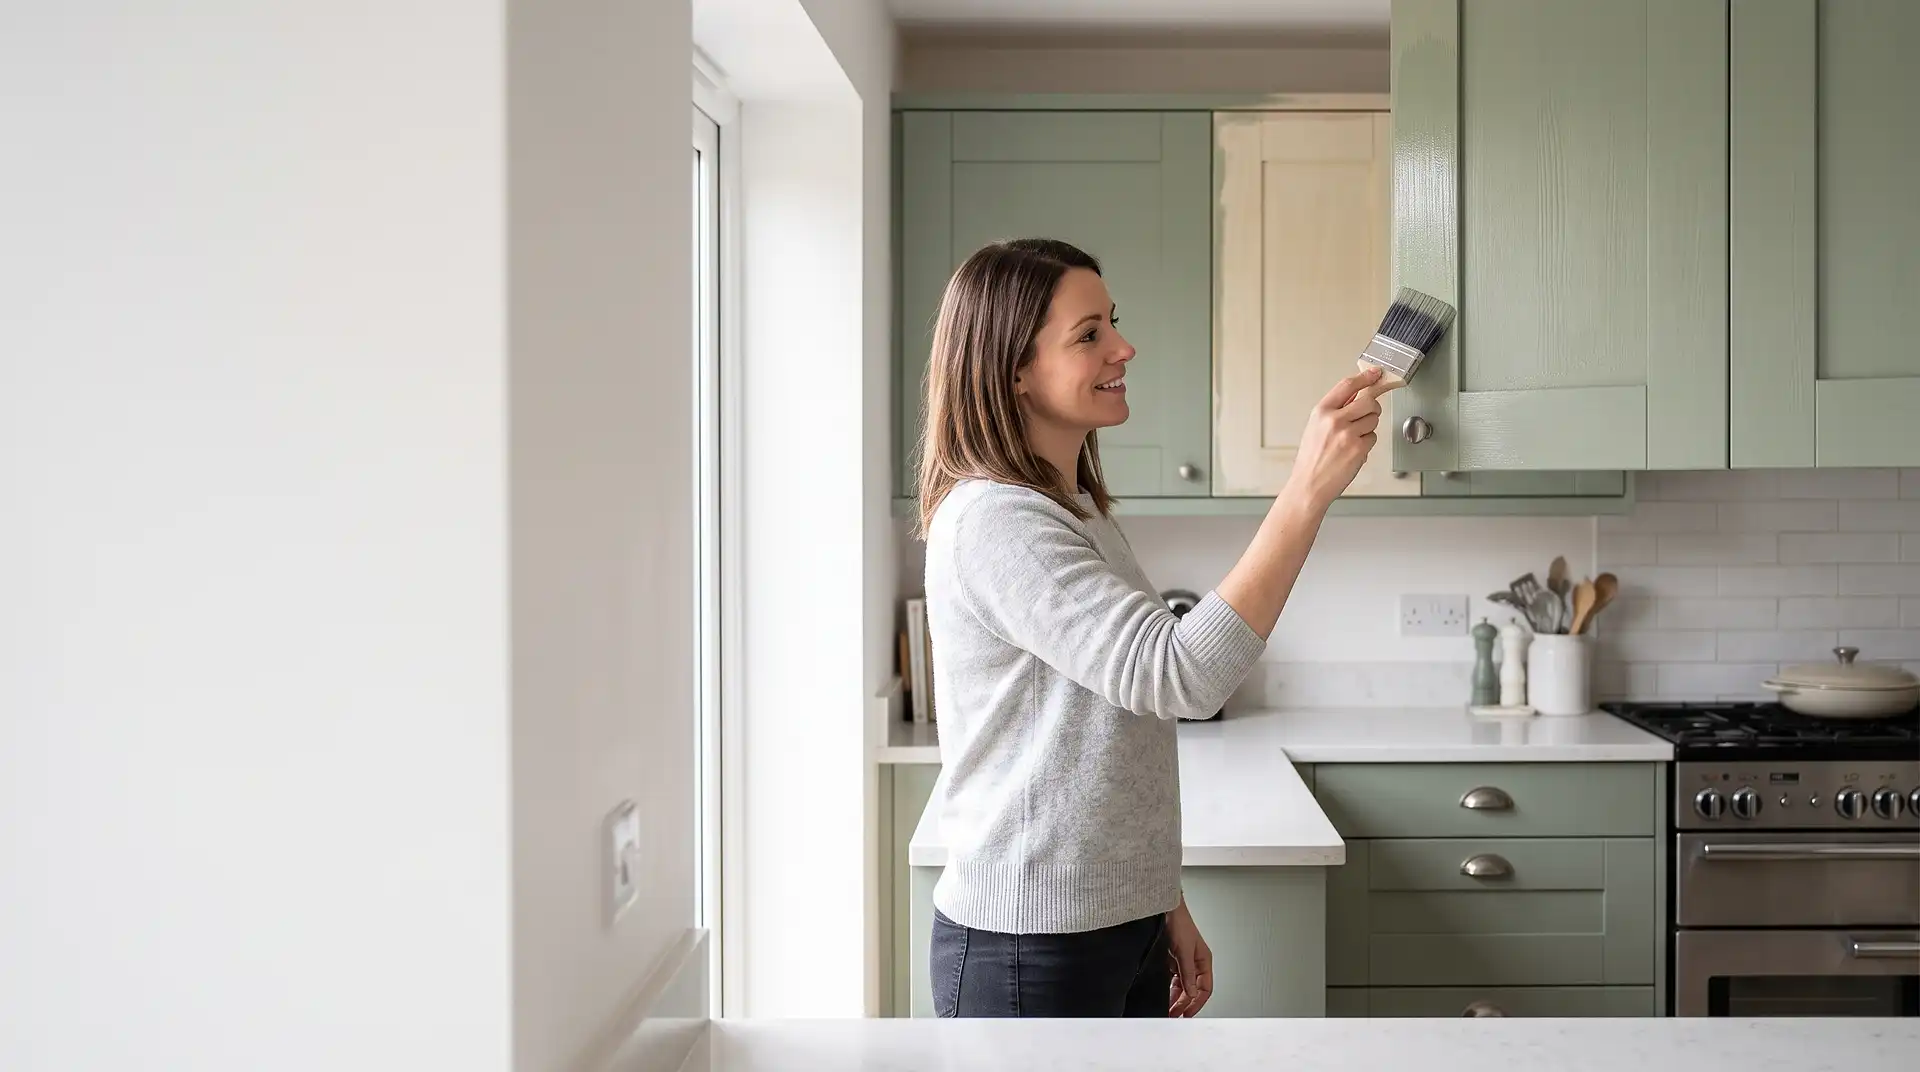
How to Paint Kitchen Cabinets
13 July 2026
How to Paint Kitchen Cabinets (Without Them Chipping in a Month)
Painted kitchen cabinets fail for one reason far more often than any other: skipped or rushed preparation. The paint itself is almost never the problem — it's cabinets that were never properly degreased, sanded, or primed before the colour coat went on. Kitchen cabinet surfaces deal with grease, steam, and constant handling in a way no other painted surface in the house does, which is exactly why the standard "clean, then paint" approach that works on a wall doesn't hold up on a cupboard door.
What You'll Need
A screwdriver — for removing doors, drawer fronts, and hardware before painting, not around them.
Sugar soap or a degreasing cleaner — kitchen cabinets carry a layer of cooking grease even when they look clean, and paint won't properly bond to it.
Fine-grit sandpaper (120–180 grit) — to key the surface so primer has something to grip, not to strip the cabinet back to bare wood.
A tack cloth or slightly damp microfibre cloth — to remove sanding dust before priming; leftover dust under paint causes a gritty, uneven finish.
A stain-blocking or adhesion primer — the single most important product in the whole job; it's what allows paint to bond to laminate, melamine, or previously varnished wood, none of which paint adheres to well on its own.
Cabinet or furniture-grade paint — standard wall emulsion isn't durable enough for a surface that gets touched daily; look for products specifically formulated for kitchen cabinets, doors, or trim.
A quality synthetic brush and a small foam or mohair roller — for a smooth finish on flat panels, with the brush reserved for edges, mouldings, and corners.
Painter's tape and dust sheets, and a well-ventilated space to work — a garage or spare room with doors propped, since cabinet doors need to lie flat while drying and can't be reinstalled until fully cured.
Step 1: Remove and Label Everything
Take off doors, drawer fronts, and all hardware — handles, hinges, screws. Number each door and its corresponding cabinet position with painter's tape or a marker on an inside edge, since doors that look identical on the wall often aren't quite the same size once removed. This single step avoids the most common post-project frustration: doors that don't hang quite right because they went back on the wrong cabinet.
Step 2: Clean and Degrease Thoroughly
Wash every surface with sugar soap or a dedicated degreaser, paying particular attention to areas near the hob and any cabinet handled constantly. Rinse and let dry fully. This step alone often determines whether paint holds for years or starts lifting within months — grease left under paint prevents proper adhesion no matter how good the paint itself is.
Step 3: Sand to Key the Surface, Not to Strip It
Lightly sand every surface being painted with 120–180 grit sandpaper, enough to remove the glossy sheen and give the primer something to grip. This isn't about removing the existing finish — a light, even scuff across the whole surface is the goal. Wipe away all dust with a tack cloth or damp cloth before moving on; painting over sanding dust is a common cause of a rough, gritty final texture.
Step 4: Prime with the Right Product
Use a stain-blocking or adhesion primer suited to your cabinet material — melamine and laminate specifically need a primer designed to bond to non-porous surfaces, since standard primer won't hold on them any better than paint would. Apply an even coat, let it fully dry per the label's timing, and lightly sand again before the colour coat if the primer instructions recommend it.
Step 5: Apply the Paint
Use a small foam roller for flat panel faces to avoid brush marks, and a brush for edges, panel details, and mouldings. Apply thin, even coats rather than one thick one — thick coats take longer to cure properly and are more prone to drips, sagging, and a soft finish that dents easily. Most cabinet paints need two coats minimum, with full drying time between each, not just "touch dry" time.
Step 6: Let It Cure, Not Just Dry
This is the step almost every rushed DIY job gets wrong. Paint can be touch-dry within hours but still take days or even weeks to fully cure to its hardest, most durable state. Reinstalling doors and handling them normally before full cure is the single biggest reason painted cabinets chip or scuff within the first month — check the paint manufacturer's stated cure time and hold off using the kitchen normally until it's passed, even though the surface looks and feels finished well before then.
Common Mistakes and What to Do Instead
Mistake: skipping the degreasing step because the cabinets "look" clean. Grease film is often invisible but is the single biggest cause of paint peeling or lifting within weeks. Always degrease before sanding, even on cabinets that appear spotless.
Mistake: using standard wall paint instead of a cabinet-specific product. Wall emulsion isn't formulated to withstand the daily handling, moisture, and cleaning that cabinets face, and it will scuff and mark far faster. Use a paint specifically rated for cabinets, doors, or trim.
Mistake: painting over laminate or melamine without the right primer. These surfaces are non-porous, and standard primer or paint alone won't bond properly, leading to chipping and peeling regardless of how many coats are applied. Use an adhesion primer designed specifically for these materials.
Mistake: applying thick coats to "save time." Thick paint takes longer to cure evenly, sags on vertical surfaces, and stays soft and easily damaged for longer. Multiple thin coats, properly dried between each, give a far more durable finish.
Mistake: reinstalling doors before the paint has fully cured. A surface that feels dry to the touch can still be weeks away from full hardness. Handling, closing, and cleaning cabinets before cure time has passed is the most common cause of chips appearing almost immediately after a fresh paint job.
DIY Hand-Painting vs. Professional Spray Finish
Hand-painting with a brush and roller is the accessible DIY route and works well for a solid, durable finish, though it's harder to achieve a completely smooth, factory-like surface without some visible texture. Professional spraying — where doors are removed and sprayed off-site or in a controlled space — produces a noticeably smoother, flatter finish because spray equipment applies a finer, more even coat than a brush or roller ever can. This is why professional respraying tends to look closer to a brand-new kitchen, while a careful DIY hand-paint job looks like a very good repaint rather than a replacement.
Neither is objectively better — it depends on whether the priority is budget and doing it yourself, or the smoothest possible showroom finish. A well-prepped hand-painted job with the right primer and paint is a legitimate, durable option; it simply won't look quite as uniformly smooth as a sprayed one up close.
What It Costs in the UK
According to InstantCost.co.uk's 2026 UK pricing data, a cosmetic kitchen refresh — which covers repainting cabinets along with new handles and worktop refinishing — typically costs £1,500 to £3,500, positioned as the lowest-cost tier of kitchen renovation, well below even a small flat-pack kitchen replacement.
Looking specifically at cabinet painting and respraying quotes from UK trade sources, prices vary depending on whether the job is a DIY-supplied paint job, a professional hand-painted finish, or a full off-site spray respray. Professional hand-painting of an average kitchen's worth of cabinets typically runs £600–£1,500, while professional spray respraying — which usually produces the smoothest finish — typically costs £1,200–£3,500 depending on the number of doors, drawer fronts, and how much preparation the existing surfaces need. DIY materials alone (paint, primer, sandpaper, brushes) for an average kitchen typically cost £150–£300, which is the main saving DIY offers over hiring a professional.
Replacing cabinet doors entirely, rather than painting the existing ones, is a separate and more expensive option — typically starting around £350 for a medium-sized kitchen and rising well beyond that depending on style — worth considering only if the doors themselves are damaged rather than just dated in colour.
Option | Typical UK Cost (2026) | Best For |
|---|---|---|
DIY paint job (materials only) | £150–£300 | Confident DIYers, budget priority |
Cosmetic kitchen refresh (paint + handles + worktop refinish) | £1,500–£3,500 | Full low-cost refresh without replacement |
Professional hand-painted cabinets | £600–£1,500 | Durable finish without full spray cost |
Professional spray respray | £1,200–£3,500 | Smoothest, most factory-like finish |
New cabinet doors (replacement, not paint) | From £350+ | Doors damaged rather than just dated |
These are UK market estimates and vary by kitchen size, number of doors, existing surface condition, and region — always get a few quotes, and confirm whether the price includes hardware, priming for laminate/melamine, and full removal and reinstallation of doors.
Staying Safe
Cabinet paints, primers, and degreasers release stronger fumes than standard wall paint, particularly solvent-based or oil-based primers used for stain-blocking or adhesion on melamine. Work in a well-ventilated space — ideally with doors and windows open or a dedicated workspace like a garage — and check the product label for specific ventilation requirements, since some primers need considerably more airflow than standard emulsion.
Keep all paints, primers, and degreasers in their original labelled containers and stored well out of reach of children, particularly during a project when tins, brushes, and rags are likely to be left out and accessible for several days rather than put away immediately after each session. Dispose of solvent-soaked rags carefully rather than leaving them in a pile, since some can pose a fire risk as they dry.
Product-specific safety data (ventilation requirements, drying and curing times, disposal guidance) varies by manufacturer and can change, so it's worth checking the specific product's safety data sheet before starting, especially for solvent-based primers.
FAQ
Do I need to sand kitchen cabinets before painting them? Yes, lightly. A light sand with 120–180 grit sandpaper keys the surface so primer and paint can bond properly — it's not about stripping the existing finish, just removing the glossy sheen.
Can I paint laminate or melamine kitchen cabinets? Yes, but only with a primer specifically designed for non-porous surfaces. Standard primer or paint won't bond properly to laminate or melamine and will chip or peel regardless of how many coats are applied.
How long should I wait before using painted cabinets normally? Check the paint's stated cure time, not just its dry time — paint can feel dry within hours but take days or weeks to fully harden. Using cabinets normally before full cure is the most common cause of early chipping.
Is it cheaper to paint kitchen cabinets or replace them? Painting is significantly cheaper. A full cosmetic refresh including cabinet painting typically costs £1,500–£3,500, compared with £5,000+ for even a budget flat-pack kitchen replacement.
Should I hand-paint or spray my kitchen cabinets? Spraying gives a smoother, more factory-like finish and is usually done professionally, typically costing £1,200–£3,500. Hand-painting is more accessible for DIY and still produces a durable finish, just with slightly more visible texture.
What's the most common reason painted cabinets chip quickly? Skipping degreasing before painting, or using cabinets normally before the paint has fully cured — both are far more common causes of early failure than the paint brand or colour chosen.