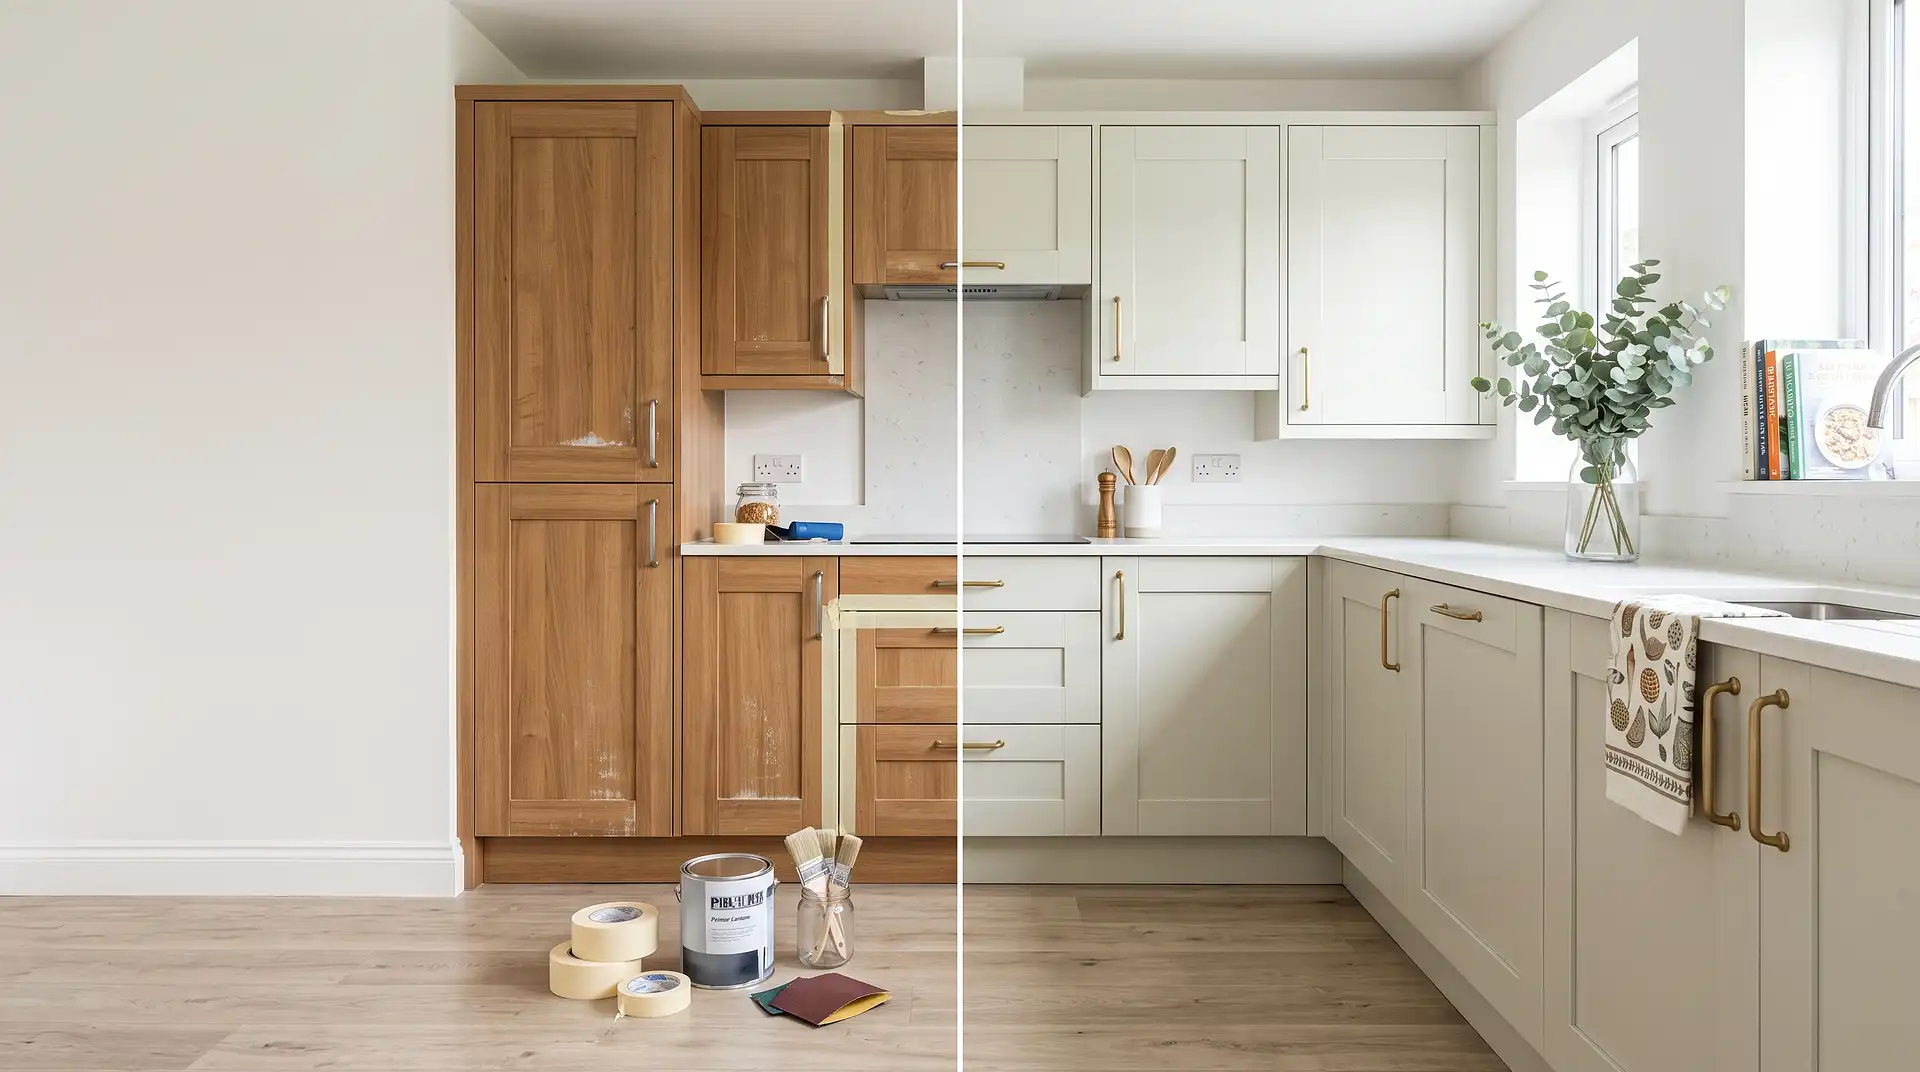
How to Paint Kitchen Furniture
23 July 2026
How to Paint Kitchen Furniture (Tables, Chairs, Dressers & More)
Painting freestanding kitchen furniture — a dining table, a set of chairs, a dresser, a freestanding island — is a different job from painting built-in cupboards, even though the underlying principles overlap. Furniture takes more physical wear (chairs get pulled out and knocked, tables get scratched by plates and cutlery) and is often made from solid wood rather than laminate or MDF, which changes both the prep required and which paint finish actually holds up. Matching the method to the specific piece and material is what determines whether the result lasts years or needs redoing within one.
Know What You're Painting First
Solid wood furniture (most dining tables, older dressers, traditional chairs) takes paint well once properly prepped, and can be sanded back further than laminate if needed, since there's genuine wood beneath rather than a thin veneer.
Veneered furniture has a thin layer of real wood over a composite base, and needs a lighter touch when sanding — sanding through the veneer exposes the base material beneath and can't be undone, so a gentler key-sand rather than a heavy strip-back is the right approach.
Melamine or laminate furniture (common in cheaper flat-pack dressers or kitchen islands) is non-porous and needs a specific adhesion primer, the same as laminate kitchen cupboards — general primer and paint won't bond properly and will chip and peel regardless of finish coats.
Previously painted or varnished furniture needs any flaking or failing existing finish removed first, since new paint applied over a failing old finish fails at the same rate the old finish was already failing.
What You'll Need
Fine to medium-grit sandpaper (120–180 grit for keying, 80–100 for stripping back a damaged finish) — matched to how much of the existing finish needs removing.
A degreasing cleaner or sugar soap — kitchen furniture, particularly around a dining table, accumulates grease and food residue that needs removing before sanding and painting.
A stain-blocking or adhesion primer — essential for melamine or laminate pieces, and generally worthwhile on solid wood too, particularly for knots or old stains that can bleed through paint without it.
Furniture-grade paint — a durable finish like an eggshell, satinwood, or a specialist furniture/floor paint designed to withstand knocks and cleaning, rather than a standard matt wall emulsion.
A protective topcoat or varnish, for high-wear pieces — a table surface in particular benefits from an additional clear protective layer over the paint, since it takes more daily abuse than a chair leg or dresser front.
Brushes and a small foam roller, sized to the piece — a roller for large flat surfaces like a tabletop, brushes for legs, spindles, and detailed joinery.
Step 1: Clean and Degrease
Wash the whole piece with sugar soap or a degreaser, particularly around a dining table's surface and chair arms, where hand contact and food residue build up fastest. Let it dry completely before moving on — any residual grease is a common cause of paint not bonding properly, regardless of the piece.
Step 2: Assess and Repair
Check for any loose joints, wobbly legs, or damaged veneer before painting, since these are much easier to address before a fresh coat of paint than after. Fill any deep scratches or dents with wood filler and sand smooth once cured.
Step 3: Sand to Suit the Material
For solid wood, sand enough to remove any existing sheen and smooth out minor imperfections — this can be a firmer sand than for other materials, since there's real wood beneath. For veneer, sand lightly, just enough to dull the surface, being careful not to sand through the thin veneer layer. For melamine or laminate, a light key-sand is sufficient before priming, since the primer is doing most of the adhesion work rather than the sanding itself.
Step 4: Prime Where Needed
Melamine and laminate pieces need a specific adhesion primer without exception. Solid wood benefits from a stain-blocking primer, particularly over knots, old stains, or previously dark-stained wood that could otherwise bleed through a lighter paint colour. Let the primer dry fully according to the label before painting.
Step 5: Paint in Thin, Even Coats
Apply your chosen paint in thin coats — a roller for large flat areas like a tabletop or dresser front, a brush for legs, spindles, and detailed edges. Two coats minimum, with full drying time between each, gives a more even, durable result than trying to achieve full coverage in one thick coat, which is more prone to drips and uneven wear later.
Step 6: Protect High-Wear Surfaces
For a dining table specifically, or any surface that will see regular contact with plates, cutlery, and cleaning, a clear protective topcoat over the paint significantly extends how long the finish lasts before needing touch-ups. Chairs and lower-wear pieces can often skip this step if the paint itself is a durable furniture-grade finish, but a table surface benefits from it almost every time.
Step 7: Respect the Cure Time
As with cupboards, paint can feel dry within hours but take considerably longer to reach full hardness — often days to a couple of weeks depending on the product. Avoid placing hot dishes, heavy items, or subjecting the piece to normal daily use until the manufacturer's stated cure time has passed, since this is the single biggest factor in whether a freshly painted table or chair holds up or starts showing wear almost immediately.
Common Mistakes and What to Do Instead
Mistake: treating a table the same as a low-wear piece like a dresser. Tabletops take far more daily contact and cleaning than most other furniture, and skipping a protective topcoat on a table is a common reason the paint wears through in months rather than years.
Mistake: sanding veneer as heavily as solid wood. This risks sanding straight through the thin veneer layer to the base material beneath, which can't be reversed. Use a lighter touch on veneered pieces.
Mistake: skipping primer on melamine or laminate furniture. Paint applied directly to these non-porous surfaces without an adhesion primer chips and peels regardless of how many coats go on top. Always prime laminate and melamine specifically.
Mistake: not addressing wobbly joints before painting. Structural issues don't fix themselves with paint, and it's considerably easier to tighten or repair joints before a fresh finish is applied than to disturb new paint doing it afterward.
Mistake: using furniture normally before the paint has cured. A surface that feels dry can still be days or weeks from full hardness. Using a table or sitting on a chair too soon is a common cause of early scuffing or marking.
When to Hire a Professional Instead
DIY furniture painting works well for most standard pieces, particularly chairs, dressers, and smaller items where mistakes are lower-stakes and easier to correct. It's worth considering a professional for valuable or antique pieces where getting the prep wrong risks real, irreversible damage, for a large batch of matching furniture (a full dining set, for instance) where consistency across multiple pieces matters and a sprayed finish gives a more uniform result than hand-painting each piece separately, or if a piece has significant existing damage — chemical stripping, structural repair — beyond straightforward painting prep.
What It Costs in the UK
DIY materials for a single average piece of furniture — paint, primer, sandpaper, and basic supplies — typically cost £20–£40, assuming you don't already have some of these on hand. Professional furniture painting is generally priced per piece and varies considerably by size and complexity: chairs and smaller items typically cost £100–£250 each, while larger pieces like dressers, sideboards, or dining tables typically run £250–£500, and elaborate or antique pieces with intricate detailing can cost more still. Multiple pieces painted together as a set — a table plus a set of chairs, or a full furniture suite — typically works out more cost-effective per item than pricing each piece individually, since a professional's setup and travel costs are effectively shared across the whole job; a three-piece bedroom or kitchen furniture set, for example, can come in considerably less per item than the same pieces quoted separately.
Option | Typical UK Cost (2026) |
|---|---|
DIY materials (single piece) | £20–£40 |
Professional: chair or small item | £100–£250 |
Professional: dresser, sideboard, or table | £250–£500 |
Professional: full matching set (per item, when batched) | Lower per-item cost than individual pricing |
Antique or elaborate detailing | Priced individually, higher than standard |
These are UK market estimates and vary by piece size, condition, material, and region — always ask whether prep (sanding, priming, repairs) is included in a quoted price, since these can be charged separately by some professionals.
Staying Safe
Furniture paints, primers, and any stripping products used in prep release stronger fumes than a quick touch-up would suggest, so work in a well-ventilated space — ideally outdoors or in a garage with the door open — and check the specific product's label for ventilation guidance, since some primers and stripping agents need considerably more airflow than standard paint.
Keep all paint, primer, and any solvents in their original labelled containers, stored well out of reach of children, particularly during a project when tins and tools may be left out and accessible for several days. If painting furniture that children will use — a kitchen table or chairs, for instance — always allow the full manufacturer's cure time before normal use, since this also ensures any solvent smell has fully dissipated, not just that the surface feels dry.
Product-specific safety data, ventilation requirements, and cure times vary by manufacturer, so it's worth checking the specific product's safety data sheet before starting, particularly for furniture that will be used daily by children.
FAQ
Can I paint solid wood kitchen furniture without stripping it first? Usually yes — a thorough sand to key the surface and remove any existing sheen is generally sufficient, without needing to fully strip back to bare wood, unless the existing finish is significantly damaged or flaking.
Do I need a different primer for a kitchen table than for chairs? The primer depends on material, not really the specific furniture type — melamine or laminate pieces need an adhesion primer regardless of whether they're a table or a chair, while solid wood generally does well with a standard stain-blocking primer.
Should I use a protective topcoat on painted kitchen furniture? Yes, particularly for a dining table surface, which takes far more daily contact and cleaning than other furniture. A clear protective topcoat significantly extends how long the paint finish lasts before showing wear.
How much does it cost to have kitchen furniture professionally painted in the UK? Chairs and small items typically cost £100–£250 each, while larger pieces like tables and dressers typically cost £250–£500, with multiple matching pieces often working out cheaper per item when done as a set.
Why is my painted kitchen table showing wear so quickly? Most commonly either the paint wasn't given a protective topcoat, or the table was used normally before the paint had fully cured, which can take days to weeks depending on the product even though it feels dry much sooner.
Is it worth painting old kitchen furniture instead of replacing it? Often yes, particularly for solid wood pieces in good structural condition — painting is significantly cheaper than replacement and can give genuinely good, lasting results with the right prep and products.