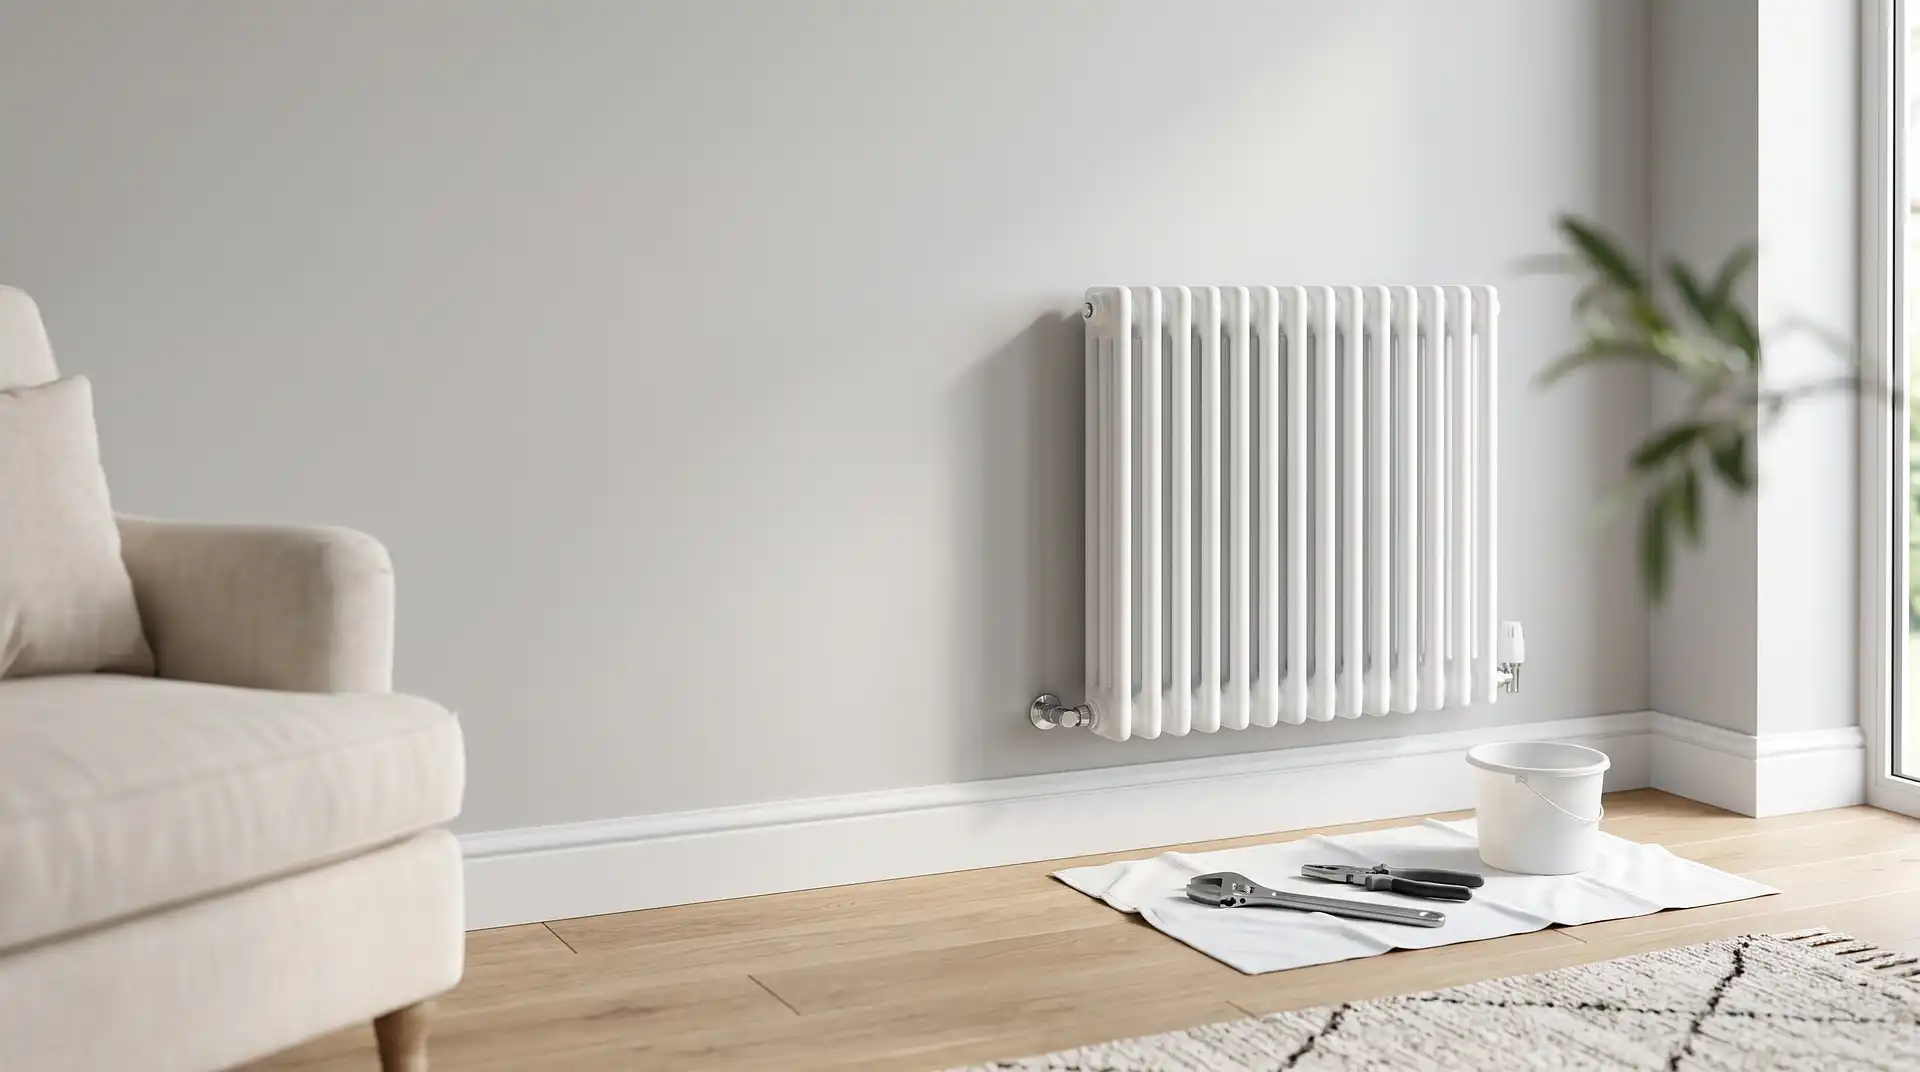
How to Remove a Radiator
17 July 2026
How to Remove a Radiator Without Flooding Your Floor
A radiator holds several litres of water, and the entire process of removing one is really about controlling where that water goes — not the physical job of lifting it off the wall, which is the easy part. Skip the draining step, or drain it incompletely, and the moment you undo the valve you're dealing with a genuine spill rather than a controlled trickle into a tray. Getting the sequence right is what separates a clean, five-minute removal from a mess.
Why You Might Be Removing a Radiator
The method differs slightly depending on the reason. Temporary removal — for decorating, replacing flooring, or accessing the wall behind — usually means draining and lifting the radiator off, then capping or leaving the pipe tails ready to reconnect the same radiator later. Permanent removal — because a room no longer needs heating, or you're changing the heating layout — means the same process, but finished by capping the pipe tails properly so the system can run safely with that radiator no longer connected.
What You Need
A radiator bleed key — to release trapped air and help drain the radiator faster.
An adjustable spanner (two, ideally) — one to hold the valve body steady, one to undo the nut, since twisting the valve itself can damage the pipework.
A shallow tray or basin, and old towels — to catch and contain the water that drains out.
A bucket — for tipping trapped water out of the radiator once it's off the wall, since even a "drained" radiator holds residual water inside.
Dust sheets or old towels on the floor — protecting the floor from drips is worth doing even if you're confident in your draining technique.
Pipe caps or plugs, if the radiator is being removed permanently rather than reconnected later.
Step 1: Turn Off the Heating and Let It Cool
Switch the heating off and wait until the radiator is completely cool to the touch — attempting to drain a hot radiator risks a scald from the water inside, and it's simply easier to work with a cool system.
Step 2: Close Both Valves
Close the control valve (or TRV) on one end and the lockshield valve on the other, turning each fully clockwise. This isolates the radiator from the rest of the heating system so you're only dealing with the water already inside it, not the whole system's supply.
Step 3: Position Your Tray and Towels
Place the tray or basin directly beneath the valve you'll be disconnecting first, with towels around it as extra protection. This is worth doing even for a radiator you expect to drain cleanly — the goal is containing any water before it reaches the floor, not mopping it up after.
Step 4: Bleed the Radiator to Help It Drain
Open the bleed valve at the top of the radiator using your bleed key. This lets air into the radiator as water drains, which helps it empty more completely and more quickly than trying to drain a sealed unit.
Step 5: Loosen the Valve Nut Slowly
Using one spanner to hold the valve body steady and the other to turn the nut, loosen the union nut connecting the radiator to the valve slowly, allowing water to drain out gradually into your tray rather than opening it fully in one go. Let it drain fully before continuing — this is the step most people rush, and rushing it is what causes the water to overflow the tray.
Step 6: Repeat at the Other End
Once the first side is fully drained and disconnected, do the same slow, controlled process at the second valve. By this point most of the water should already be out, but expect some residual water to still be trapped inside the radiator body itself.
Step 7: Lift the Radiator Off the Brackets
With both ends disconnected, lift the radiator carefully off its wall brackets — radiators are heavier than they look, especially larger or cast-iron models, so get help for anything substantial rather than attempting it alone.
Step 8: Tip Out Remaining Water
Carry the radiator, still tilted to keep any residual water contained, over a bucket or outside, and tip it to empty out whatever's left inside. This step catches the water that draining alone doesn't fully remove.
Step 9: Cap the Pipes (If Removing Permanently)
If the radiator isn't going back, the pipe tails need to be capped or plugged properly so the heating system can be refilled and run safely without that radiator connected. This is a plumbing step worth getting right — an improperly capped pipe is a leak risk once the system's back under pressure.
Step 10: Refill, Bleed, and Check for Leaks
Once the radiator's back on (or the pipes are capped), refill the system via the boiler's filling loop, bleed any radiators that need it, and check the reconnected joints (or capped pipes) for leaks once the heating's running again. Keep an eye on those joints over the next day or so, since a slow leak sometimes only becomes apparent once the system's been running under normal pressure for a while.
Common Mistakes and What to Do Instead
Mistake: not closing both valves fully before starting. If either valve isn't fully closed, you'll be draining water from the entire system rather than just the radiator, which turns a small, contained job into a much bigger one. Double-check both are closed before disconnecting anything.
Mistake: opening the union nut too quickly. This is the most common cause of an overflowing tray and a wet floor. Loosen it gradually and let the water drain at a controlled rate.
Mistake: forgetting the radiator still holds water once it's off the wall. Even a well-drained radiator retains some water inside, and tilting it without tipping it out over a bucket first is a common way to end up with an unexpected puddle mid-carry.
Mistake: twisting the valve body instead of just the nut. Using a single spanner and turning the whole assembly can damage the valve or the pipe connection. Always hold the valve steady with one spanner while turning the nut with the other.
Mistake: capping pipes incorrectly for a permanent removal. An improperly sealed or capped pipe tail is a genuine leak risk once the system is refilled and pressurised. If you're not confident with this step specifically, it's worth having a plumber do just this part even if you've handled the rest yourself.
When to Call a Plumber Instead
Removing a radiator temporarily for redecorating is a reasonable DIY task for most people comfortable with basic tools. It's worth hiring a plumber instead if you're permanently capping pipes (to be confident the seal is done correctly), if the radiator or valves are old, corroded, or difficult to move, if you're dealing with a radiator on a sealed or pressurised system you're not familiar with, or if a previous DIY attempt has resulted in a leak you can't identify or stop.
What It Costs in the UK
Professional removal alone, without a replacement radiator being fitted, typically costs £50–£100, reflecting roughly an hour or so of labour for draining, disconnecting, and either capping the pipes or leaving them ready for reconnection. If you're removing and replacing a radiator in the same visit, the combined job typically costs £300–£600 including the new radiator, with an average around £200–£295 for a straightforward like-for-like swap using existing pipework and valves. Moving a radiator to a different wall or location, rather than simply removing it, typically costs more — labour alone usually runs £80–£180 for a straightforward move, rising if new pipework needs to be run, plus £275+ in total once materials and any wall or flooring repair are included.
Job | Typical UK Cost (2026) |
|---|---|
Removal only (no replacement) | £50–£100 |
Remove and replace (like-for-like) | £300–£600 (avg. ~£200–£295) |
Moving a radiator (labour only) | £80–£180 |
Moving a radiator (full job, incl. materials) | From £275+ |
DIY removal (tools only, if needed) | £15–£30 |
These are UK market estimates and vary by region, radiator size, and access — London and the South East generally run higher than the rest of the UK. Always confirm whether removal, disposal, and pipe capping are included in a quote, since these are sometimes charged as separate extras.
Staying Safe
Radiators are heavier than they look once full of water and mounted brackets are removed — get a second person to help lift anything beyond a small radiator, since dropping one is both a genuine injury risk and likely to damage flooring. Always let the system cool fully before starting, since draining a hot radiator risks a scalding splash of water.
If children are in the home, keep them well away from the work area while valves are open and the radiator is disconnected, and clear up any spilled water immediately, since a wet floor near tools and a partially disconnected radiator is a slip hazard worth taking seriously.
Heating system types and valve configurations vary, so it's worth checking your system's documentation if anything looks different from a standard setup, and calling a plumber if you're not confident with any step, particularly capping pipes for a permanent removal.
FAQ
Do I need to turn off my whole heating system to remove one radiator? No. Closing both valves on the specific radiator (the control valve and the lockshield valve) isolates it from the rest of the system, so you don't need to drain the whole house's heating.
How much water comes out when you remove a radiator? It depends on the radiator's size, but expect several litres. A well-drained radiator will release most of this through the valve, with a smaller residual amount that needs tipping out once it's off the wall.
Can I remove a radiator myself, or do I need a plumber? Temporary removal for redecorating is a reasonable DIY task for most people. Permanent removal involving capping pipes, or radiators on unfamiliar or older systems, is often worth having a plumber handle, at least for that specific step.
How much does it cost to remove a radiator in the UK? Professional removal alone typically costs £50–£100. If you're replacing it at the same time, the combined job typically costs £300–£600, with an average around £200–£295 for a like-for-like swap.
What happens to the pipes if I remove a radiator permanently? They need to be capped or plugged properly so the heating system can run safely without that radiator connected. This is worth getting a plumber to check even if you've handled the removal yourself.
Why is water still coming out after I thought the radiator was fully drained? Radiators retain some residual water inside even after draining through the valve. Tilting and tipping the radiator over a bucket once it's off the wall usually catches this remaining water.