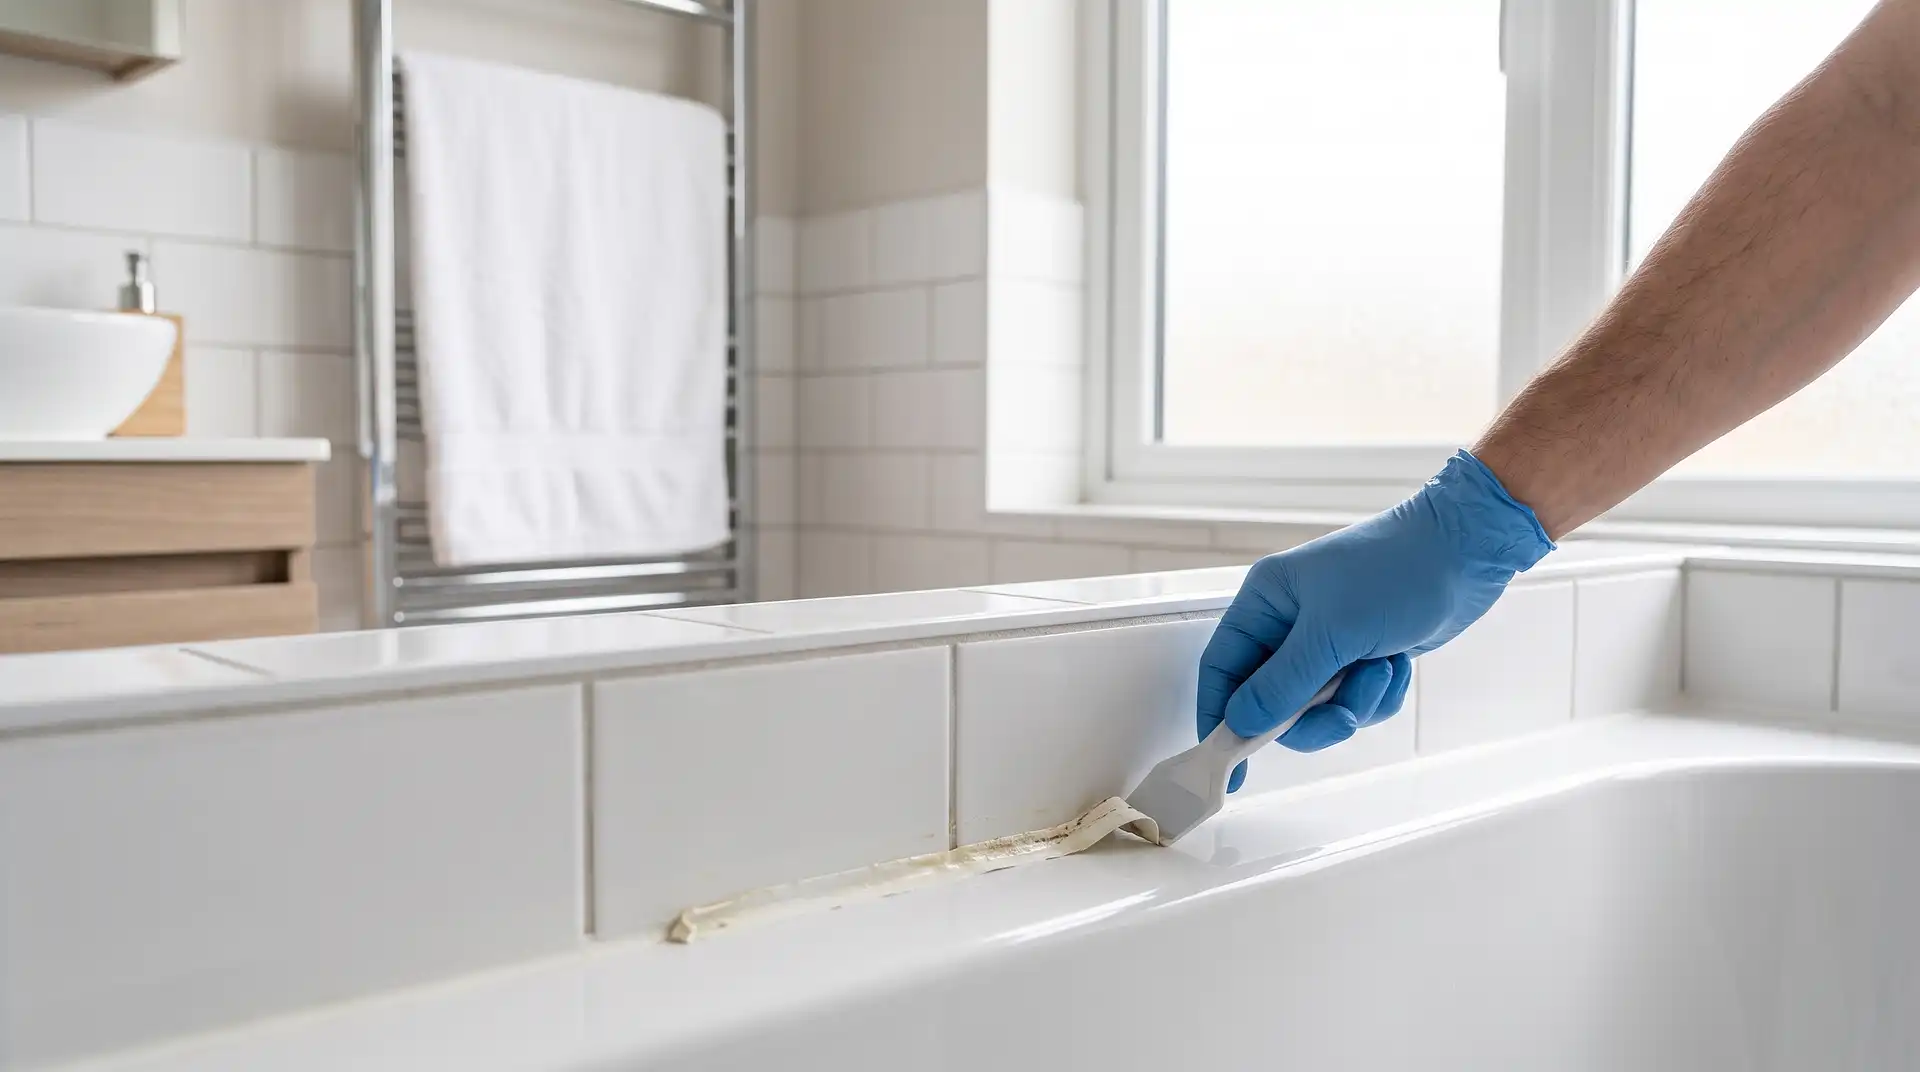
How to Remove Bathroom Sealant
8 August 2026
How to Remove Bathroom Sealant (Properly, Before Resealing)
Most sealant failures aren't actually about the sealant. According to UK tradespeople who deal with this regularly, silicone commonly goes black or peels for a specific, avoidable reason: a previous reseal was applied over the old silicone, or over a film of soap and limescale, so the new bead never properly bonded and water tracked behind it. Removing old sealant fully and cleaning back to a genuinely bare surface isn't an optional extra step before resealing, it's the entire reason resealing works at all.
A Note on Pricing
The InstantCost.co.uk page linked for this article covers full bathroom renovation, refits ranging from a cloakroom refresh through to a luxury refit, which isn't the right source for a small maintenance task like resealing. The figures below instead come from dedicated UK resealing cost data.
Why Old Sealant Has to Come Off Completely
Silicone doesn't bond to silicone the way it bonds to a clean tile or bath surface. Applying fresh sealant directly over an existing bead might look fine for a few weeks, but it hasn't actually created a watertight seal, it's sitting on top of one that's already failing. Water finds its way behind the new layer via the same path the old sealant failed through, and the whole cycle repeats, often faster the second time since the surface underneath is now even less suited to a clean bond.
What You Need
A sealant removal tool, a small, purpose-shaped scraper designed to get under a silicone bead without gouging the surrounding tile or bath surface, this is worth buying specifically rather than improvising with a general blade.
A sharp craft knife or utility knife, for cutting along both edges of the old bead before scraping, which makes the whole bead lift away more cleanly.
A chemical sealant remover or softener, useful for old, hardened, or particularly stubborn silicone that resists scraping alone.
Isopropyl alcohol or a dedicated surface cleaner, for the final clean before new sealant goes on, this step matters as much as the removal itself.
Masking tape, for a genuinely neat new bead line once you're ready to reseal.
Step 1: Cut Along Both Edges
Using a sharp craft knife, run a clean cut along the top and bottom edge of the old sealant bead, where it meets the tile and where it meets the bath or shower tray. This separates the bead from the surfaces it's stuck to and makes the next step considerably easier than trying to lever out an intact, uncut strip.
Step 2: Scrape Out the Old Bead
Work the sealant removal tool or a scraper along the length of the cut bead, pulling it away in sections rather than trying to remove the whole run in one motion. Old silicone often comes away more easily than expected once both edges are properly cut, particularly if it's already showing signs of lifting or cracking.
Step 3: Deal With Stubborn Residue
For hardened silicone that resists scraping, apply a chemical sealant remover to soften it, following the product's specific dwell time, then scrape again once it's had time to work. This is considerably more effective than continuing to force a scraper against sealant that hasn't been chemically softened first.
Step 4: Clean the Surface Thoroughly
This is the step most DIY resealing jobs get wrong, and it's exactly the failure mechanism described earlier. Every surface needs to be completely clean and dry before new sealant goes on, any residual soap film, limescale, or old adhesive residue prevents a proper bond regardless of how well the removal itself went. Wipe the full area with isopropyl alcohol or a dedicated surface cleaner, and let it dry completely, most trade guidance recommends not using the bath or shower for at least 12 hours before resealing and a minimum of 24 hours afterward.
Step 5: Check for What Was Hiding Underneath
Once old sealant is fully removed, it's worth inspecting the surface and the join itself before resealing. Signs of soft or damp material behind tiles, or a bath panel that shows staining, point to water having already tracked behind the previous, poorly bonded seal, and this is worth addressing properly rather than simply sealing back over it and hoping.
Common Mistakes and What to Do Instead
Mistake: applying new sealant over old silicone rather than removing it fully. This is the single most common cause of a reseal failing within months rather than lasting years. Always remove old sealant completely, cutting both edges and scraping the full bead away, before applying anything new.
Mistake: not cleaning the surface thoroughly enough after removal. Residual soap film or limescale stops new sealant bonding properly, even if the old bead was removed cleanly. Wipe with isopropyl alcohol or a dedicated cleaner and let it fully dry before resealing.
Mistake: using the bath or shower too soon after removal or resealing. Trade guidance generally recommends avoiding use for 12 hours before and at least 24 hours after the job. Rushing this risks disturbing the new seal before it's properly cured.
Mistake: assuming mould on sealant is just a surface stain. Black, mouldy sealant often means moisture has already been getting behind it for some time. Full removal and proper cleaning addresses this properly, rather than a surface wipe that leaves the underlying issue in place.
Mistake: forcing a scraper against hardened silicone without softening it first. This risks gouging the surrounding tile or bath surface. A chemical sealant remover, given proper dwell time, makes stubborn old silicone considerably easier to remove cleanly.
Why Mould Keeps Coming Back on Sealant Specifically
Beyond poor bonding, a damp, poorly ventilated bathroom lets the sealant bead stay wet long enough for mould to colonise the surface, a separate but related cause worth addressing alongside proper removal and resealing. Running the extractor fan during and after every shower, and wiping down the bead where practical, reduces this considerably. Our related guide on the InstantCost blog covers how to get rid of bathroom mould by severity, worth reading if mould on your sealant is part of a wider recurring pattern in the bathroom rather than an isolated issue on the bead itself.
When to Call a Professional Instead
DIY removal and resealing is genuinely achievable for most people with the right tools and a bit of patience, particularly for a single bath or shower tray. It's worth hiring a professional if the sealant has failed repeatedly despite proper DIY attempts, suggesting an underlying issue beyond the sealant itself, if you're dealing with awkward vertical tile-to-tile joins or non-standard tile sizes that complicate a neat DIY line, or if you'd simply rather have a guaranteed, insured job with a warranty covering the work.
What It Costs in the UK
DIY materials are inexpensive, a sealant removal tool typically costs £5 to £15, and a tube of good-quality silicone sealant typically costs £5 to £10. A chemical sealant remover, if needed for stubborn old silicone, typically costs £6 to £12.
Professional resealing pricing varies by how the job is structured. According to UK trade data, the average cost to reseal a bath is roughly £50 to £100, including full removal of old sealant and application of new silicone. Regional quotes show a similar range, Leeds tradespeople typically charge £45 to £92 for resealing a bath or shower. London specialist services commonly quote fixed prices around £110 plus VAT for a bath or shower tray, and £70 plus VAT for a sink. A genuinely common pricing pattern worth knowing about: many tradespeople charge considerably less, sometimes £20 to £45, if resealing is combined with another job they're already on site for, against £70 to £95 if booked as a completely standalone visit. Vertical tile-to-tile joins, if your bathroom has them, are typically priced separately, commonly £8 to £15 per uprighted section.
Item or Service | Typical UK Cost (2026) |
|---|---|
DIY sealant removal tool | £5 to £15 |
DIY silicone sealant (tube) | £5 to £10 |
Chemical sealant remover | £6 to £12 |
Professional reseal, average UK | £50 to £100 |
Professional reseal, if combined with another job | £20 to £45 |
Professional reseal, standalone visit | £70 to £95 |
London, fixed price per bath/shower tray | £110 plus VAT |
London, fixed price for a sink | £70 plus VAT |
Vertical tile-to-tile join (each) | £8 to £15 |
These are UK market estimates and vary by region and provider. If you're already having other bathroom work done, it's worth asking whether resealing can be added to the same visit at a reduced rate rather than booked separately.
Staying Safe
Sealant removal tools and craft knives are sharp, work carefully and away from your body, particularly in the confined space around a bath or shower tray. Chemical sealant removers are stronger than general household cleaners, so ventilate the room well and wear gloves during application. Never mix a chemical sealant remover with bleach or any other cleaning product.
Keep children and pets out of the bathroom while sealant removal or resealing is in progress, and for the recommended curing period afterward, since fresh silicone shouldn't be disturbed while it's setting.
Product-specific safety data and curing times vary by manufacturer, so check the label before use, particularly for chemical sealant removers.
FAQ
Can I apply new sealant over old sealant without removing it? No, this is the most common cause of early reseal failure. Silicone doesn't bond properly to old silicone, and water tracks behind the new layer via the same path the original seal failed through.
How long should I wait before using the bath after resealing? Most trade guidance recommends avoiding use for at least 12 hours before removal and resealing, and a minimum of 24 hours afterward, so the new silicone can cure properly without being disturbed.
Why does my bathroom sealant keep going mouldy? Often because a previous reseal was applied over old silicone or a soap and limescale film, so it never bonded properly and water got behind it. A damp, poorly ventilated bathroom that keeps the bead wet also encourages mould separately.
What tool is best for removing old bathroom sealant? A purpose-made sealant removal tool, combined with cutting both edges of the bead with a sharp craft knife first, removes old silicone more cleanly than scraping alone, particularly on hardened or stubborn sealant.
How much does it cost to have bathroom sealant professionally removed and replaced? The average UK cost is roughly £50 to £100 for a bath, though this can be considerably less, £20 to £45, if combined with another job already being done, or as much as £110 plus VAT as a fixed price in London.
Do I need to clean the surface after removing old sealant? Yes, thoroughly. Any residual soap film or limescale left behind stops new sealant bonding properly, even if the old bead itself was fully removed. Wipe with isopropyl alcohol or a dedicated cleaner and let it dry completely first.