How to Change a Radiator Valve
4 September 2026
How to Change a Radiator Valve
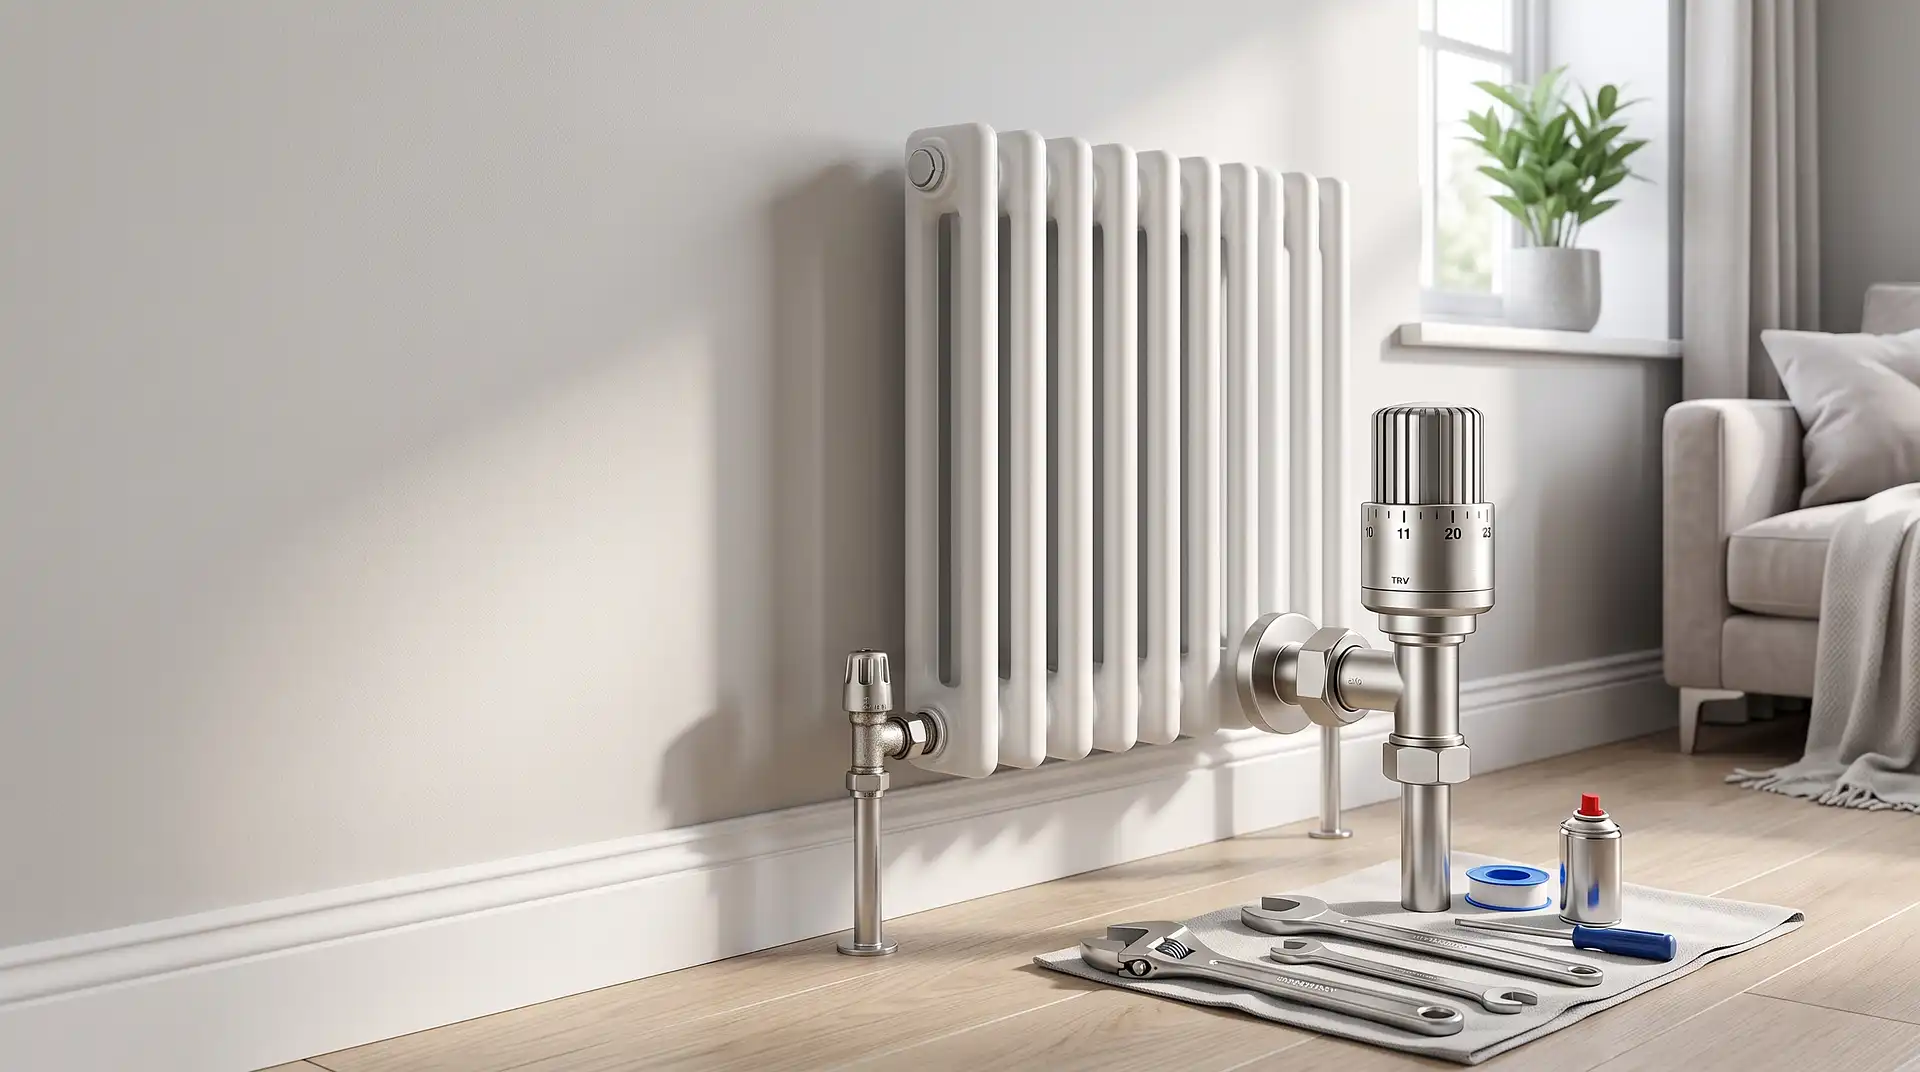
Changing a radiator valve means draining that radiator, disconnecting the old valve, fitting the replacement onto the existing pipework, then refilling and bleeding the system, and it's a job most confident DIYers can complete in an hour or two with basic tools. The two valves you'll encounter are the thermostatic radiator valve (TRV), which controls the flow of hot water in and lets you set a room temperature, and the lockshield valve, which sits on the opposite side and balances how much water reaches that radiator relative to the rest of the system.
Getting the valve type right before you buy matters more than most guides admit. TRVs and lockshields are not interchangeable, and buying the wrong one, or a mismatched thread size, is the single most common reason this job takes longer than expected.
Before You Start: Identify What You're Replacing
Look at the two valves on your radiator. The one with a dial numbered roughly 0 to 5, or a digital head, is the TRV. It usually sits on the pipe that runs from the wall towards the boiler or the main flow. The lockshield has a plastic cap that unscrews to reveal a square-socket adjuster underneath, and it's normally left alone once the system has been balanced.
Check the connection size where the valve meets the pipe, almost always 15mm in UK homes, and the thread size where it screws into the radiator, usually ½ inch BSP. Most modern TRVs and lockshields use these standard sizes, but older or continental radiators occasionally use a different thread, so it's worth double checking against the old valve before ordering a replacement.
What You'll Need
New TRV or lockshield valve (matched to your radiator's thread size)
Adjustable spanner or two spanners for holding the valve body while tightening
PTFE tape
Radiator bleed key
Old towels and a shallow tray or basin
A jug or bucket for draining water
Step-by-Step: Changing a Radiator Valve
Turn off the heating system and let the radiators cool completely. Working on a hot radiator risks scalding and makes the fittings harder to handle safely.
Close both valves on the radiator you're working on, the TRV and the lockshield, by turning them fully clockwise. If either valve is seized and won't turn, don't force it. A seized valve that snaps mid-job turns a simple swap into an emergency drain of the whole system.
Protect the floor with towels and place a shallow tray directly under the valve you're removing.
Loosen the union nut connecting the valve to the radiator using an adjustable spanner, while holding the valve body steady with a second spanner to stop the whole assembly twisting. Water trapped in the radiator will drain out as the nut loosens, so keep the tray in position and be ready to catch more than you expect.
Remove the old valve fully once the union nut is off, and check the condition of the olive, the small brass ring that seals the pipe joint. A distorted or scored olive should be replaced rather than reused.
Wrap the new valve's threads with two or three turns of PTFE tape in the direction the fitting tightens, then hand-tighten it into the radiator.
Reconnect the union nut onto the pipe, tightening with the spanner while holding the valve steady, until snug. Overtightening cracks olives and strips threads, so stop as soon as the joint feels firm rather than continuing to force it.
Open both valves slowly and check the new joint for drips over the next few minutes while the system refills.
Bleed the radiator using a bleed key once the heating is back on, releasing trapped air until water flows steadily and the radiator heats evenly from top to bottom.
A Note on Valve Orientation
Some TRVs are designed to sit horizontally rather than vertically for accurate temperature sensing, and fitting one the wrong way round can make the thermostatic function unreliable even though the radiator still heats. Check the manufacturer's instructions for orientation before fitting, particularly if the new valve sits underneath the radiator rather than beside it.
A Note on Combination Valves
Some newer radiators use a combined TRV and lockshield built into a single manifold under the radiator, rather than two separate valves either side. If your radiator has this setup, the valve is usually replaced as a matched pair rather than individually, and the manufacturer's specific fitting kit should be used instead of a generic valve.
When to Call a Professional
If a valve is seized solid, if the pipework itself shows signs of corrosion or damage once the old valve is off, or if you're not confident isolating and draining the system without flooding the floor below, it's worth booking a plumber rather than pushing on. This is especially true in properties with combined heating and hot water systems, where an error can affect more than just one radiator.
Use InstantCost's heating system cost calculator to see a personalised estimate for radiator and valve work in your area before booking anyone. If you're planning wider work on the radiator itself rather than just the valve, it's also worth reading how to replace a radiator , since a full radiator swap follows a similar drain-and-refill process but involves more steps.
Common Mistakes and What to Do Instead
Mistake: Buying a valve without checking the thread size. Most UK radiators use ½ inch BSP, but some older or imported radiators don't. Always check the old valve's thread before ordering, or take it to a plumbers' merchant for a match.
Mistake: Forcing a seized valve open. A stuck valve that's forced can snap the spindle or crack the body, turning a contained job into a full system drain. If a valve won't budge with reasonable hand pressure, stop and call a plumber.
Mistake: Reusing a damaged olive. The small brass ring that seals the joint deforms slightly the first time it's compressed, and reusing a scored or heavily deformed olive is a common cause of slow leaks weeks after the job. Fit a new olive if there's any doubt.
Mistake: Overtightening the union nut. More force doesn't mean a better seal, it means a cracked olive or a stripped thread. Tighten until the joint feels firm and stops moving, then check for leaks rather than adding extra turns as a precaution.
Mistake: Skipping the bleed step. Air trapped in the radiator after refitting causes cold spots and can make the room feel like the new valve hasn't fixed anything. Always bleed the radiator once the system is back up to pressure.
Mistake: Not checking system pressure afterwards. Draining even one radiator drops the boiler's system pressure. Check the pressure gauge once everything is refitted and top up using the filling loop if it's below the normal operating range.
Mistake: Ignoring PTFE tape direction. Wrapping tape against the direction the fitting tightens causes it to unravel as the joint is screwed together, leaving parts of the thread unsealed. Always wrap in the same direction the fitting turns.
What It Costs in the UK
Neither valve type is typically listed as a standalone line item by UK tradespeople, so the figures below combine standard plumber hourly rates with typical parts pricing for this specific job.
Item or Service | Typical UK Cost (2026) |
|---|---|
TRV (thermostatic valve), DIY parts only | £15–£45 |
Lockshield valve, DIY parts only | £10–£30 |
Combined TRV and lockshield pair, DIY parts | £25–£70 |
Plumber call-out and one valve fitted | £80–£150 |
Plumber fitting multiple valves in one visit | £60–£100 per additional valve |
Full radiator replacement including valves | £200–£450 |
Power flush (if the system is old or sludged) | £350–£650 |
Emergency call-out if a valve fails and leaks | £100–£200 plus hourly rate |
Figures based on InstantCost.co.uk's 2026 UK plumbing and heating system pricing data and vary by region, valve type, and property access.
Staying Safe
Always turn off the heating and let radiators cool before starting, since hot water under pressure can cause serious scalding if a joint is disturbed while the system is running. Never work on a radiator that's part of a combi boiler's pressurised system without first confirming how to safely isolate that specific radiator, since some older systems don't have easy shut-off points close to each radiator.
If you smell gas at any point, or if the boiler itself needs to be drained down rather than just an isolated radiator, stop and call a Gas Safe registered engineer rather than continuing. Gas boiler work is illegal for anyone other than a Gas Safe registered engineer to carry out in the UK.
Keep the area around the radiator clear of children and pets while water is draining, since spilled water on hard flooring becomes a slip hazard almost immediately. Dispose of old valves and olives sensibly rather than leaving sharp brass fittings within reach of young children.
Water Regulations Advisory Scheme guidance covers the fittings and materials used in UK domestic plumbing systems. Standard 15mm valve and pipe fittings sold by reputable UK merchants comply with these requirements, but always verify current guidance with WRAS if you're working with an unusual or older system.
Frequently Asked Questions
Do I need to drain the whole heating system to change one radiator valve? No. Closing both valves on the radiator you're working on isolates it from the rest of the system, so only the water in that one radiator needs to drain. The wider system stays full and pressurised throughout.
Can I change a TRV without turning off the boiler? Yes, as long as both valves on that radiator are fully closed first. The boiler and the rest of the heating system can keep running normally while you work on an isolated radiator.
What's the difference between a TRV and a lockshield valve? A TRV lets you set and control the room's temperature by adjusting how much hot water flows into the radiator. A lockshield is set once during system balancing and normally left alone, controlling how much water that radiator takes relative to others.
How do I know if my radiator valve is leaking or just needs bleeding? A leak shows as visible water or a damp patch around the valve body or union nut itself. A radiator needing bleeding stays dry at the valve but has a cold patch at the top while the bottom stays warm, caused by trapped air rather than a leak.
Is it cheaper to change the valve myself or hire a plumber? DIY parts cost as little as £10 to £45 depending on the valve type, against £80 to £150 for a plumber to supply and fit one. The saving is significant if you're confident with basic plumbing, but a seized or damaged valve can quickly cost more in time than it saves.
Will changing a radiator valve affect my boiler warranty? Radiator valve work is a plumbing task rather than boiler work, so it doesn't typically affect a boiler manufacturer's warranty. Check your specific paperwork if the whole heating system was installed and warrantied as one package.