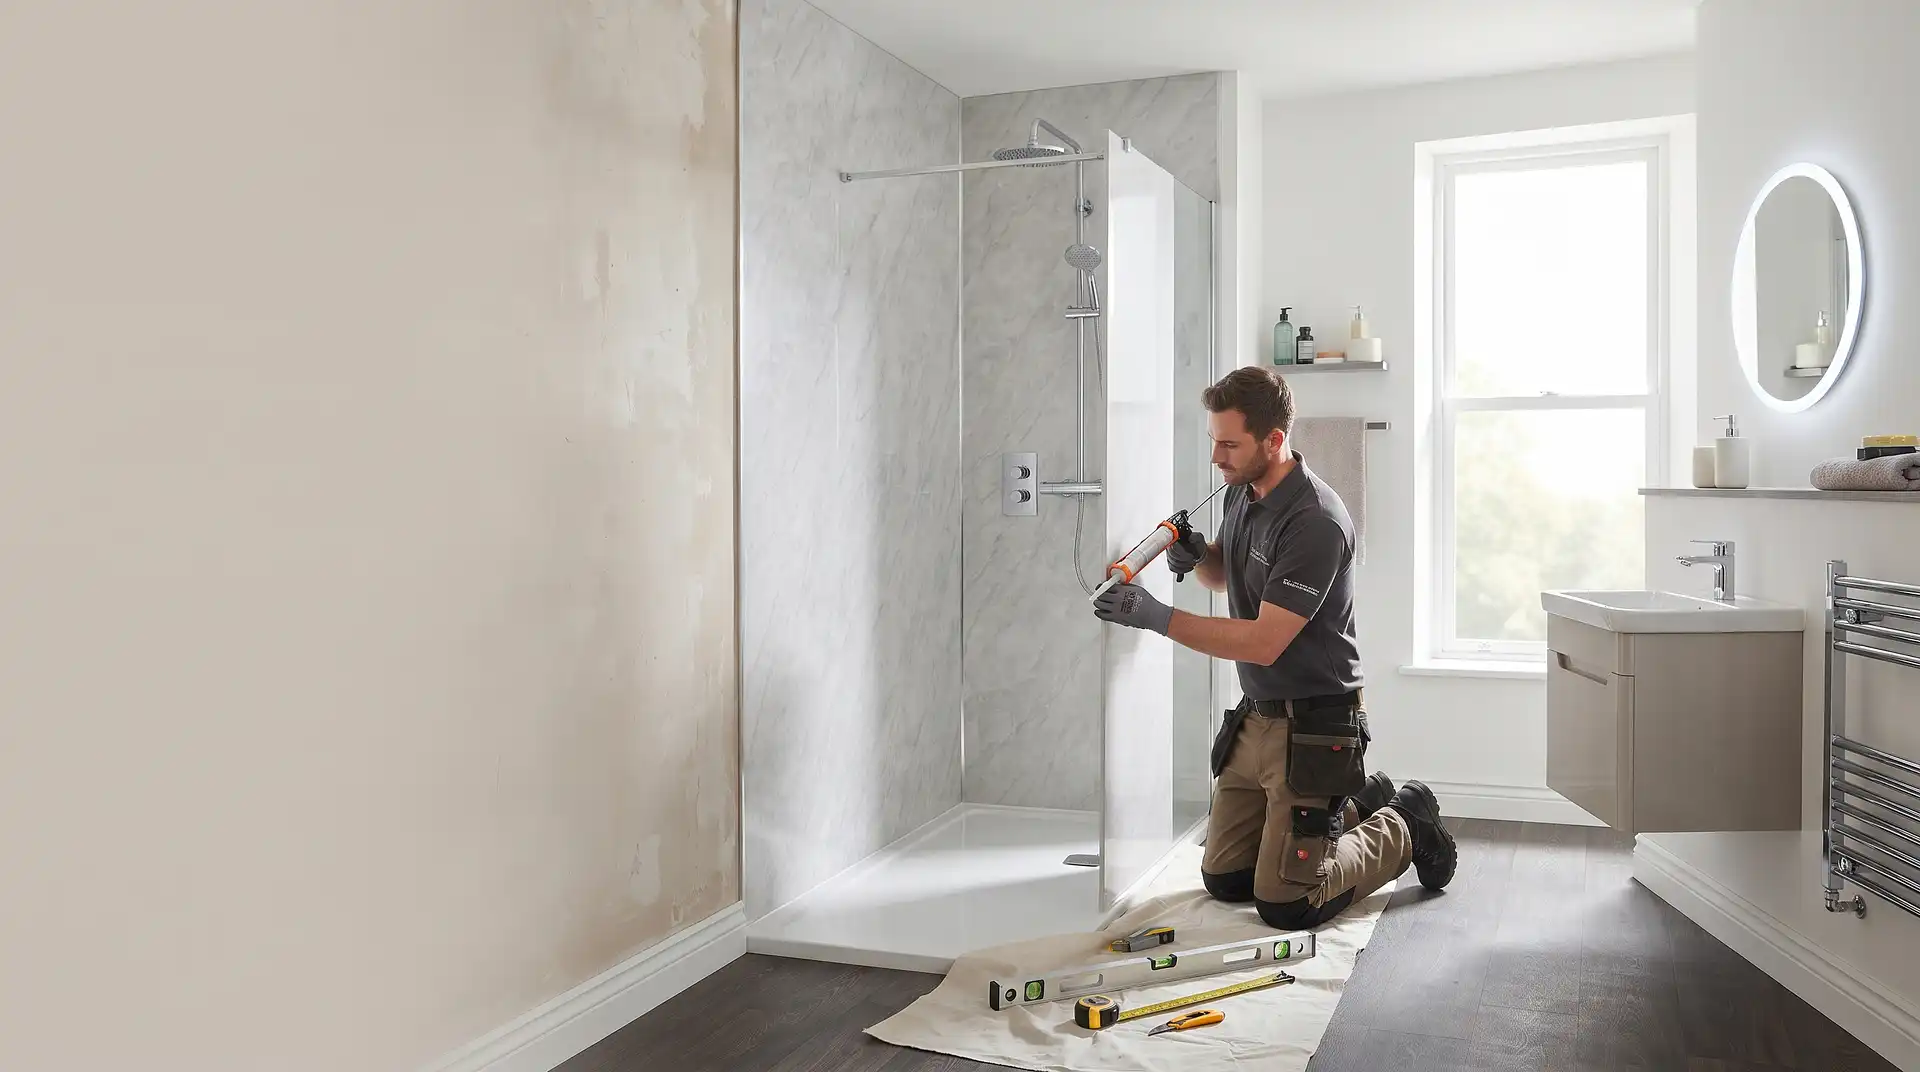
How to Fit Bathroom Wall Panels
15 September 2026
How to Fit Bathroom Wall Panels
Bathroom wall panels are fitted by preparing a flat, sound wall surface, fixing a batten frame or applying adhesive directly depending on the wall condition, then installing panels edge to edge using proprietary trims at joints, corners, and edges, finishing with a waterproof seal at every junction. Unlike tiling, there's no grout to maintain and no individual tile joints to reseal over time, which is the main reason panels have become a popular tiling alternative across UK bathroom refurbishments in recent years.
The trims are what actually make this job waterproof, not the panels themselves. A panel is only as good as the seal at its edges, corners, and any point it meets a fitting like a shower valve or extractor fan, so getting these details right matters more than the panel installation itself, which is genuinely straightforward once the wall is properly prepared.
Choosing Panel Type and Thickness
PVC panels are the most budget-friendly option, typically starting around £20 to £30 per square metre, lightweight, and straightforward for a confident DIYer to fit. Acrylic and laminate panels sit at a higher price point but generally offer a more premium finish and greater rigidity. Thickness matters particularly in a shower enclosure specifically, where thinner 5mm boards can flex slightly under pressure, while stepping up to 8mm gives a noticeably more solid feel once fitted.
Step 1: Prepare the Wall
The wall surface needs to be flat, dry, and structurally sound before panels go up. Remove any old tiles, wallpaper, or flaking paint, and fill significant dips or holes with an appropriate filler, sanding smooth once dry. Panels will show through and telegraph any significant unevenness in the wall behind them, so this preparation stage genuinely determines how good the finished result looks.
Step 2: Decide Between Battens and Direct Adhesive Fixing
On a flat, sound wall, panels can often be fixed directly using a suitable panel adhesive applied in beads across the back of each panel. On an uneven wall, or over existing tiles that aren't being removed, a batten frame fixed to the wall first gives a flat, consistent surface for the panels to attach to, though this reduces the room's internal dimensions slightly and adds a step to the job.
Step 3: Plan the Layout
Measure the wall and plan where joints will fall before cutting any panels, ideally positioning full panels in the most visible areas and any cut edges in less prominent corners or behind fittings. Working from a corner and checking the first panel is properly plumb with a spirit level is critical, since any lean in the first panel carries through the whole wall.
Step 4: Fit Corner and Edge Trims First
Proprietary trims specifically designed for the panel system you're using go up before or alongside the panels themselves, at internal corners, external corners, and along the top and bottom edges. These trims aren't just decorative, they're a core part of the waterproofing system, creating a proper seal at every junction rather than relying on sealant alone to bridge a gap.
Step 5: Fit the Panels
Cut panels to size using a fine-tooth saw suited to the panel material, checking the cut edge is clean and square.
Apply adhesive to the back of the panel in the pattern recommended by the manufacturer, or fix to battens using the specified fixing method for your chosen system.
Slot the panel into position, engaging with the trim or the tongue-and-groove edge of the adjacent panel, and press firmly to bed the adhesive.
Check for level and plumb before the adhesive sets, adjusting as needed.
Repeat across the wall, working methodically from your starting corner and checking alignment periodically rather than only at the end.
Step 6: Seal Every Junction
Once all panels are fitted, apply a proper waterproof sealant along every join with a wall, floor, bath, or fitting, including around any shower valve, tap, or extractor point that penetrates the panel. This sealing stage is what actually keeps water out of the wall structure behind the panels, and it deserves the same care and attention tile grouting would traditionally receive.
A Note on Cutting Around Fittings
Cutting a clean, accurately sized hole for a shower valve, tap, or extractor fan is one of the trickier parts of this job, since an oversized cut leaves a gap that's hard to seal properly, while an undersized cut risks cracking the panel during fitting. Measure the fitting's exact position and diameter carefully, mark it on the panel before cutting, and consider a test cut on an offcut if you're unsure about your measurements.
A Note on Panels Over Existing Tiles
Fitting panels directly over sound, well-adhered existing tiles is sometimes possible and can save significant time and mess compared with a full strip-out, provided the existing tiles are flat, secure, and not hiding damp or damaged plaster beneath. Always confirm the existing surface is genuinely sound before committing to this approach, since any hidden problem will simply be sealed behind the new panels rather than resolved.
When to Call a Professional
While panel fitting is more DIY-accessible than traditional tiling for many homeowners, a professional is worth considering for larger bathrooms, wet rooms needing a fully tanked and graded floor alongside wall panels, or if you're not confident cutting accurately around multiple fittings and pipework. Getting the trims and sealing genuinely right is what separates a panel installation that lasts for years from one that lets water through within months.
Use InstantCost's bathroom renovation cost calculator to see what a professional installation would cost as part of a wider bathroom refit. If you're deciding between panels and traditional tiling, how much to tile a bathroom covers the tiling route in detail for comparison.
Common Mistakes and What to Do Instead
Mistake: Fitting panels onto an unprepared, uneven wall. Panels will telegraph significant dips and bumps in the wall behind them. Properly fill, sand, and check the wall is flat before starting.
Mistake: Relying on sealant alone at corners instead of proper trims. A bead of sealant bridging a raw corner joint isn't a substitute for a proper corner trim, and it's far more likely to fail over time. Use the manufacturer's specific trim system rather than improvising with sealant.
Mistake: Cutting fitting holes oversized "to be safe." A hole that's too large for the fitting leaves a gap that's genuinely difficult to seal properly, undermining the whole point of a waterproof panel system. Measure carefully and cut precisely rather than erring on the side of a bigger hole.
Mistake: Skipping sealant at panel-to-panel joints that use a tongue-and-groove system. Some installers assume the mechanical joint itself is fully waterproof without additional sealant. Check your specific system's manufacturer guidance, since many still recommend a sealant bead at joints for full waterproofing.
Mistake: Fitting over damp or damaged plaster without addressing it first. Panels will seal moisture in rather than solving an existing damp problem. Confirm the wall behind is genuinely dry and sound before panelling over it.
Mistake: Not checking panel and adhesive compatibility. Using a generic adhesive not recommended for your specific panel type can result in poor adhesion or a reaction with the panel material. Always use the adhesive specified by the panel manufacturer.
What It Costs in the UK
Item or Service | Typical UK Cost (2026) |
|---|---|
PVC wall panels, per m² | £20–£30 |
Acrylic/laminate wall panels, per m² | £30–£90 |
Trim kit (corners, edges) | £15–£40 |
Panel adhesive and sealant | £15–£30 |
Professional supply and fit, standard bathroom | £600–£1,200 |
Comparable full re-tile, labour alone | £600–£1,200 |
Full bathroom renovation including panelling | £3,500–£8,500 |
Figures based on UK market research for bathroom wall panelling in 2026 and vary by panel type, room size, and whether existing tiles are removed first.
Staying Safe
If any part of the job involves working near electrical fittings, a shaver socket, extractor fan wiring, or lighting, isolate the relevant circuit at the consumer unit before cutting or drilling near these points. Bathroom electrical work is a special location under Part P of the Building Regulations, so any new electrical work involved should be carried out or certified by a qualified electrician.
Wear eye protection and a dust mask when cutting panels, particularly with a powered saw, and ensure good ventilation in the room throughout adhesive and sealant application. Keep children and pets out of the work area while adhesives and sealants are curing.
Part P of the Building Regulations classifies bathrooms as a special location for electrical work. Any new electrical work carried out as part of a bathroom panelling project should be completed or certified by a registered electrician.
Frequently Asked Questions
Are bathroom wall panels as waterproof as tiles? Yes, when properly fitted with correct trims and sealant at every junction, panels provide a genuinely waterproof surface, arguably with fewer potential failure points than tiled grout lines, which can crack and let water through over time.
Can I fit bathroom wall panels myself? Many confident DIYers can fit panels successfully, since the process is generally more straightforward than tiling. The trims, sealing, and cutting around fittings are the parts that need the most care and attention to get a genuinely watertight result.
Do I need to remove existing tiles before fitting panels? Not always. Panels can sometimes be fitted directly over sound, flat, well-adhered existing tiles, saving time and mess, provided there's no hidden damp or damage beneath that removal would otherwise reveal and address.
How long do bathroom wall panels last? Quality panels properly fitted and sealed can last 15 to 20 years or more, comparable to or exceeding tiling, particularly since panels avoid the grout degradation and discolouration that affects many tiled bathrooms over time.
Are wall panels cheaper than tiling a bathroom? Generally yes, particularly on labour, since panel installation is typically faster than full tiling. A standard bathroom's labour cost for panelling and tiling often sits in a similar range, but panels frequently work out cheaper overall due to reduced installation time.
Can I paint over bathroom wall panels if I want to change the colour later? This depends on the specific panel finish. Some panels can be painted with an appropriate product, while gloss or laminate finishes generally don't take paint well. Check your specific panel manufacturer's guidance before attempting this.