How to Paint Behind a Radiator
5 August 2026
How to Paint Behind a Radiator (Without Taking It Off the Wall)
The wall behind a radiator is one of the most commonly skipped sections in a room repaint, and it shows, often as a visibly different, unpainted stripe once furniture shifts or a radiator cover comes off years later. The good news is you genuinely don't have to remove the radiator to paint behind it properly, purpose-made tools exist specifically for this gap, though knowing when full removal is actually worth the extra effort matters too.
A Note on Pricing
The InstantCost.co.uk page linked for this article covers boiler installation costs specifically, which isn't the right source for radiator removal or painting pricing, so the figures below come from dedicated UK radiator and decorating trade data instead.
Two Approaches, and When Each Makes Sense
Painting around the radiator without removing it is the quicker, lower-effort option and works well for a straightforward colour refresh where the existing paint behind the radiator is in reasonable condition, no major cracks, damp, or wallpaper needing full removal. Removing the radiator first gives full, unobstructed access and a genuinely better finish, particularly worthwhile if you're stripping wallpaper, dealing with damage behind the radiator, or simply want the cleanest possible result and don't mind the extra time involved.
Method 1: Painting Without Removing the Radiator
What You Need
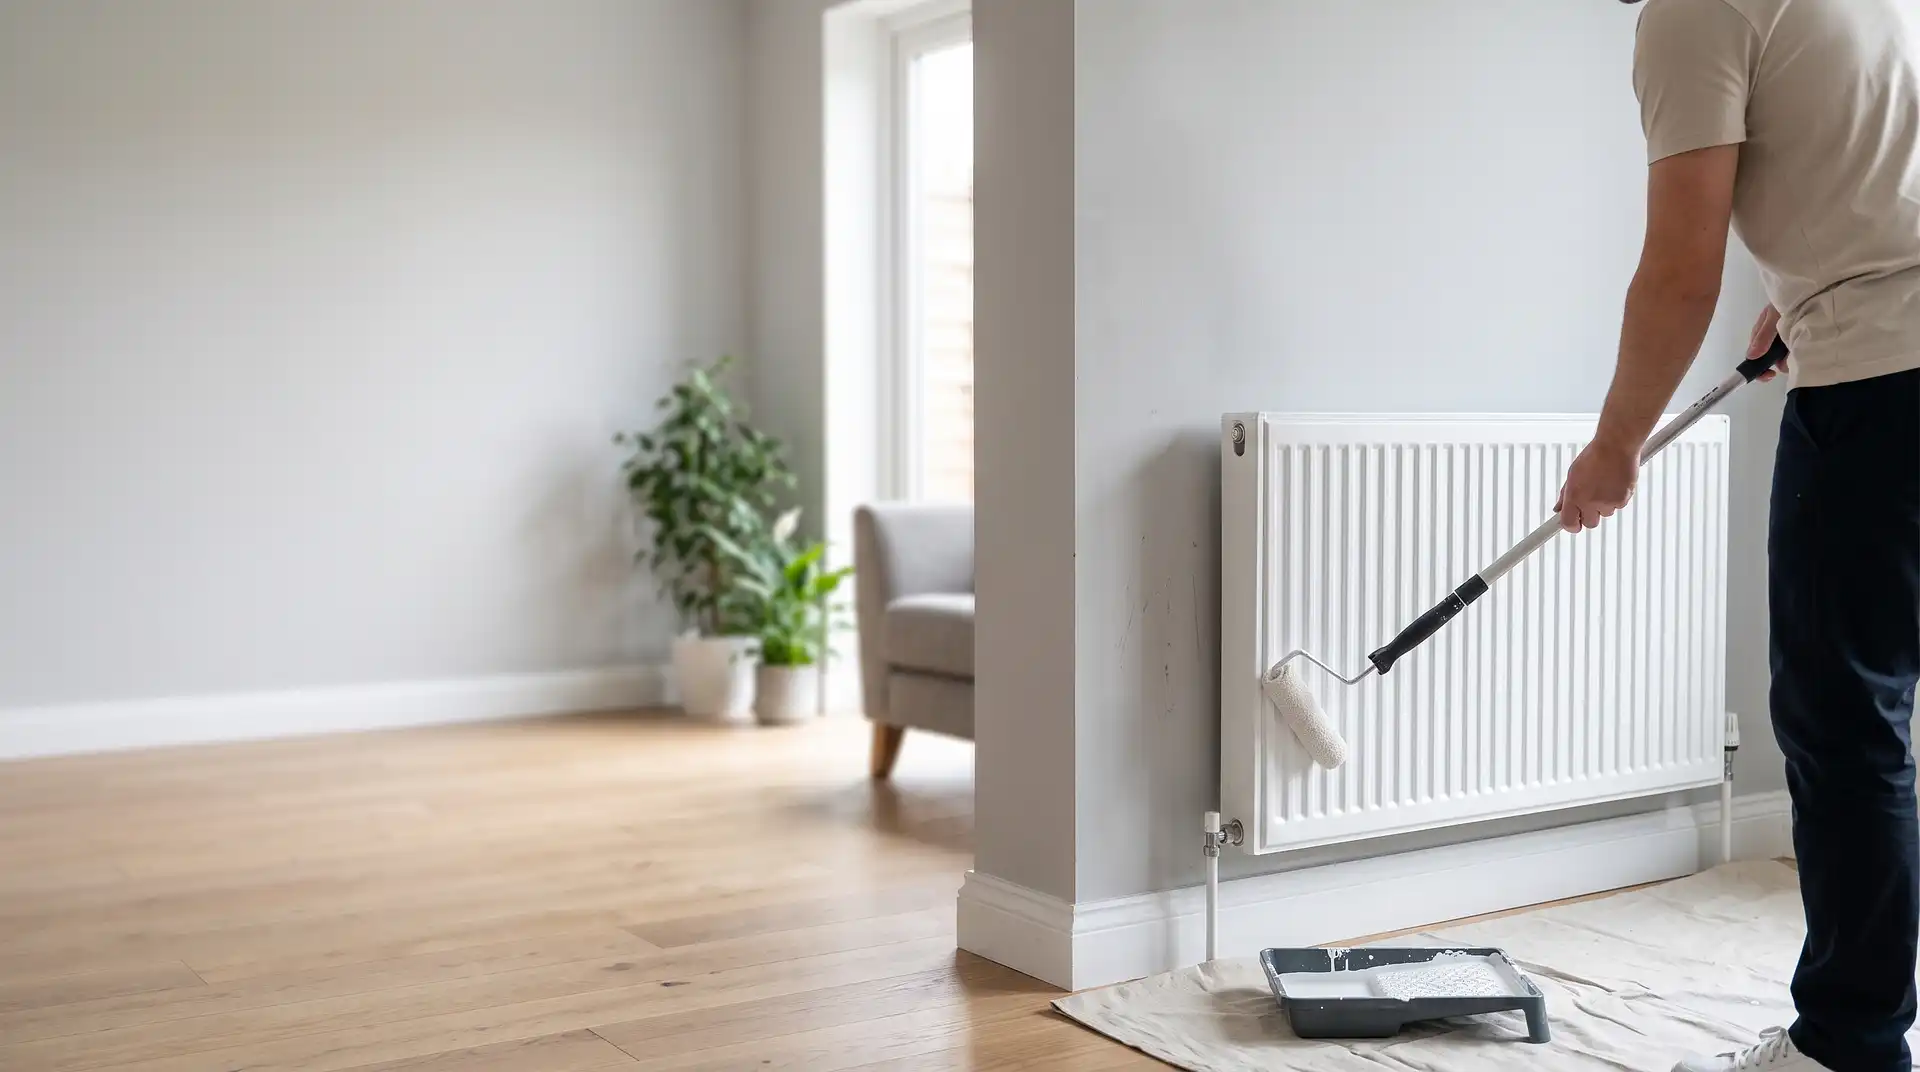
A radiator paint roller, a specific tool with a long, angled handle and a narrow roller head designed to reach into the gap between a radiator and the wall, this is genuinely the single most useful purchase for this job.
A radiator paint brush or angled sash brush, for cutting in around pipework and edges the roller can't quite reach.
A paint tray or a small container the radiator roller fits into, since a standard-sized tray can be awkward with the narrower roller head.
A torch or portable light, since the space behind a radiator is naturally dim and it's easy to miss patches without decent visibility.
Old towels or a dust sheet, to protect the floor immediately below and around the radiator from drips.
Step-by-Step
Turn the heating off and let the radiator cool completely before starting, painting near a warm radiator dries the paint unevenly and is uncomfortable to work close to for an extended period.
Clean the wall behind the radiator as best you can reach, a duster or a vacuum with a crevice attachment removes built-up dust that would otherwise show through fresh paint or affect how well it adheres.
Load the radiator roller with paint and work it into the gap, using slow, controlled strokes rather than rushing, since visibility is limited and it's easy to miss a section without realising.
Use the angled brush for any pipework, brackets, or edges the roller genuinely can't reach.
Check your work with a torch once the main coat is on, angled light reveals missed patches that are much harder to spot in normal room lighting.
Apply a second coat once the first is fully dry, following the same process, most walls need at least two coats for even, opaque coverage regardless of whether they're visible or hidden behind a radiator.
Method 2: Removing the Radiator First
For a full repaint, wallpaper removal, or if there's visible damage behind the radiator, taking it off the wall entirely gives unrestricted access and lets you paint the space exactly as you would any other section of wall, full-sized roller, proper visibility, no awkward reaching required. This takes more time and a bit more plumbing know-how than painting around it, since the radiator needs draining and disconnecting before it comes off, and reconnecting and bleeding it afterward.
If you're considering this route, our related guide on the InstantCost blog covers how to remove a radiator without flooding your floor , worth reading in full before starting, since the process of draining and disconnecting it properly is really the whole job here, the painting itself is straightforward once the wall is fully exposed.
Dealing With Radiator Pipework and Brackets
Whether or not you remove the radiator itself, the pipes and wall brackets holding it in place still need some care. Use a small angled brush to work paint carefully around pipe entry points into the wall, and mask off any exposed pipework you don't want painted with painter's tape rather than trying to cut in freehand around a narrow pipe. Wall brackets generally don't need painting, and it's easier to work around them carefully than to remove and refit them just for the sake of the small section of wall directly behind each one.
Common Mistakes and What to Do Instead
Mistake: painting a warm or recently used radiator area. This causes uneven drying and is genuinely uncomfortable to work close to for the time this task takes. Always let the radiator cool fully before starting, regardless of which method you're using.
Mistake: rushing the roller through without checking coverage. Limited visibility behind a radiator makes it easy to miss patches without realising, particularly toward the back corners. Use a torch to check your work properly rather than assuming even coverage from a quick pass.
Mistake: not cleaning the wall first. Dust that's built up behind a radiator over months or years affects how paint adheres and can show through as a slightly different texture once dry. A quick clean with a vacuum crevice attachment before painting makes a genuine difference to the finish.
Mistake: using a standard-width roller and hoping it fits. Most radiators simply don't leave enough clearance for a normal roller head. A proper radiator roller, designed specifically for this narrow gap, is a small purchase that saves considerable frustration.
Mistake: skipping the second coat because "no one will really see it." Behind a radiator is exactly the kind of spot that gets noticed later, when furniture moves or a radiator cover comes off. Treat it with the same two-coat standard as any other visible wall.
Alternative: A Paint Pad Instead of a Roller
Some people prefer a slim paint pad on an extendable handle over a radiator roller, since a pad can sometimes reach slightly further into tight corners than a roller head. Either tool works well, it's largely a matter of personal preference and what feels easier to control in a genuinely awkward, low-visibility space.
What It Costs in the UK
A dedicated radiator paint roller typically costs £5 to £12, and an angled radiator or sash brush typically costs £4 to £10, a small investment that makes this job considerably easier than attempting it with standard-sized tools not built for the gap.
If you're removing the radiator first rather than painting around it, according to UK trade data, professional removal alone, without a replacement radiator being fitted, typically costs £50 to £100, reflecting roughly an hour of labour for draining, disconnecting, and either capping the pipes temporarily or leaving them ready for reconnection. If you're doing this yourself, the only real cost is your own time and the small tools involved, a bucket, a spanner, and a bleed key, most of which many households already have.
Item or Service | Typical UK Cost (2026) |
|---|---|
Radiator paint roller | £5 to £12 |
Angled radiator/sash brush | £4 to £10 |
Professional radiator removal only | £50 to £100 |
DIY removal (tools, if needed) | £15 to £30 |
These are UK market estimates and vary by provider and region. Painting around the radiator using the right tools is almost always cheaper and quicker than removing it, worth trying first unless there's a specific reason, damage, wallpaper, or a full repaint, that genuinely calls for full access.
Staying Safe
Let the radiator cool completely before working near it, this applies to painting around it just as much as to any other radiator task, since a warm surface at close range for an extended period is uncomfortable and can be a minor burn risk if you're leaning against or bracing yourself on it while reaching awkwardly. If you're removing the radiator to paint behind it, the same safety principles apply as any radiator removal, isolate both valves fully, drain slowly and in a controlled way, and never attempt to disconnect a system that's still hot.
Keep children away from the work area while paint, tools, and an open tin are within reach, and ensure good ventilation while painting, particularly if working in a smaller room for an extended period.
Paint product ventilation guidance varies by manufacturer, so check the label before use, particularly in a smaller or less ventilated room.
FAQ
Do I need to remove a radiator to paint behind it? No, not for a straightforward repaint. A dedicated radiator paint roller and angled brush let you reach the gap effectively without removing it. Removal is worth considering only for wallpaper stripping, visible damage, or wanting the absolute cleanest possible finish.
What tool works best for painting behind a radiator? A radiator paint roller, a narrow roller head on a long, angled handle designed specifically for this gap, is the most effective and widely used tool, paired with an angled brush for edges and pipework the roller can't reach.
How do I check I've covered the whole wall behind a radiator? Use a torch to check your work once a coat is on, since the space behind a radiator is naturally dim and it's easy to miss patches without decent lighting to reveal them.
Should I let the radiator cool before painting near it? Yes, always. A warm radiator dries paint unevenly and is uncomfortable to work close to for the time this task takes, regardless of whether you're painting around it or have removed it entirely.
How much does it cost to remove a radiator to paint behind it? Professional removal alone, without a replacement fitted, typically costs £50 to £100 in the UK, reflecting the labour for draining and disconnecting it, and reconnecting it once painting is finished.
Is a radiator paint roller worth buying for a one-off job? Generally yes, it typically costs £5 to £12 and makes a genuinely awkward task considerably easier and quicker than attempting it with a standard roller that simply won't fit the gap.