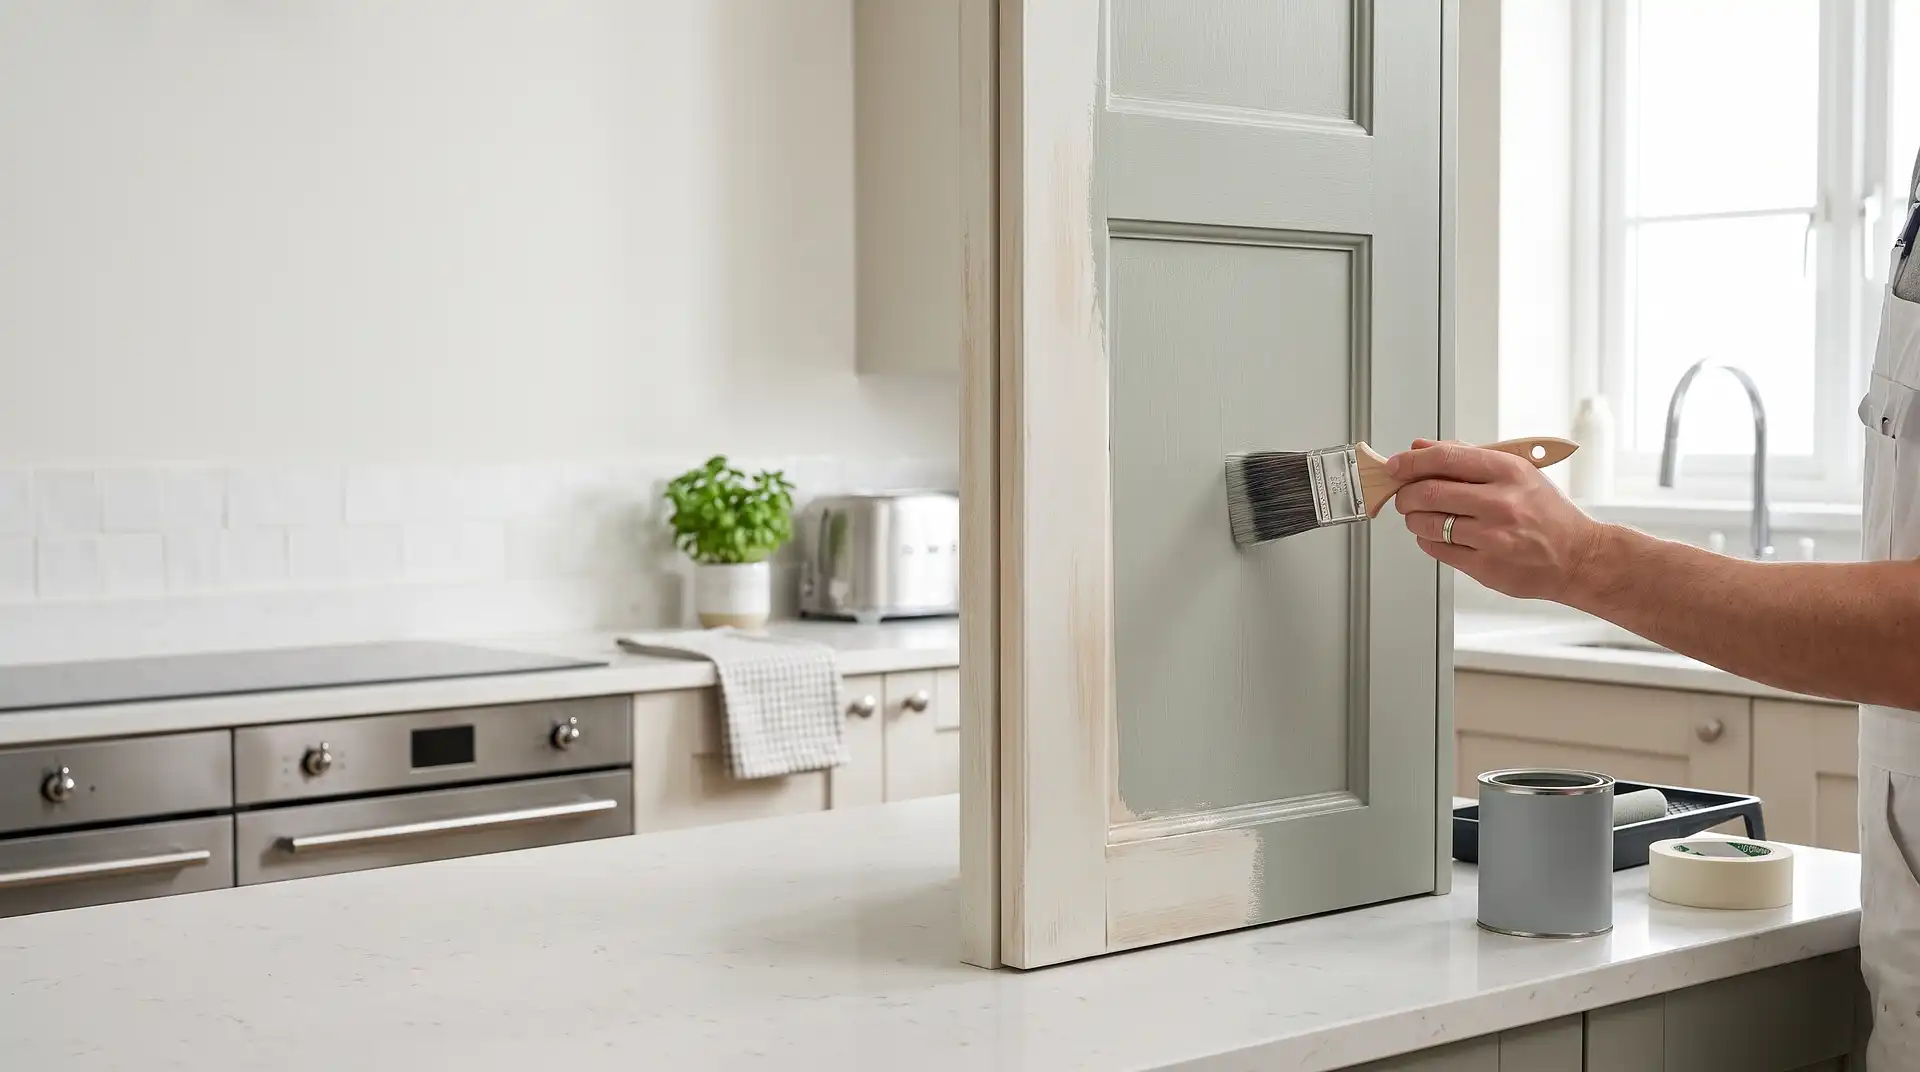
How to Repaint Kitchen Units
2 August 2026
How to Repaint Kitchen Units (When There's Already Paint on Them)
Repainting kitchen units is a different job from painting them for the first time, and treating it the same way is why some repaints look worse within a year than the original paintwork did after five. The existing layer of paint changes everything about the prep: it might be sound and just need a light key-sand, or it might be failing in ways that need proper attention before any new colour goes anywhere near it. Getting this distinction right matters more than the paint you choose.
Assess the Existing Paint First
Before doing anything else, check the current paintwork closely across several doors and drawer fronts, not just the ones that look worst. Run a fingernail firmly across a section in a low-visibility spot, near a hinge or handle works well, and see whether it flakes, chips, or comes away. Sound paint that's simply dated in colour, with no flaking, cracking, or peeling, is the easier case: a light sand and fresh coats over the top generally works well. Paint that's failing, chipping at the edges, bubbling, or lifting in patches, needs that failing material properly removed first, since painting over it just gives the new coat the same weak foundation the old one had.
Why This Matters More on a Repaint Than a First Paint
Every layer of paint added without addressing what's underneath makes the total paint film thicker, and a thick, multi-layered paint film is more prone to chipping at edges and corners, since it has less flexibility and a bigger step for impacts to catch on. This is specifically a repaint problem, a first-time paint job on bare or lightly primed material doesn't have this issue, which is why simply repeating the same steps that worked the first time isn't always the right approach for a second or third repaint.
Step 1: Remove Doors, Drawers, and Hardware
Take off every door, drawer front, and piece of hardware, labelling each against its position the same way you would for a first-time paint job. This matters just as much on a repaint, since cupboard doors that look identical often aren't quite the same size once removed, and mismatched reinstallation is an easy, avoidable mistake either way.
Step 2: Degrease Thoroughly
Wash every surface with sugar soap or a degreaser, paying particular attention to handles, areas near the hob, and anywhere handled constantly. This step is arguably even more important on a repaint than a first paint, since existing paint that's been in a working kitchen for years has had considerably longer to accumulate a grease film than bare material ever would.
Step 3: Decide Between Sanding and Stripping
For sound existing paint, a light key-sand with 120 to 180 grit sandpaper is sufficient, enough to dull the sheen and give new paint something to grip, without removing the existing layer entirely. For failing paint, the flaking, chipping, or bubbling sections need to come off properly, either by sanding back to a sound layer or, for more extensive failure, a chemical paint stripper suited to the surface material. Trying to sand-and-paint over active flaking just buries a problem that will resurface, often faster than it did the first time, since the new paint has even less to hold onto than the original did.
Step 4: Address Any Buried Damage Once Old Layers Are Off
Removing failing paint sometimes reveals chips, dents, or damage in the material beneath that was previously hidden under multiple coats. Fill and sand these properly before priming, since this is genuinely the best opportunity to fix underlying damage that a straightforward wipe-and-repaint would otherwise just paint over again.
Step 5: Prime Where the Surface Needs It
Bare patches exposed by stripping or heavy sanding need a proper primer suited to the underlying material, laminate and melamine specifically need an adhesion primer, since general primer won't bond to them any better than paint would. Areas of sound existing paint that were only lightly sanded generally don't need reprimed, provided the key-sand has given the surface enough texture for the new topcoat to grip.
Step 6: Apply the New Paint in Thin, Even Coats
Use a small foam roller for flat door and drawer faces, a brush for edges and detailing, and apply thin coats rather than one thick one, exactly as you would for a first-time paint job. This matters even more on a repaint given the paint-thickness concern already covered, adding another thick coat on top of existing layers compounds the flexibility and chip-resistance problem rather than helping it.
Once the New Coat Is On, Check the Doors Still Hang Right
Repainting often means doors have been off their hinges for a few days, and it's worth using that opportunity to check the hinges themselves before rehanging, since a slightly misaligned door becomes a lot more noticeable against a crisp, fresh coat of paint than it was against tired old paintwork. Our guide on how to adjust kitchen cabinet doors covers the three-way hinge adjustment that fixes uneven gaps and sagging, worth doing at the same time as a repaint rather than as a separate job later, since the doors are already off and accessible.
Common Mistakes and What to Do Instead
Mistake: sanding and repainting over actively flaking paint. This buries a failing layer rather than fixing it, and the new coat typically fails faster than the original did, since it's bonding to an unstable surface. Properly remove failing paint before repainting over it.
Mistake: not checking paint thickness before adding another coat. Multiple repaint cycles without ever stripping back can leave a genuinely thick, brittle paint film that chips easily at edges and corners. If units have been repainted several times already, it's worth considering a proper strip-back rather than another layer on top.
Mistake: skipping degreasing because "it's just a touch-up." Years of kitchen use leave a grease film on existing paintwork that's often thicker and more stubborn than on bare material. Degrease thoroughly regardless of how minor the repaint feels.
Mistake: using the same primer approach everywhere regardless of what's exposed. Sound existing paint generally doesn't need reprimed, but bare patches revealed by stripping do, and treating the whole surface identically either wastes a step or skips a necessary one.
Mistake: rehanging doors without checking hinge alignment. A repaint is the ideal moment to fix any doors that have drifted slightly out of alignment over time, since they're already off and it takes minutes with the hinge's built-in adjustment screws.
When to Hire a Professional Instead
DIY repainting works well for sound existing paint needing a straightforward refresh, or a moderate amount of failing paint on a handful of doors. It's worth hiring a professional for units with extensive paint failure across most of the kitchen, a genuinely thick, multi-layered paint build-up needing full chemical stripping, or if you want a sprayed rather than hand-painted finish, since spraying gives a smoother, more even result than brush and roller and is generally done by a professional with the right equipment and space.
What It Costs in the UK
According to InstantCost.co.uk's 2026 UK kitchen renovation pricing data, a cosmetic kitchen refresh, covering repainting units alongside new handles and worktop refinishing, typically costs £1,500 to £3,500, the lowest-cost tier of kitchen renovation and well below even a small flat-pack kitchen replacement. This figure applies whether it's a first-time paint job or a repaint, though a repaint needing significant stripping of failed paint can push toward the upper end of that range given the extra prep time involved.
DIY materials for a repaint typically cost £150 to £300 for an average kitchen, similar to a first-time paint job, though add £20 to £50 if chemical paint stripper is needed for failing sections. Professional hand-painting typically costs £600 to £1,500, and professional spray respraying, generally the smoothest finish and a popular choice for a full repaint, typically costs £1,200 to £3,500 depending on the number of doors and how much prep the existing paintwork needs.
Option | Typical UK Cost (2026) |
|---|---|
DIY materials (repaint, sound existing paint) | £150 to £300 |
DIY materials, incl. paint stripper for failing sections | £170 to £350 |
Cosmetic kitchen refresh (paint + handles + worktop refinish) | £1,500 to £3,500 |
Professional hand-painted repaint | £600 to £1,500 |
Professional spray respray | £1,200 to £3,500 |
These are UK market estimates and vary by kitchen size, extent of existing paint failure, and region. Always ask a professional whether their quote assumes sound existing paint or includes stripping failing sections, since this affects both price and prep time significantly.
Staying Safe
Chemical paint strippers, if needed for failing sections, are considerably stronger than the primers and paints used in a straightforward repaint, so ventilate the room thoroughly and wear gloves and eye protection throughout. Sanding old paintwork on units in an older property is worth treating with the same caution as sanding old radiators or woodwork, testing for lead paint first if the property or units are old enough that this is a genuine possibility, since lead paint dust is hazardous to breathe in.
Keep all paint, primer, and stripping products in their original labelled containers, stored well out of reach of children, particularly during a project when tins and tools are likely to be out and accessible for several days.
Product-specific safety data and lead-testing guidance vary by manufacturer and property age, so it's worth checking the specific product's safety data sheet before starting, and testing for lead paint on any older kitchen before sanding.
FAQ
Do I need to strip old paint before repainting kitchen units? Only if the existing paint is failing, flaking, chipping, or bubbling. Sound paint that's simply dated in colour just needs a light sand to key the surface before repainting over it.
Why does my repainted kitchen chip faster than the original paint job did? This often happens when paint is applied over multiple existing layers without ever stripping back, creating a thick, less flexible paint film that chips more easily at edges and corners than a single, properly prepped coat would.
How much does it cost to repaint kitchen units in the UK? A full cosmetic refresh including repainting typically costs £1,500 to £3,500 according to 2026 UK data, similar to a first-time paint job, though extensive paint stripping for failing sections can push costs toward the upper end.
Should I check the hinges while my kitchen doors are off for repainting? Yes, it's worth doing since the doors are already off and accessible. A repaint makes any hinge misalignment more visible against the fresh paintwork, and adjustment takes minutes using the hinge's built-in screws.
Is it cheaper to repaint kitchen units again or replace the doors? Repainting is generally significantly cheaper, particularly if the existing paint is largely sound and just needs a refresh rather than full stripping, compared with the cost of new replacement doors.
How do I know if my kitchen units have too many layers of paint? If units have been repainted multiple times without ever being stripped back, and the paint film feels noticeably thick or chips easily at corners and edges, it's worth considering a full strip-back rather than another layer on top.