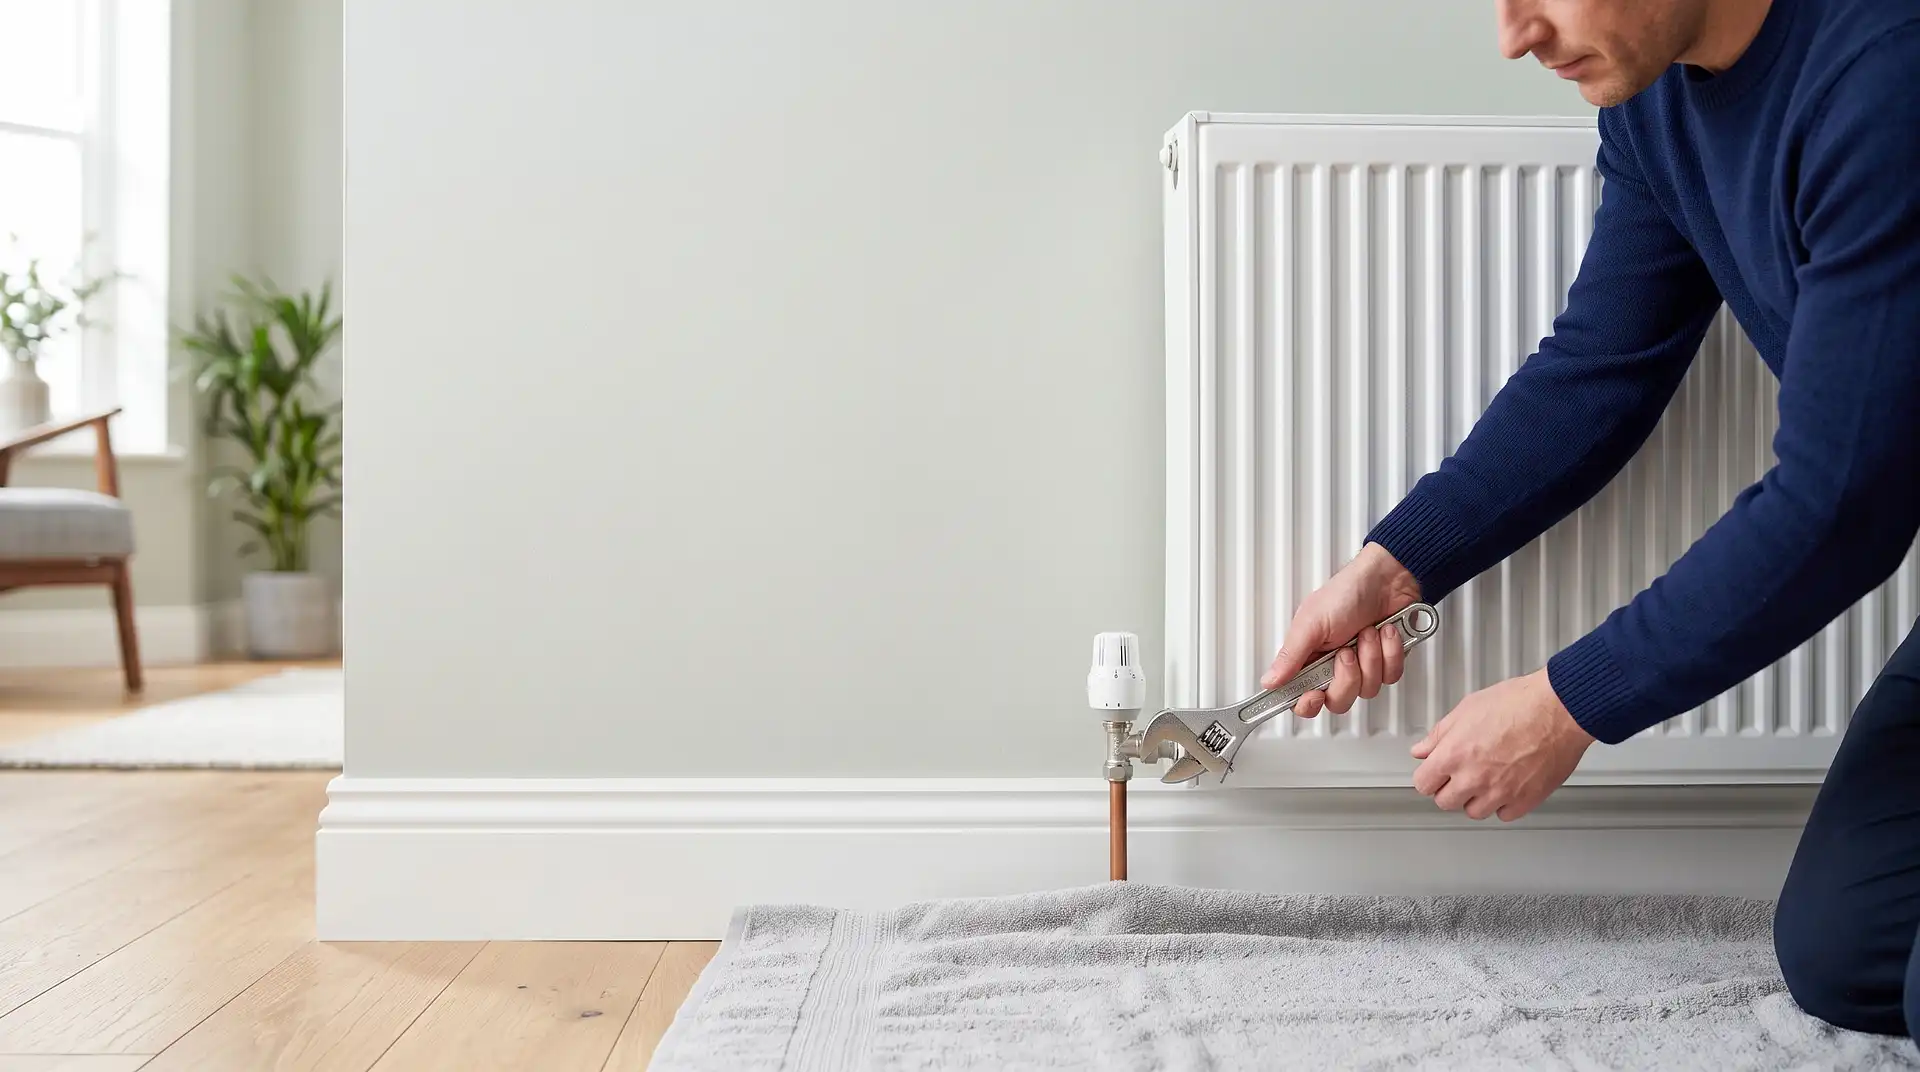
How to Take a Radiator Off the Wall
20 August 2026
How to Take a Radiator Off the Wall
Taking a radiator off the wall is a job most homeowners can do themselves, and the physical act of lifting it clear is genuinely the easiest part. What determines how long the job takes, and whether it goes cleanly, is the preparation: isolating the valves correctly, draining enough water out of the radiator before you touch the connections, and having somewhere to put several litres of dirty heating water without it going across the floor or the carpet.
The other thing worth deciding before you start is whether the radiator is coming back on the same wall or not, because that changes what you do with the valves, the brackets, and the pipework. Removing a radiator temporarily for decorating is a different procedure from removing one permanently for repositioning or replacement.
Why You Are Taking It Off Matters
Decorating behind it: The radiator comes off, the wall is decorated, and the radiator goes back on the same brackets in the same position. The valves can be closed and the connections left on the radiator. This is the quickest version of the job.
Replacing it with a new one: The old radiator comes off and goes to disposal. The new radiator needs to match the valve centres and the bracket positions, or the pipework needs adjusting. Measure the valve centres on the old radiator before it leaves the room.
Repositioning it: The radiator is going back at a different height or in a different location on the same wall, or on a different wall entirely. The existing brackets come off and new ones go in. The pipework may need extending or rerouting, which is a plumber's job.
Fault or leak: If the radiator itself is leaking, confirm whether the leak is at a valve connection, a bleed valve, or the radiator body itself before removing it. A leaking valve connection is often fixable without removing the radiator.
Tools You Will Need
An adjustable spanner and a pair of grips or a second adjustable spanner for the valve connections. A large bowl or washing-up bowl for the initial drain from the bleed valve. Two or three old towels, one folded under each valve connection and one under the radiator itself as it comes off the wall. A radiator bleed key. A bucket for the radiator water when it lifts clear.
Optional but useful: a dust sheet under the whole working area, and a second person to help carry the radiator once it is off the wall. A standard single panel radiator for a medium room holds 5 to 8 litres of water and weighs 8 to 15 kg when drained. A double panel radiator holds considerably more and is awkward to manoeuvre through a door on your own.
Step 1: Turn Off the Heating and Let It Cool
Turn the heating off and wait at least an hour before starting. Working on a hot radiator is uncomfortable and the water inside will be hot enough to scald when the connections are undone.
Turn both valves on the radiator to the closed position. The lockshield valve is the one with a plastic cap on the far end from the thermostatic or manual valve. Remove the cap, note how many turns it takes to close fully, and write that number down. You will need to open it back the same number of turns when the radiator goes back on, which is how the system balance is preserved.
The thermostatic valve (TRV) or manual valve at the other end closes by turning clockwise to zero or off.
Step 2: Drain the Radiator Down
Open the bleed valve at the top of the radiator with the bleed key, just enough to let air in. Hold the bowl underneath the bleed valve as you do this. Water will begin draining from the bottom connections as air enters from the top.
You will not drain the radiator completely this way, because the bleed valve is at the top. What you are doing is relieving the pressure and letting the bulk of the water drop to the connections at the bottom where it will come out when you undo the nuts. Have the towels positioned at each valve connection before you touch the nuts.
A radiator that has been on a system for several years holds dark grey or black water from corrosion and magnetite sludge. This is normal but it stains carpets, grout, and bare plaster very effectively. Protecting the floor before you start rather than cleaning up afterwards is considerably easier.
Step 3: Disconnect the Valve Connections
The valve connections are the nuts joining the radiator tails to the valve bodies at each end. Hold the valve body steady with the grips or second spanner while you undo the connection nut with the adjustable spanner, turning anticlockwise. If you let the valve body rotate freely while you turn the nut, you risk twisting the pipework below, which can crack or distort older copper pipe at the floor or wall entry point.
Water will flow out as each nut comes free. Have the bowl or bucket ready. The volume is roughly half the radiator capacity at each end.
Once both connections are undone, open the bleed valve fully to let air into the radiator so the remaining water drains into your buckets rather than sloshing out when the radiator lifts.
Step 4: Lift the Radiator Off the Brackets
UK radiators hang on two wall brackets, one at each end. The radiator hooks over the top of each bracket and sits in place by gravity. To remove it, lift straight up until the hanging lugs on the back of the radiator clear the bracket hooks, then pull the radiator forward away from the wall.
Tilt it slightly sideways as it comes clear to pour any remaining water into your bucket before carrying it out of the room. Even a well-drained radiator holds a litre or more in the lower sections that does not drain until it is tilted.
Carry it on its side or flat -- not upright -- so the remaining water does not shift to the lower end and pour out unexpectedly. Lay it on the dust sheet or carry it directly outside.
Step 5: Cap or Plug the Valves
With the radiator off the wall, the two valve bodies are open to the system with the connection nuts loose or removed. If the valves are properly closed, no water should emerge, but fit the plastic caps or wrap the valve outlets with a cloth as a precaution.
If you are decorating and the radiator will be back within a day or two, simply leaving the closed valves in place is fine. If the radiator will be off for longer, or if the system will be used in the meantime, fit compression caps or push-fit blanking plugs to the valve outlets to seal the system properly. These cost under £5 for a pair from any plumber's merchant and prevent any possibility of water escaping from a valve that has not been used in a while and may not seat perfectly.
Rehanging the Radiator
Most guides stop at removal. The rehang is where most problems actually occur.
Check the brackets before rehanging. A bracket that felt solid before may be less secure once the radiator has been off and the wall plugs have been disturbed. Press each bracket firmly and check for movement. If either bracket moves, remove it, check the plug and screw size, and refit before rehanging the radiator.
For a radiator going back in exactly the same position, this is straightforward: hook the hanging lugs back over the bracket hooks, lower into position, and reconnect the valve connections. Refit the connection nuts and hand-tighten before using the spanner. Hold the valve body steady with the grips while you tighten the nut, as before.
Open the lockshield valve the same number of turns you recorded when closing it. Open the TRV or manual valve. Close the bleed valve if it is still open.
Bleed the radiator immediately after reconnecting by opening the bleed valve until water, not air, emerges, then close it. The system will have taken in air at the bleed valve and at the connection points during the job. Failing to bleed it before running the heating leaves an air pocket that prevents the top section from heating.
Check the boiler pressure after rehanging and before turning the heating on. Removing and reconnecting a radiator typically causes a small pressure drop in the system. Top up if the gauge reads below 1 bar.
When the Radiator Is Not Going Back in the Same Position
If the radiator is being repositioned on the same wall at a different height, the brackets come off and go back at the new height. Measure the hanging lug centres on the back of the radiator before marking the new bracket positions, since these are what the bracket spacing needs to match, not the overall radiator width.
If the radiator is moving to a different wall or a different room, the pipework needs extending or rerouting, which involves cutting into the floor or wall to run new pipe. That is a plumber's job. It is not technically complex but it requires the right tools, correct pipe sizing, and the confidence to make soldered or push-fit joints that will hold without weeping over years of thermal cycling.
If the pipework needs altering, get it quoted at the same time as the removal. A plumber who knows the radiator is being repositioned can plan the pipework run during the removal visit rather than returning separately. Heating engineer day rates in the UK run £250 to £450 outside London and £400 to £600 inside the M25.
Radiator replacement and repositioning is also the natural time to check whether the new radiator is correctly sized for the room. An undersized replacement will run continuously and still leave the room cold. A rough rule is that a standard double-panel radiator needs roughly 60 to 70 watts per square metre for a well-insulated room and 80 to 100 watts per square metre for a poorly insulated one. Most radiator retailers include a BTU calculator on their website that takes room dimensions,
window area, and insulation level as inputs.
If you are taking a radiator off as part of a broader heating system review an ageing boiler, uneven heat distribution across rooms, or persistently cold radiators after bleeding the InstantCost boiler installation cost guide has a full 2026 UK breakdown of replacement costs by boiler type, brand tier, and job complexity, with a calculator you can use to understand the full cost picture before committing to any work.
Our related guide covers how to balance radiators , which is the job to do once everything is back on the wall if some rooms heat faster than others. Balancing adjusts the lockshield valve on each radiator to distribute flow evenly across the system, and it is directly affected by any radiator that has been removed and refitted with the lockshield reopened to a different setting.
Common Mistakes and What to Do Instead
Mistake: not recording the lockshield valve turns before closing it. The lockshield position is the balance setting for that radiator. Reopening it fully rather than to the original position throws the whole system out of balance and leaves some rooms cold.
Mistake: not protecting the floor before undoing any connections. The water in a central heating system is dark and stains carpets, grout, and plaster. Lay dust sheets and position towels before touching the valve nuts.
Mistake: letting the valve body rotate while tightening the connection nut. Rotating the valve body twists the pipework below it. On older copper pipe at a wall or floor entry point, this cracks the pipe or distorts the olive at a compression joint. Use a second spanner or grips to hold the valve body steady.
Mistake: not bleeding the radiator immediately after rehanging. Air enters the system during disconnection and reconnection. An unbled radiator has a cold top section and wastes heat. Bleed before running the heating, not after.
Mistake: not checking boiler pressure after rehanging. Removing and reconnecting a radiator causes a small system pressure drop. A boiler that starts with pressure below 0.5 bar will fault and lock out. Check the gauge and top up if needed.
Mistake: rehanging on brackets that have not been checked. A bracket that shifts or pulls from the wall after rehanging drops the radiator, usually when the system is hot and the room is in use. Press-test each bracket before loading it.
What It Costs in the UK
Removing a radiator yourself costs nothing beyond the tools, most of which most homeowners already have. A pair of blanking caps for the valve outlets costs under £5.
If a heating engineer is doing the removal, expect one to two hours of labour at standard rates. Outside London, heating engineers charge £40 to £80 per hour. Inside the M25, £80 to £120 per hour is more typical. A straightforward removal and rehang for decorating typically costs £80 to £160 in labour.
A radiator replacement (new radiator supplied and fitted) typically costs £200 to £450 including parts and labour. Repositioning with pipework alteration adds £150 to £400 depending on how far the pipe run extends.
Item or service | Typical UK cost (2026) |
|---|---|
Blanking caps for valve outlets (pair) | Under £5 |
New radiator brackets (pair) | £8 to £20 |
Heating engineer hourly rate (outside London) | £40 to £80 |
Heating engineer hourly rate (London) | £80 to £120 |
Radiator removal and rehang for decorating | £80 to £160 |
New radiator supplied and fitted (like-for-like) | £200 to £450 |
Pipework alteration for repositioning | £150 to £400 |
Figures based on InstantCost.co.uk's 2026 UK boiler and heating pricing data and vary by region, job complexity, and provider.
Staying Safe
Central heating water is not drinking water. It contains inhibitor chemicals, corrosion products, and biocides that are harmful if swallowed and irritating to skin. Wear gloves when handling drained system water and wash hands thoroughly afterwards. Dispose of system water to a foul drain, not to soil near vegetable gardens or water features.
Do not attempt to remove a radiator while the heating is running or the system is hot. Hot water under pressure at a loosened connection produces a serious scald risk. The one-hour cool-down before starting is not optional.
If the radiator you are removing is fed by a gas appliance and you discover any gas smell during the job, stop immediately. Do not touch electrical switches. Open windows, leave the property, and call the National Gas Emergency Service on 0800 111 999.
Keep children and pets out of the room during the job and until the floor is dry and clear. System water staining and the tools involved make the working area genuinely hazardous.
Central heating inhibitor chemicals are classified as irritants and some are harmful to aquatic life. Dispose of drained system water to a foul drain rather than a surface water drain, which discharges directly to watercourses. Do not pour large volumes of system water containing inhibitor into garden soil near ponds or watercourses.
FAQ
Can I take a radiator off the wall myself? Yes, for a temporary removal for decorating or a like-for-like replacement, this is a job most confident homeowners can do with basic tools. Repositioning that requires pipework alteration needs a plumber.
How much water comes out when you remove a radiator? A standard single-panel radiator for a medium room holds 5 to 8 litres. A double-panel radiator holds 8 to 15 litres. Not all of it drains before the connections are undone, so have a bucket at each valve connection when you loosen the nuts.
Do I need to drain the whole system to remove one radiator? No. Close the two valves on the radiator being removed, open the bleed valve to relieve pressure, and drain only that radiator. The rest of the system stays full. This is why correctly closing the isolation valves before starting is the critical first step.
How do I stop the radiator water from going everywhere? Position old towels under each valve connection before loosening any nuts, have a bowl or bucket at each end, open the bleed valve fully before lifting so the remaining water drains rather than pours, and tilt the radiator sideways over the bucket as it comes off the wall.
Can I leave a radiator off the wall for several days? Yes, if the valves are properly closed. Fit blanking caps to the valve outlets as a precaution if the heating will be running during that time, since a valve that has been unused for years may not seat perfectly.
How do I know if the radiator needs replacing rather than just removing temporarily? A radiator that is cold at the bottom despite bleeding has sludge accumulation that does not clear by removal and refitting. A radiator that is visibly pitted, pinholed, or leaking from the body needs replacement. A radiator that is simply the wrong size for the room needs replacement with a correctly sized one.