How Are Solar Panels Installed
5 September 2026
How Are Solar Panels Installed?
Solar panels are installed by an MCS-certified installer over roughly one to two days, starting with a structural roof survey, followed by scaffolding, mounting the fixing rails and panels to the roof, wiring the system to an inverter, and finally connecting it to the consumer unit and registering it with your electricity network operator. The whole process from initial survey to a fully working, grid-connected system typically takes two to six weeks in total, most of which is scheduling and paperwork rather than the physical installation itself.
Understanding the sequence matters if you're comparing quotes, because a genuinely thorough installer includes a proper structural check and correct grid registration as standard, while a cheaper quote sometimes skips steps that only become a problem months or years after the panels go up.
Stage 1: Site Survey
Before any panels are ordered, an installer visits to check your roof's orientation, pitch, structural condition and shading from trees or nearby buildings. They'll assess the roof covering, since slate, clay tile and flat roofs each need different mounting approaches, and check the loft space and existing consumer unit to plan the cable route and confirm there's room for a new solar-specific circuit.
This survey also determines whether scaffolding access is straightforward or whether obstacles like conservatories, garages or awkward boundaries will add complexity and cost. A proper survey should result in a system design specific to your roof, not a generic package applied regardless of your property's layout.
Stage 2: System Design and MCS Certification Check
Once the survey is complete, the installer designs the system, choosing panel type, number of panels, inverter size and cable routing based on your roof and energy usage. Reputable UK installers work to the MCS (Microgeneration Certification Scheme) standard, which is required to qualify for the Smart Export Guarantee that pays you for electricity you export back to the grid.
Always confirm the installer and the specific products being fitted are both MCS certified before signing anything, since installations that don't meet this standard can't access export payments even if the panels themselves work perfectly well.
Stage 3: Scaffolding
Scaffolding goes up first, usually the day before or the morning of the installation itself, to give the roofing team safe access to the whole working area. Most two-storey UK homes need scaffolding rather than relying on ladders alone, both for safety and because it allows materials to be moved onto the roof more easily.
Stage 4: Mounting the Frame
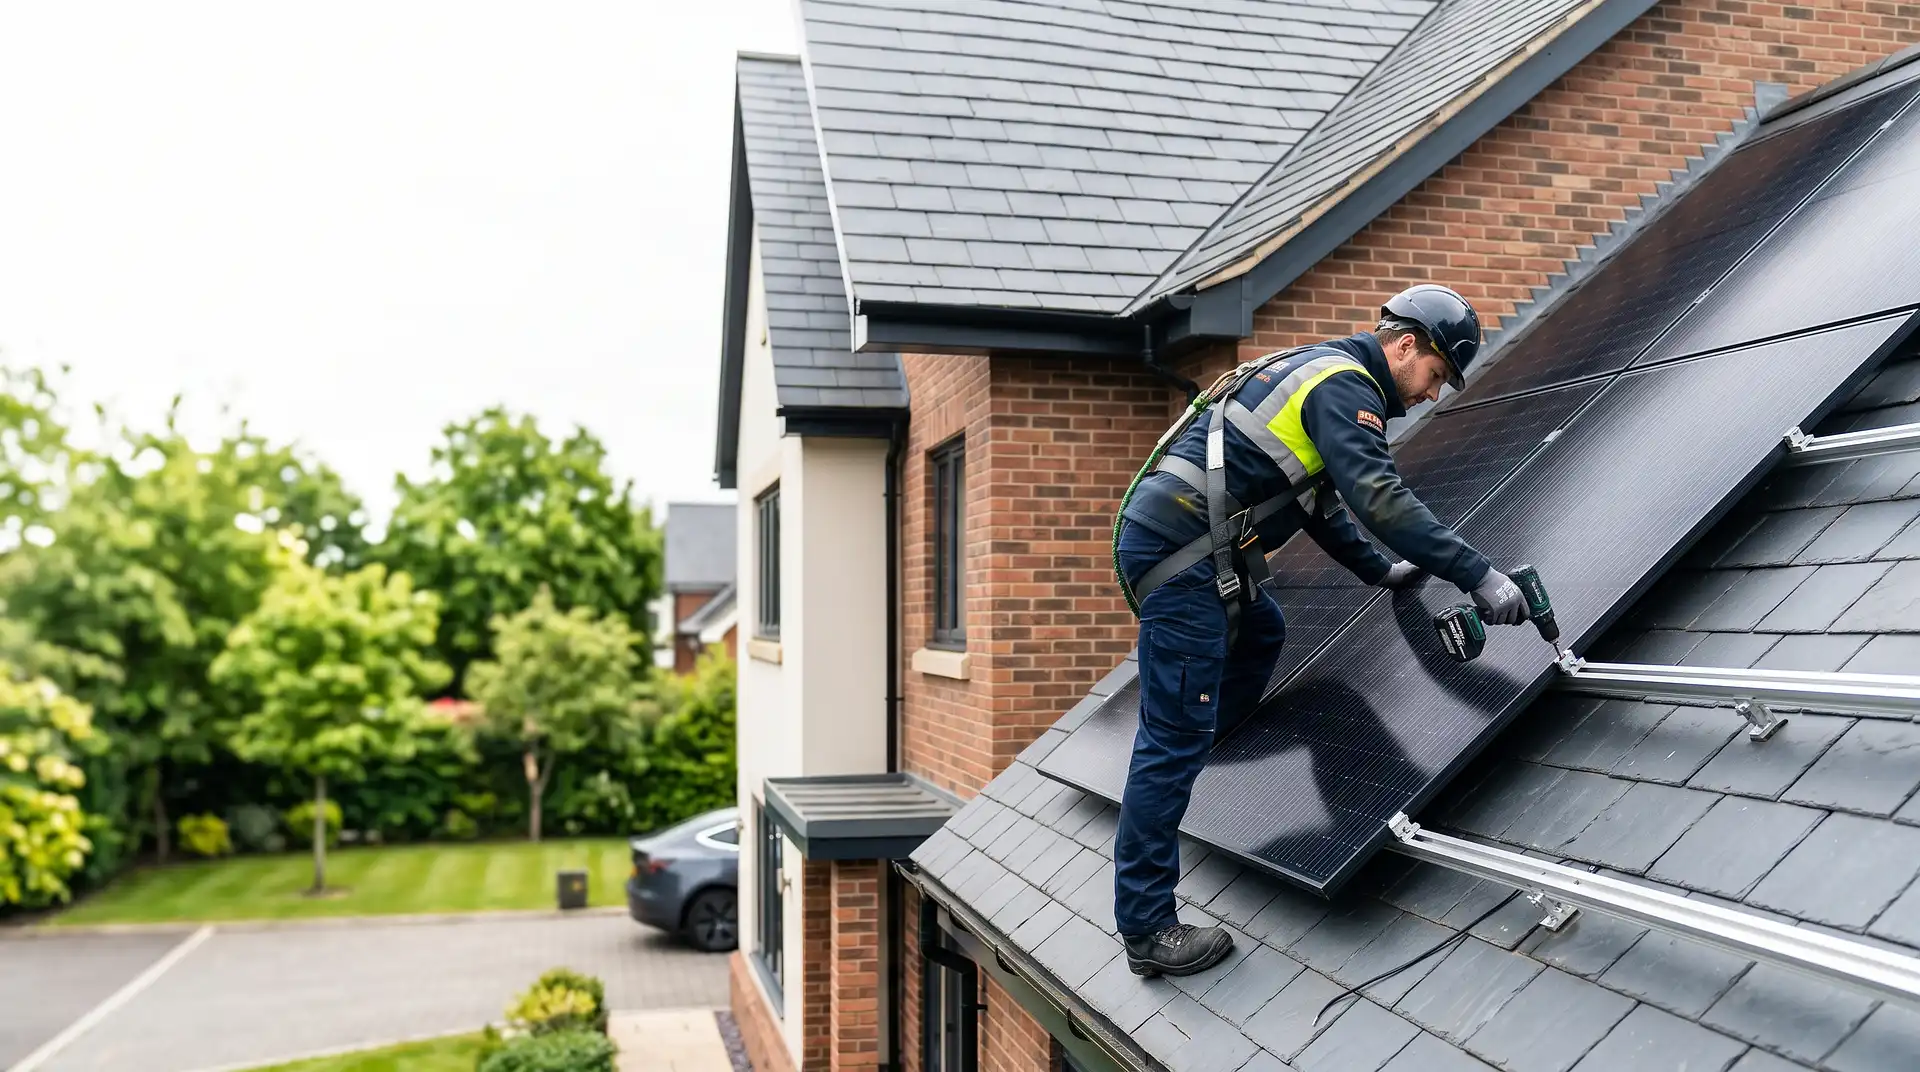
Roof hooks or brackets are fitted directly into the rafters beneath the roof covering, which is why the structural survey matters so much beforehand. Aluminium mounting rails are then fixed horizontally across these brackets, forming the frame the panels themselves will clip onto.
On pitched tile or slate roofs, individual tiles or slates are lifted, the hook fitted to the rafter, and the covering replaced around it to maintain weatherproofing. Flat roofs typically use a ballasted or tilted frame system instead, since there's no pitch to angle the panels towards the sun naturally.
Stage 5: Fitting the Panels
Panels clip onto the mounting rails using clamps at the edges and between adjoining panels, working in rows from one side of the roof to the other. Cabling runs from each panel down through a weatherproofed entry point, usually near the roofline or through the loft space, towards the inverter location.
Stage 6: Wiring and the Inverter
The inverter, which converts the direct current (DC) electricity panels generate into the alternating current (AC) your home actually uses, is typically fitted in the loft, garage or a utility space close to the consumer unit. Installers run DC cabling from the panels to the inverter, then AC cabling from the inverter to a new dedicated circuit at the consumer unit.
If you're adding battery storage, the battery unit is wired in alongside the inverter at this stage, either as part of a hybrid inverter system or as a separate battery inverter, depending on the equipment chosen.
Stage 7: Connection and Testing
Once wiring is complete, the installer tests the full system, checking each panel is generating correctly, that the inverter is communicating properly, and that the new circuit at the consumer unit is safely isolated and labelled. Any monitoring app or in-home display is set up and paired with the system at this point.
Stage 8: Grid Registration and Certification
The final stage happens largely on paperwork rather than at your property. The installer notifies your local electricity network operator that a generation system has been connected, submits the necessary documentation for MCS certification, and registers the system for the Smart Export Guarantee if you intend to sell excess electricity back to the grid.
You should receive an MCS certificate and, if applicable, confirmation of your Smart Export Guarantee tariff within a few weeks of installation. Keep this paperwork safely, since it's needed if you ever sell the property or make a warranty claim.
A Note on Timing and Scheduling
The physical installation itself, from scaffolding going up to panels being tested, usually takes one to two days for a standard domestic system. The wider process, from initial enquiry through survey, quote, ordering equipment and scheduling scaffolding and installer availability, more commonly runs to four to eight weeks depending on how busy the installer is and how quickly paperwork is processed.
When to Call a Professional
Solar panel installation is not a DIY job. It combines roof work at height, structural fixings into rafters, and electrical connection to your consumer unit, all of which need to be done by qualified, MCS-certified professionals to be safe, insurable, and eligible for export payments.
Use InstantCost's solar panel cost calculator to see what a system would cost for your specific roof and household before getting quotes. If you're weighing up whether the physics and savings actually make sense for your home first, how do solar panels work covers exactly how the panels generate and use that electricity.
Common Mistakes and What to Do Instead
Mistake: Skipping the structural survey stage. Some cheaper installers move straight to quoting without a proper roof assessment. Insist on a physical survey before accepting any quote, since roof condition and rafter spacing genuinely affect what mounting system is appropriate.
Mistake: Not confirming MCS certification for both the installer and the equipment. A non-certified installation can't access Smart Export Guarantee payments, even if the panels themselves work fine. Ask to see current MCS certification before booking.
Mistake: Underestimating scaffolding needs. Some quotes assume ladder access is sufficient when a two-storey property genuinely needs scaffolding. Confirm scaffolding is included in the quote rather than discovering it's an extra once work begins.
Mistake: Choosing inverter location as an afterthought. A poorly placed inverter in direct sun or a poorly ventilated space can run hotter and shorten its working life. Ask where the inverter will be sited and why during the survey stage.
Mistake: Not checking loft access and cable routing in advance. A loft full of stored belongings can slow the cabling stage significantly on the installation day. Clear a path through the loft before the installer arrives.
Mistake: Assuming grid registration happens automatically. Registration and MCS certificate issuing can lag behind the physical installation by several weeks. Follow up if you haven't received your paperwork within a month of the panels going live.
Mistake: Not reviewing shading before committing to panel positions. A tree that's bare in winter can fully shade a section of roof in summer once it's in leaf. Ask the installer how seasonal shading has been accounted for in the system design.
What It Costs in the UK
Item or Service | Typical UK Cost (2026) |
|---|---|
3kW system (8 panels), fully installed | £4,500–£6,000 |
4kW system (10 panels), fully installed | £5,500–£7,500 |
5–6kW system, fully installed | £7,000–£10,000 |
Scaffolding (where required) | £500–£1,000 |
5kWh battery storage add-on | £2,500–£4,000 |
10kWh battery storage add-on | £4,500–£7,000 |
Inverter (typically included in system price) | £588–£865 |
MCS certification and grid registration | Usually included by the installer |
Figures based on InstantCost.co.uk's 2026 UK solar panel pricing data and vary by region, roof type, system size, and scaffolding requirements.
Staying Safe
Roof work carries a genuine fall risk, which is why properly erected scaffolding rather than ladder-only access is standard for UK domestic solar installations on two-storey properties. Confirm your installer follows Health and Safety Executive working-at-height guidance and that scaffolding is inspected before use.
Electrical connection work must be carried out safely and correctly, since a solar system introduces a live electrical source that continues generating even if the rest of your home's power is switched off. Only a qualified installer should carry out the connection to your consumer unit, and the new circuit should be clearly labelled to warn anyone working on the electrics in future that it can still be live during daylight hours regardless of the main switch position.
Keep children and pets away from any area where scaffolding is erected or where cabling is temporarily exposed during the installation, and make sure ladders and scaffold access points are secured against unsupervised climbing once the installation team has left for the day.
The Microgeneration Certification Scheme (MCS) sets the UK quality standard for small-scale renewable installations, including solar PV. Certification is required to access Smart Export Guarantee payments. Verify an installer's current MCS certification directly with MCS before booking.
Frequently Asked Questions
How long does it take to install solar panels on a UK home? The physical installation itself usually takes one to two days for a standard domestic system. The full process from initial survey to a working, grid-registered system more typically takes four to eight weeks including scheduling and paperwork.
Do I need planning permission to install solar panels? Usually not. Roof-mounted solar panels are permitted development on most UK homes, with the main exceptions being listed buildings and some properties in conservation areas, where you should check with your local council first.
Can I install solar panels myself? No. Structural roof fixings and electrical connection to your consumer unit both need to be carried out by qualified, MCS-certified professionals for the installation to be safe, properly certified, and eligible for export payments.
What is MCS certification and why does it matter? The Microgeneration Certification Scheme certifies that both the installer and the equipment meet a recognised UK quality standard for renewable installations. It's required to access Smart Export Guarantee payments for electricity you export back to the grid.
Does installing solar panels damage my roof? A properly installed system, fitted by a qualified installer using correctly sized roof hooks fixed into rafters, shouldn't damage your roof. Poor installation, particularly incorrect flashing around roof hooks, can lead to leaks over time, which is why checking installer reviews and certification matters.
Do I need scaffolding for solar panel installation? Most two-storey UK homes need scaffolding for safe access during installation, adding roughly £500 to £1,000 to the overall cost. Single-storey properties with easy roof access sometimes avoid this cost, depending on the installer's risk assessment.