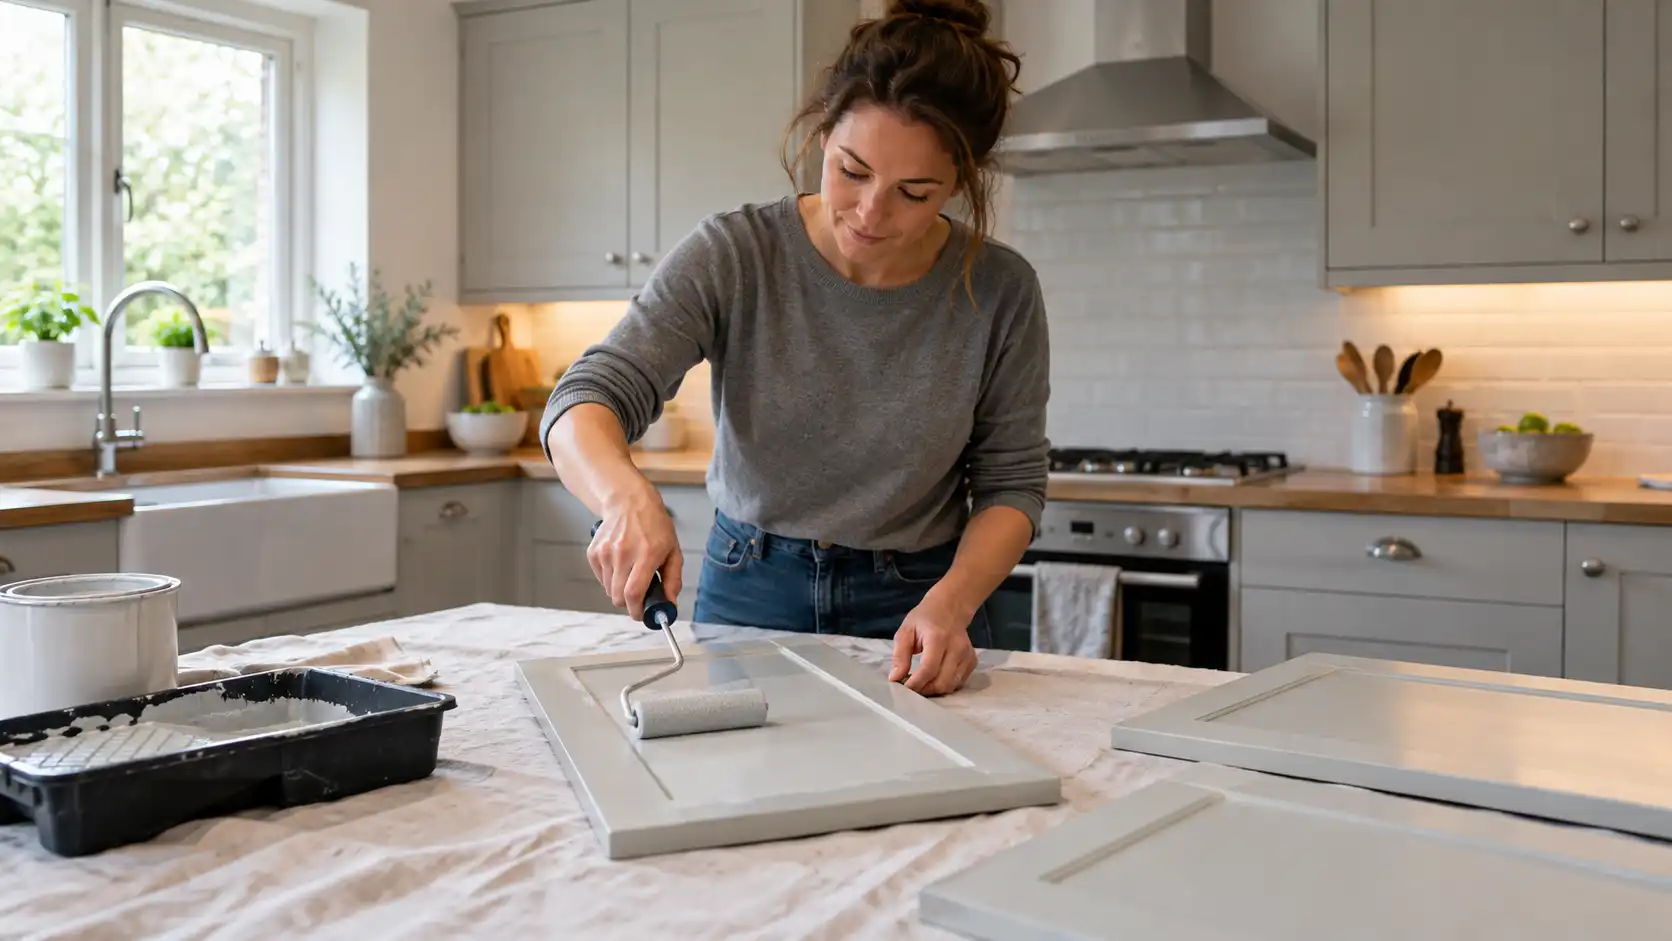
How to Paint Kitchen Cabinets
19 October 2026
You can paint kitchen cabinets yourself if the doors are sound and you prepare them properly. The painting is usually the quickest part. Cleaning, repairing, sanding, priming and allowing enough curing time have the biggest effect on the final result.
This guide explains how to paint wooden, MDF, laminate and glossy kitchen cabinets in a UK home, including the mistakes that cause peeling and visible brush marks.
Can all kitchen cabinets be painted?
Most solid wood and MDF doors can be painted successfully. Laminate, melamine and glossy doors can also be painted, but they need careful degreasing, light abrasion and an adhesion primer.
Inspect the doors before buying paint. Painting is unlikely to give a lasting result if the surface is swollen, delaminating, badly cracked or covered in loose vinyl. Replace badly damaged doors or remove the failing covering before preparing the substrate.
How can you identify the cabinet material?
Solid wood: You can usually see a grain, joints or a natural timber edge.
MDF: The surface is smooth and consistent, with a dense, engineered core.
Laminate or melamine: A thin decorative layer is bonded over a board and often has a very smooth finish.
Vinyl wrapped or thermofoil: A plastic film may continue around the edges and can lift near heat sources.
Test an inconspicuous area first. Clean it, lightly sand it, apply primer and leave it to dry. Press masking tape firmly onto the test patch and pull it away. If the coating lifts easily, the surface needs more preparation or may not be suitable for painting.
What do you need to paint kitchen cabinets?
Screwdriver or drill
Labels or masking tape for numbering doors
Degreasing cleaner or sugar soap
Clean cloths and a bucket
Fine and medium abrasive paper or sanding pads
Suitable adhesion or wood primer
Durable kitchen cupboard or furniture paint
Small microfiber or foam roller
Good-quality synthetic brush
Dust sheets and masking tape
Wood filler for dents and damaged edges
Protective gloves and eye protection
How do you paint kitchen cabinets step by step?
1. Plan the work before removing anything
Choose a dry, dust-free area where doors can remain flat while they dry. Do not start by removing every door without a system. Put a small piece of masking tape on each door and write its original position on it, such as “left wall unit” or “drawer 3”. Keep the hinges and screws in labelled bags.
Painting in small batches makes the kitchen easier to use and reduces the risk of fitting a door back in the wrong position.
2. Remove doors, drawers and handles
Take off the cabinet doors and drawer fronts where possible. Remove handles, hinges, catches and other hardware. Painting around fitted hinges often leaves thick edges that interfere with closing.
Keep the cabinet boxes in place unless they also need painting. Protect worktops, appliances, flooring and walls with dust sheets and low-tack masking tape.
3. Degrease every surface
Kitchen cabinets collect invisible layers of cooking oil, wax and hand marks. Paint will not bond reliably to grease. Wash the doors, edges and cabinet frames with a suitable degreaser or sugar-soap solution, following the product instructions.
Rinse if the cleaner requires it, then allow the surface to dry completely. Do not sand greasy doors before cleaning because the abrasive can spread the contamination across the surface.
4. Repair chips, dents and loose edges
Fill small dents and chips with a suitable filler. Allow it to dry, then sand it level. Repair loose laminate edges or peeling vinyl before painting. If the covering continues to lift, painting over it will only hide the problem temporarily.
5. Sand lightly to create a key
Lightly sand glossy surfaces until the shine is dulled. You are creating a fine key for the primer, not trying to remove the entire factory finish.
Use a finer abrasive on detailed profiles and avoid rounding over sharp door edges. Vacuum the dust and wipe the surface with a clean, slightly damp cloth. Wait until the door is fully dry before priming.
6. Apply the correct primer
Use a wood primer for bare timber and a bonding or adhesion primer for laminate, melamine and glossy finishes. Follow the recoat time on the tin rather than relying on touch-dry time.
Apply a thin, even coat with a brush on the profiles and a small roller on flat areas. Check the edges for runs before leaving the door to dry.
7. Lightly smooth the primer
When the primer is fully dry, lightly sand away dust nibs or raised fibres. Clean the dust before applying topcoat. This small step often makes a bigger difference than adding extra paint.
8. Apply two thin coats of cabinet paint
Stir the paint thoroughly and apply thin coats. Start with the detailed areas, then roll the flat sections while the brushed paint is still wet. Finish each stroke in the same direction.
Do not overload the roller. Heavy coats can sag on vertical edges, remain soft underneath and mark easily when the doors are refitted. Allow the first coat to dry for the full time stated by the manufacturer before applying the second.
9. Paint the cabinet frames carefully
Clean, prime and paint the exposed cabinet frames while the doors are drying. Use masking tape around walls, worktops and appliances. Keep paint away from hinge recesses and runners so the hardware can be refitted correctly.
10. Let the finish cure before refitting
Touch-dry does not mean fully cured. Leave the doors flat for the period stated on the product label. Before refitting, press a fingernail gently against an unseen painted edge. If it leaves a mark, the coating needs more time.
Refit the doors carefully and avoid slamming them for the first few days. Keep strong cleaners, steam and heavy scrubbing away from the new finish while it hardens.
Which paint is best for kitchen cabinets?
Choose a product labelled for kitchen cupboards, cabinets or high-use furniture. These paints are designed to resist regular handling and cleaning better than ordinary wall emulsion.
A satin or eggshell finish is often easier to maintain than a very matt finish. Very glossy paint can show preparation marks, while very matt paint may be less forgiving around handles and greasy areas.
Always check whether the chosen paint needs a separate primer. Some products are designed as self-priming systems, but difficult laminate or glossy surfaces may still benefit from a compatible adhesion primer.
How do you paint laminate kitchen cabinets?
Clean the laminate thoroughly, dull the shine with fine abrasive paper and remove all dust. Apply a bonding primer before the topcoat. Test adhesion on one door first and leave it for several days before deciding whether to continue.
Do not paint over peeling plastic film. Remove or repair the failing layer first, otherwise the new paint will lift with it.
Common mistakes when painting kitchen cabinets
Painting over grease or cooking residue
Skipping the test patch on laminate or glossy doors
Using wall emulsion instead of durable cupboard paint
Applying thick coats to finish the job faster
Painting doors while they are still hanging
Failing to label doors and hardware
Refitting doors before the paint has cured
Closing doors while paint is still soft
Using a cheap brush that leaves loose bristles
Cleaning the new finish with abrasive products
How long does painted kitchen cabinet paint last?
The result depends on the cabinet material, preparation, paint system, ventilation and daily use. A properly prepared surface with compatible primer and durable topcoat should last much longer than a door that was only wiped down and painted.
Near a dishwasher, oven or sink, heat and moisture can shorten the life of the finish. Use extractor ventilation, wipe up water quickly and repair damaged edges before moisture reaches the board underneath.
When should you use a professional?
Consider a professional decorator if the doors are badly damaged, heavily profiled, vinyl wrapped, or if you want a sprayed factory-style finish. Spraying can create a very smooth result, but it requires proper masking, equipment and ventilation.
If you are planning a wider kitchen update, you can compare the likely project scope with the InstantCost kitchen renovation calculator.
Safety when painting kitchen cabinets
Open doors and windows, keep children and pets away from wet paint, and follow the product label. Never use solvent-based products in a poorly ventilated room. The Health and Safety Executive guidance on solvents and paint recommends controlling vapour exposure with suitable ventilation and safe handling.
Frequently asked questions
Do I have to sand kitchen cabinets before painting?
Usually, yes. Light sanding removes the slippery sheen and gives primer a surface to grip. It is especially important on glossy laminate and melamine.
Can I paint kitchen cabinets without removing the doors?
You can, but removing the doors normally gives a cleaner result. It prevents paint building up around hinges and makes it easier to paint edges evenly.
Can I paint over gloss kitchen cupboards?
Yes, if the gloss is thoroughly cleaned, lightly keyed and coated with a suitable adhesion primer. Always test a small area first.
Why is my cabinet paint peeling?
Peeling is usually caused by grease, insufficient preparation, an incompatible primer, moisture or refitting the doors before the paint cured.
Should I paint the inside of kitchen cabinets?
Paint the inside only if it is visible and the surface is suitable. Shelves and high-contact interiors may wear faster, so use a durable product and allow extra curing time before storing food or crockery.