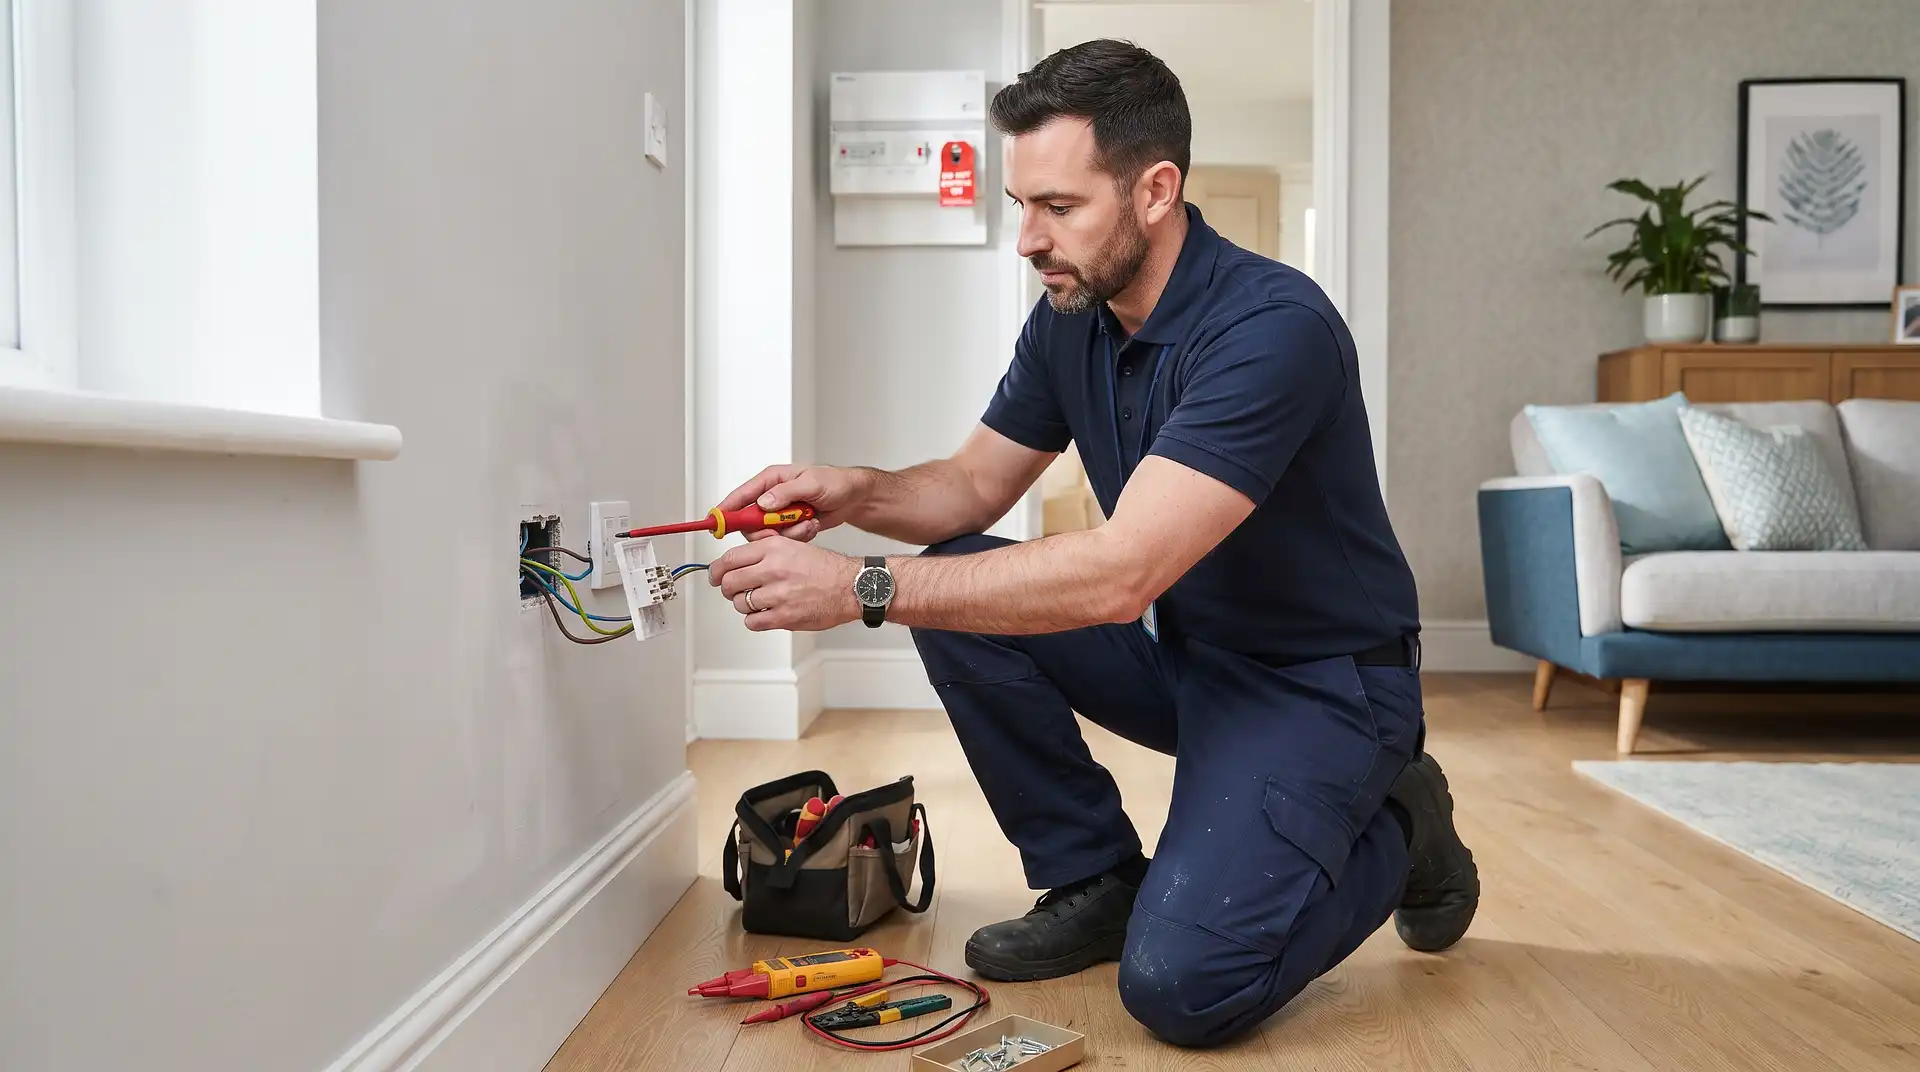
How to Install a Switch for a Light Safely
28 September 2026
How to Install a Switch for a Light
Installing a switch for a light can mean two different jobs. Replacing an existing switch with a matching new one is a relatively small electrical task. Adding a switch in a completely new position requires new cable, circuit testing and possible Building Regulations notification.
A competent person may be able to complete a straightforward like-for-like replacement. Installing new wiring, changing the circuit arrangement or working in a bathroom or another special location should be handled by a qualified electrician.
Important: Switching the light off at the wall does not make the wiring behind the switch safe. The circuit must be isolated at the consumer unit and proved dead with a suitable two-pole voltage tester.
Are You Replacing a Switch or Installing a New One?
Identify the type of work before buying a switch or removing a faceplate.
Job | What it involves | Recommended approach |
|---|---|---|
Replacing a one-way switch | Changing an existing switch for an equivalent model | Possible for a competent DIYer |
Replacing a two-way switch | Changing a switch where the same light is controlled from two places | Use an electrician if the conductors cannot be identified confidently |
Installing a new switch position | Running new cable and altering the existing circuit | Qualified electrician recommended |
Installing a smart switch | Checking neutral, earth, box depth and system compatibility | Professional installation may be required |
Installing a bathroom switch | Work in or close to a special location | Use a registered electrician |
Understand the Main Light Switch Types
One-way switch
A one-way switch controls a light from one position. This is common in bedrooms, kitchens and small living rooms.
Two-way switch
A two-way arrangement allows the same light to be controlled from two positions, such as at the top and bottom of a staircase. The terminal arrangement is more complicated than a one-way switch.
Intermediate switch
An intermediate switch is used when the same light is controlled from three or more locations. It sits between two-way switches and has additional terminals.
One-gang and two-gang switches
The number of gangs tells you how many separate controls are on the faceplate. A one-gang switch has one control. A two-gang switch has two controls and may operate two different lights.
Dimmer switch
A dimmer adjusts the light level as well as switching the light on and off. The dimmer must be compatible with the bulb type and total electrical load. LED bulbs need an LED-compatible dimmer.
Smart light switch
A smart switch may need a neutral conductor, a deeper wall box or a separate control hub. Many older UK switch boxes do not contain a neutral, even when blue or black conductors are visible. The function of every conductor must be tested rather than guessed from colour.
Tools Needed for a Like-for-Like Replacement
A suitable replacement switch
Insulated electrical screwdrivers
A proper two-pole voltage tester
A proving unit or known live source for checking the tester
A consumer-unit lockout device and warning tag
Wire labels or masking tape
A torch
A camera for recording the original connections
A non-contact voltage pen can be useful as an initial warning tool, but it should not be the only method used to prove that conductors are dead.
How to Replace an Existing One-Way Light Switch
The steps below apply only to a straightforward like-for-like replacement where the existing wiring is sound and its function is understood. Stop if the wiring does not match the expected arrangement.
Step 1: Confirm the replacement specification
Check the number of gangs, switch type, electrical rating and faceplate size. Make sure the new switch is suitable for the existing wall box.
A smart switch or deep dimmer may not fit inside a shallow back box. Do not force a switch into a box where the wires will be crushed.
Step 2: Isolate the lighting circuit
Turn off the correct lighting circuit at the consumer unit. Do not rely on the label without checking, as consumer-unit labels can be incomplete or incorrect.
Lock the circuit breaker in the off position where possible and attach a warning tag so another person cannot restore the power while you are working.
Step 3: Prove your voltage tester
Test the voltage tester on a proving unit or a known live source. This confirms that the tester is working before you depend on it.
Step 4: Remove the faceplate carefully
Undo the faceplate screws and ease the switch forward without touching the terminals or bare conductors. Do not pull sharply because older wiring may be short or brittle.
Step 5: Prove every conductor is dead
Use the two-pole tester to check between all relevant conductors and earth. Test every conductor, even if the wall switch was previously in the off position.
After completing the dead test, prove the voltage tester again. This confirms that it did not fail during testing.
If any voltage is detected, stop. Return to the consumer unit and identify the correct circuit before continuing.
Step 6: Photograph and label the wiring
Take clear photographs showing each conductor and its terminal. Label the conductors before disconnecting them.
Do not assume the terminal positions on the new switch will be arranged in the same order as the old switch. Use the terminal markings and the manufacturer's instructions.
Step 7: Check the earth connection
Confirm that the circuit protective conductor is sleeved green and yellow and connected correctly.
A metal switch faceplate must be properly earthed. Do not replace a plastic switch with a metal one if a reliable earth connection cannot be confirmed.
Step 8: Transfer the conductors
Move the conductors to the equivalent marked terminals on the new switch, one at a time. Follow the wiring diagram supplied with the switch.
UK wiring colours have changed over time, and a blue or black conductor at a switch may be used as a switched live rather than a neutral. Never connect a conductor based only on its insulation colour.
Each conductor should be fully inserted into its terminal, with no bare copper exposed outside the terminal. Tighten the terminal securely without damaging the conductor.
Step 9: Check the connections
Gently pull each conductor to confirm that it is secure. Check that no insulation is trapped inside a terminal and no copper strands are loose.
Arrange the wires inside the box without sharp bends. Make sure the faceplate will sit flat without crushing or trapping a cable.
Step 10: Refit the faceplate
Position the switch squarely and tighten the faceplate screws evenly. Do not overtighten them, particularly on a plastic faceplate, as this can cause cracking.
Step 11: Restore power and test
Clear the work area, replace any consumer-unit cover and restore the circuit. Test the switch several times and make sure the light operates normally.
Switch the circuit off again and call an electrician if the breaker trips, the switch buzzes, the faceplate becomes warm or the light flickers.
How to Install a Switch in a New Position
Adding a new switch is more involved than replacing an existing faceplate. The work can include:
Designing an alteration to the lighting circuit
Checking circuit capacity and protective devices
Choosing an approved cable route
Cutting and fitting a new wall box
Running cable through walls, floors or ceilings
Maintaining required cable safe zones
Providing effective earthing
Testing insulation resistance and continuity
Confirming automatic disconnection times
Issuing the appropriate electrical certificate
These checks cannot be completed properly with only a screwdriver and a basic voltage pen. A new switch position should normally be designed, installed and tested by a qualified electrician.
Check Light Switch Installation Costs
How to Install a Two-Way Light Switch
Two-way switching is used when one light is controlled from two positions. Common examples include stairs, hallways and rooms with two entrances.
A two-way switch normally has terminals marked common, L1 and L2, but the physical terminal layout varies by manufacturer. Additional conductors connect the two switches.
Existing two-way circuits can be wired in more than one valid arrangement. Copying a generic online diagram without identifying the actual conductors can create a shock risk or leave parts of the circuit permanently live.
If the original conductors are not clearly labelled and their function cannot be confirmed through electrical testing, use an electrician.
Installing a Dimmer Switch
A dimmer must be compatible with the type and number of bulbs it controls. A dimmer designed for traditional incandescent lamps may cause LED bulbs to flicker, buzz or fail to dim properly.
Check the dimmer's minimum and maximum load. The combined wattage of the bulbs must sit within that range. Use dimmable LED bulbs with an LED-compatible dimmer.
Dimmer modules can be deeper than ordinary switches. Confirm the existing wall box provides enough room for the module and conductors without crushing them.
Installing a Smart Light Switch
Before buying a smart switch, check:
Whether it requires a neutral conductor
Whether it supports one-way or two-way control
The minimum and maximum lighting load
Whether it needs a separate hub
Whether the existing wall box is deep enough
Whether it works with your LED bulbs
Whether an earth connection is required
Most ordinary UK switches interrupt the live conductor and may not have a neutral in the wall box. A smart switch requiring a neutral cannot simply be connected to a conductor that appears blue or black without proper testing.
UK Building Regulations and Certification
All domestic electrical work must be completed safely, even when it is not notifiable. A straightforward like-for-like switch replacement on an existing circuit is generally treated differently from adding a new circuit or working in a special location.
Requirements vary between England, Wales, Scotland and Northern Ireland. In England, the government's Approved Document P explains the electrical-safety requirements for work in dwellings.
A new circuit and certain work in bathrooms or other special locations may require notification. A registered electrician can complete the work, test it and handle the required certification.
How Much Does Light Switch Installation Cost?
InstantCost's current electrician data gives a standard UK electrician rate of £40 to £75 per hour. Electricians in London and the South East commonly sit near the upper end of that range.
Many electricians apply a one-hour minimum and may add a call-out fee of £40 to £80 for a small job. InstantCost's existing electrical guidance places a straightforward light-switch repair at approximately £85 when charged as a fixed job.
Electrical service | Typical InstantCost figure |
|---|---|
Electrician hourly rate | £40 to £75 per hour |
Call-out fee for a short job | £40 to £80 |
Straightforward switch repair | Approximately £85 |
Electrical fault finding | £40 to £100 for the first hour |
InstantCost does not publish one fixed price for installing a completely new switch point. The cost depends on the cable route, wall construction, access above the ceiling, switch type, decoration repairs and certification required.
When to Call an Electrician
Stop and use an electrician if:
You cannot prove that every conductor is dead
The circuit breaker or consumer unit is not clearly labelled
The wiring is damaged, brittle or scorched
The switch contains mixed old and new wiring colours
You cannot identify the purpose of each conductor
The switch is part of a two-way or intermediate arrangement you do not understand
You are adding a new cable or switch position
The work is in a bathroom or another special location
You want a metal switch but cannot confirm the earth connection
The circuit trips after the new switch is fitted
The switch becomes warm, buzzes or smells of burning
If the reason for changing the switch is an intermittent light, first rule out the bulb and dimmer compatibility. InstantCost's guide to fixing flickering lights explains the warning signs that require professional fault finding.
Common Light Switch Installation Mistakes
Relying on the wall switch to isolate the electricity
The conductors behind a switch can remain live when the light is off. Isolate the circuit at the consumer unit and prove it dead.
Using only a non-contact voltage pen
A pen can give false readings or fail to detect some dangerous conditions. Use a suitable two-pole voltage tester and prove it before and after testing.
Matching wires by colour alone
Wire colours do not always reveal their function at a light switch. Older installations, switched-live conductors and mixed-colour alterations require proper identification.
Copying the old terminal positions
The terminal arrangement can differ between manufacturers. Match the terminal function and markings rather than the physical position.
Failing to earth a metal switch
A metal faceplate requires an effective protective earth. Do not fit one where the earthing arrangement is missing or uncertain.
Leaving exposed copper
All bare conductor should sit inside the terminal. Exposed copper can contact the metal box, another terminal or the faceplate.
Trapping wires behind the faceplate
Forcing a deep switch into a shallow box can damage insulation. Use a suitable box depth or a surface spacer designed for the accessory.
Ignoring warmth or buzzing
A warm or noisy switch can indicate a loose connection or an unsuitable dimmer load. Isolate the circuit and have it checked.
Electrical Safety Guide
Electricity can cause fatal shock and fire. Do not work on a light switch unless you have the correct isolation and testing equipment and understand how to use it.
Turn off the appropriate circuit, lock it off and prove all conductors dead. Recheck the tester afterward. Keep other people away from the consumer unit while work is in progress.
If a switch is scorched, hot, crackling or producing a burning smell, stop using it. Isolate the circuit and arrange professional inspection. Do not simply install a new faceplate over heat-damaged wiring.
Do not carry out electrical work in wet conditions. Bathroom, outdoor and other special-location work has additional requirements and should be assessed by a registered electrician.
Frequently Asked Questions
Can I install a light switch myself in the UK?
A competent person may replace an ordinary switch like for like, provided the circuit is safely isolated, proved dead and the completed work is safe. New wiring, special-location work and circuits that cannot be confidently identified should be handled by an electrician.
Do I need to turn off the electricity to change a light switch?
Yes. Turn off the correct circuit at the consumer unit, secure it against being switched back on and prove every conductor dead with a suitable voltage tester. Turning the light off at the wall is not enough.
Can I replace a plastic light switch with a metal one?
Only if a reliable earth connection is present and correctly connected to the metal faceplate. If the earth is missing, damaged or cannot be confirmed, keep the plastic switch and ask an electrician to inspect the circuit.
Why are there no neutral wires in my light switch?
Many traditional UK lighting circuits take the permanent live and switched live to the wall switch while keeping neutral connections at the ceiling rose or light fitting. This is particularly important when choosing a smart switch that requires a neutral.
Can I use a two-way switch as a one-way switch?
Many two-way switches can be connected for one-way operation, but you must follow the manufacturer's terminal diagram. Do not assume that every switch uses the same terminal layout.
Why does my new switch make the circuit breaker trip?
A trapped conductor, incorrect connection, damaged cable or earth fault may be present. Leave the circuit switched off and call an electrician. Repeatedly resetting the breaker without finding the fault is unsafe.
The Safe Way to Approach This Job
A like-for-like one-way switch replacement can be manageable when the existing wiring is sound and clearly identified. Safe isolation, proving dead and preserving the original circuit arrangement are essential.
Adding a completely new switch is a circuit alteration rather than a simple faceplate change. It requires cable routing, electrical testing and an assessment of the applicable certification rules. For that work, use a qualified electrician and obtain a written quotation based on the actual cable route and wall construction.