How to Install LED Strip Lights
23 October 2026
How to Install LED Strip Lights in the UK
To install LED strip lights, plan a route that reaches an existing socket, check the kit and test it while the strip is uncoiled. Unplug it, clean and dry the mounting surface, fit any channel, then attach the strip without sharp bends. Route the cable to an accessible power supply and test the finished run. Cut the strip only if its instructions permit it.
This guide covers the physical installation of a plug-in, low-voltage kit. If you have bought the strip, driver and controller separately, check that they are compatible before mounting anything. InstantCost’s guide to connecting LED strip lights explains the electrical connections in more detail.
Can you install LED strip lights yourself?
Many ready-made kits can be fitted without changing your home’s wiring. They include a matched power supply that plugs into an existing socket. Your job is to choose a suitable position, mount the strip as instructed and keep its cable and power supply safe.
A built-in installation is different. If you need a new socket, switched supply, concealed mains cable or hardwired driver, arrange for a competent electrician to assess that work. Do not treat the low voltage printed on the LED tape as permission to alter the household wiring.
What should you check before starting?
The kit instructions: Check whether this particular strip may be cut, extended or bent around corners. Some smart and weather-resistant strips cannot be cut.
The location: Use a product suitable for the room. The strip, connectors and power supply may have different moisture ratings.
The power supply: Its output voltage must match the strip. Keep the plug and driver accessible, dry and ventilated as the manufacturer requires.
The length: Check both the length you need to illuminate and the separate cable route back to the socket. Do not exceed the maker’s maximum continuous strip length.
The mounting surface: Adhesive needs a clean, dry, sound surface. Rough plaster, dusty paint and wallpaper may need a suitable channel or clips instead.
Have a tape measure, pencil, soft cloth and any manufacturer-approved fixings ready. Use scissors only if your strip is marked as cuttable. If you plan to screw an aluminium channel into a wall, ceiling or cabinet, check for concealed cables and pipes before drilling.
How do you plan the position of LED strip lights?
Start at the power end, not at the far corner of the room. Identify the existing socket and a place where the driver can remain accessible. Then measure the illuminated route, including the position of any corners. Measure the cable route separately because the strip should not be used as a substitute for connecting cable.
Hold the strip or channel in position before removing its backing. From normal eye level, check whether you will see individual LED points or glare reflected in a glossy surface. A recessed position or a channel with a diffuser may give a smoother result.
For separately purchased components, calculate the load before installation. For example, five metres of strip rated at 10 watts per metre uses 50 watts. If that product’s instructions require 20% spare driver capacity, divide 50 by 0.8 to get a minimum of 62.5 watts, then choose a suitable driver above that rating. The output voltage, controller rating and permitted strip length must also match. Use the figures for your actual product rather than assuming every kit has the same requirements.
How do you fit LED strip lights step by step?
1. Test the complete kit before fixing it
Lay the strip out so it is not tightly coiled. Assemble the plug-in kit according to its instructions, switch it on briefly and check that the full length works and the controls respond. Unplug it before cutting, handling connectors or mounting the strip. Testing now is much easier than removing newly fitted tape to find a faulty connection.
2. Mark the route and prepare any channel
Mark the start, finish and corners lightly. If using an aluminium channel, cut and fit the channel according to its own instructions before pressing the LED tape into it. Keep screw heads and sharp edges away from the strip and its cable. A diffuser can usually be fitted after the strip has been tested in the channel.
3. Cut only if the manufacturer allows it
Some LED strips have marked cut points; others must remain at their supplied length. If yours is cuttable, unplug it and cut only at an approved mark. Do not assume a cut section can be reconnected. For a moisture-rated strip, cutting may break its seal unless the manufacturer provides an approved way to seal the new end.
4. Clean and dry the mounting surface
Remove dust and grease with a cleaner suitable for the surface, then let it dry completely. Check that paint is firmly attached. Adhesive tape stuck to loose paint will pull the paint away rather than hold the strip. Avoid strong solvents unless both the surface and strip manufacturer allow them.
5. Attach the strip gradually
Peel back a short section of the adhesive liner at a time and press the backing into place. Work along the marked route, keeping the strip straight and avoiding pressure on the LED components. If the kit uses clips or a channel, follow its fixing method instead of relying on the strip’s adhesive alone.
Do not fold the tape sharply to make a right-angle corner. Use a compatible corner connector or a gentle curve if the product’s minimum bend radius allows it. Leave enough room for the connector and check its orientation before fixing the next section.
6. Secure the cable and position the driver
Route the low-voltage lead where it cannot be pinched by a cabinet door, caught by a drawer or pulled by someone walking past. Use suitable clips rather than trapping the cable behind a sharp edge. Keep the driver accessible for inspection and replacement, with the ventilation its instructions require. Do not bury it in insulation or leave it where it can get wet.
7. Test the finished installation
Fit the diffuser, reconnect the kit and check the full strip at normal brightness. Look for a dark section, flicker, incorrect colours or a visibly dimmer far end. During initial use, switch it off if the plug, driver, connectors or mounting area become unusually hot, buzz or smell of burning.
Where should you put LED strips in different rooms?
Under kitchen cabinets
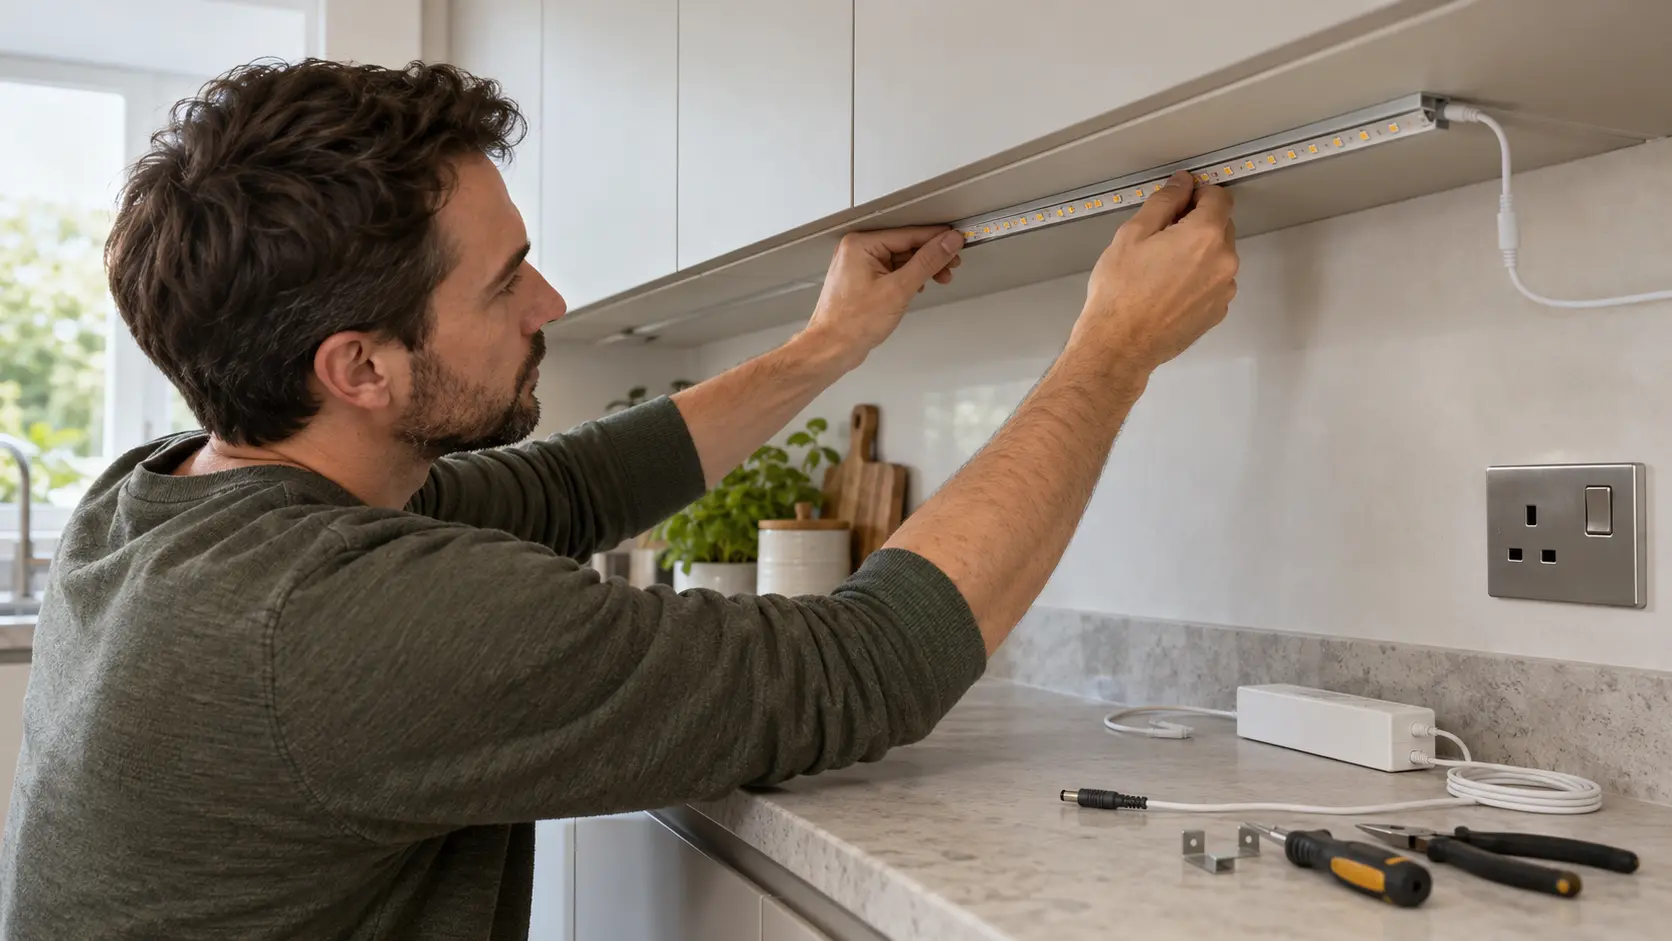
Position the strip to light the worktop without shining directly into your eyes. A channel tucked behind the cabinet’s front lip can hide the LED points while keeping useful light near the front of the work surface. Keep the strip and supply away from the hob’s heat and places likely to be splashed. Check the final position at night, when reflections in a shiny splashback are easier to see.
On walls, shelves or ceilings
A straight channel or suitable clips often hold more reliably than adhesive on textured paint or wallpaper. Plan where the cable will go before mounting a strip high on a wall or ceiling. Use stable access equipment, and do not drill into a surface if you cannot check for hidden services.
In bathrooms or outdoors
Do not choose a strip by its IP rating alone. The connector, cable entry, driver and proposed position matter too. Bathroom zones and outdoor exposure need a product and electrical arrangement suitable for the exact location. Ask a competent electrician to assess fixed lighting in these areas.
When do you need an electrician?
Use an electrician if the project requires a new socket, a new light switch, a connection to a lighting circuit or a hardwired driver. Get advice if the existing socket or wiring shows damage, the circuit trips, or you cannot find a safe, accessible place for the power supply. For the difference between replacing a fitting and changing fixed wiring, see InstantCost’s UK light-fitting guide.
Electrical safety in the UK: Never connect bare low-voltage LED tape directly to the UK mains supply or work on live household wiring. In England, GOV.UK’s Approved Document P explains the safety and notification rules for fixed electrical installations. Requirements differ elsewhere in the UK. An electrician can advise on the rules and testing for your location and job.
Need a new supply for the lights? Check an estimate for the electrical work before deciding how to finish the installation.
Estimate fixed lighting costs
Why are the LED strip lights not working properly?
What you notice | Possible cause | Safe first check |
|---|---|---|
The whole strip is dark | No power, a disconnected plug or an incompatible component | Switch off, check the existing socket and compare the labels on the kit components. |
Only the first section lights | A loose connector, damaged cut point or faulty section | Unplug the kit and inspect the connection without touching mains wiring. |
The far end is dimmer | The run may exceed the product’s recommended length | Check the maker’s maximum-run guidance. Do not simply add another reel to the end. |
The strip peels away | Grease, dust, loose paint or an unsuitable surface | Unplug it, prepare the surface and consider a suitable channel or clips. |
The strip flickers or the driver gets hot | A poor connection, incompatible controller or overloaded supply | Switch it off. Check component ratings and seek professional help if heat or flicker continues. |
Frequently asked questions
Can you cut LED strip lights to length?
Only if the manufacturer says that model is cuttable. Cut at its marked points while it is unplugged. Some smart and weather-resistant strips must not be cut, and cutting a rated strip can compromise its seal.
How do you install LED strip lights around corners?
Use a connector made for the strip or form a gentle curve within the manufacturer’s stated bend limit. Do not crease the tape into a sharp corner or force a connector that does not match its width and contacts.
Can LED strips be installed without a nearby plug?
The lights still need a suitable power source. If the supplied lead cannot safely reach an existing socket, reconsider the route or ask an electrician about a properly installed supply. Do not improvise a connection to a lighting cable.
Should you hide the LED driver?
You can keep it out of sight, but it should remain accessible, dry and ventilated as its instructions require. A sealed, insulated or damp space may be unsuitable even if the driver fits inside it.
Do LED strips need an aluminium channel?
Not every kit requires one. A channel can keep a run straight, protect the strip, help manage heat and hold a diffuser that softens visible LED points. Check the strip maker’s mounting instructions, especially for higher-output tape.
Planning a built-in lighting finish? If the work needs a new switch, socket or fixed electrical connection, compare written quotes for that specific job.