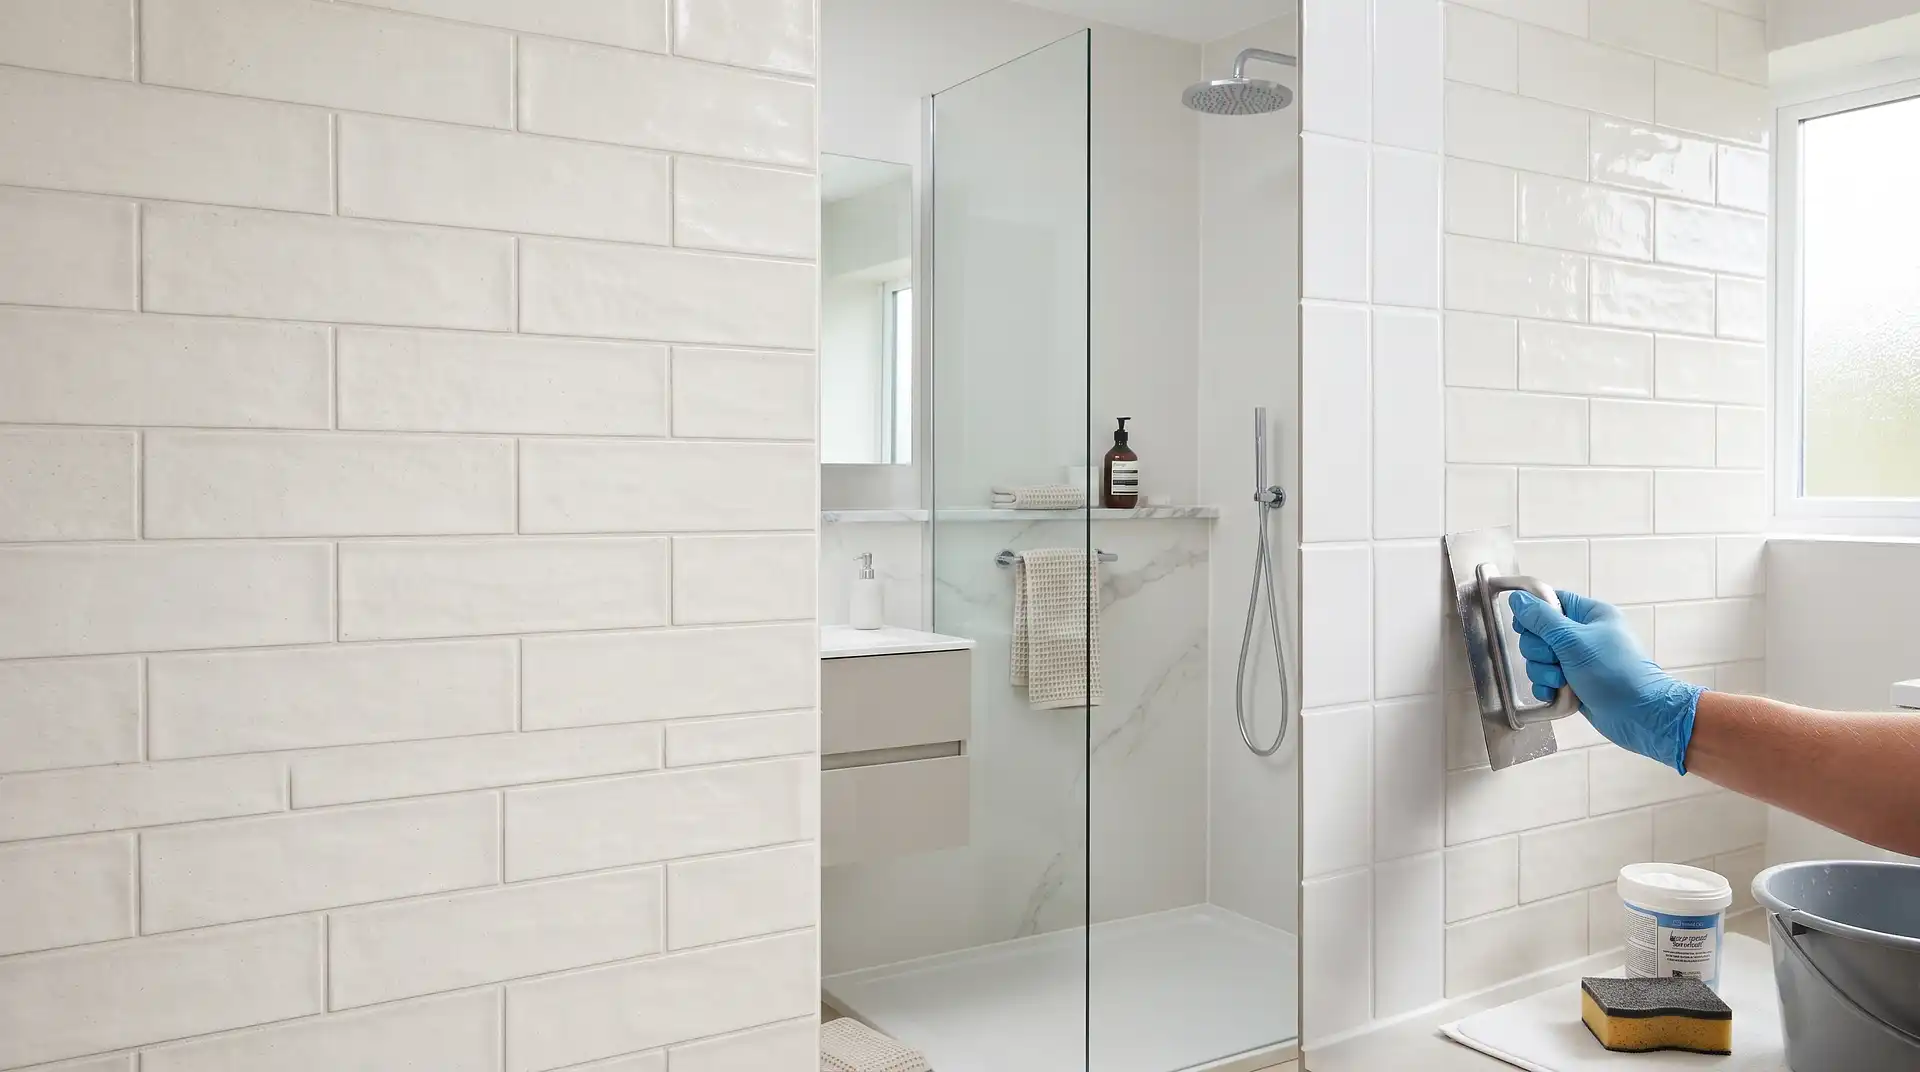
How to Regrout Bathroom Tiles
25 September 2026
How to Regrout Bathroom Tiles
To regrout bathroom tiles, remove the damaged grout to the depth required by your new product, clean the joints and press fresh grout into the gaps with a rubber float. Wipe away the excess at the recommended time, remove the remaining haze and allow the grout to cure before using the bathroom.
First, check that the tiles are firmly fixed and the surface behind them is sound. Regrouting can renew worn joints, but it cannot repair loose tiles, a moving shower tray or failed waterproofing. Those problems need attention before you cover the joints again.
Does Your Bathroom Need Regrouting?
Regrouting may be suitable when grout is crumbling, missing or too damaged to clean, while the surrounding tiles remain secure. If the grout is simply discoloured but otherwise sound, try suitable cleaning before removing it.
Look closely at where the problem occurs. Cracking across several joints, tiles that move when gently pressed or dampness in an adjoining room may point to a problem beyond the grout.
Deciding whether to clean, regrout or repair | ||
What you notice | Likely next step | |
|---|---|---|
Discoloured but firm grout | Try a suitable cleaning method first | |
Missing or crumbling grout between secure tiles | Assess the joints for regrouting | |
Split silicone around a bath or shower tray | Assess and renew the flexible seal | |
Moving tiles or recurring cracks | Investigate movement and tile adhesion before regrouting | |
A leak, soft backing or persistent damp | Arrange an assessment of the underlying problem |
A hollow sound when tapping a tile is not enough on its own to diagnose failure. Consider visible movement, cracking and signs of moisture, and get a tiler’s assessment if you are unsure.
What You Need Before Starting
Read the grout instructions before buying tools or opening the joints. Check the permitted joint width, tile compatibility, application method and time before the surface can get wet.
A manual grout rake or another suitable grout-removal tool.
A rubber grout float.
Grout suitable for the tiles, joint width and bathroom location.
Clean mixing and rinsing buckets.
Measuring equipment for powdered grout.
A grout sponge and clean microfibre cloths.
Protective coverings for the bath, tray and fittings.
Suitable dust control, eye protection and protective gloves.
Compatible sanitary silicone where flexible joints need renewing.
A manual rake is often easier to control on a small repair. Powered removal can be quicker over a larger area, but it also increases the risk of chipped tile edges and dust exposure if used without suitable equipment.
Allow time for preparation, grouting and curing. Finishing the application does not mean the shower is ready to use that evening.
How to Regrout Bathroom Tiles Step by Step
1. Prepare a clean, protected work area
Stop using the affected bath or shower and let the area dry. Remove soap residue and other surface contamination with a cleaner suitable for the tiles, then follow its rinsing instructions.
Protect the bath or tray with a secure covering that will not scratch the surface. Keep debris out of the waste outlet and remove toiletries, towels and other items that could collect dust.
2. Remove the old grout carefully
Work along the centre of each grout line with controlled movements. Avoid levering against tile edges. Start in a discreet area so you can judge the tool’s fit and the resistance of the existing grout.
Remove enough material to meet the new grout manufacturer’s preparation requirements. Do not assume that a shallow scrape is sufficient, or that every installation needs the same depth.
For example, Mapei’s Ultracolor Plus preparation guidance calls for joints clear to two-thirds of the tile thickness. That is a product-specific instruction, not a reason to cut blindly into an existing wall. Avoid damaging the adhesive bed, backing or waterproofing beneath the tiles.
If a tile begins to move, stop. If you cannot achieve the required preparation without risking damage, ask a tiler to assess the job.
3. Clear dust and loose material from the joints
Remove debris using suitable dust-extraction equipment. Do not blow dust out of the gaps or dry-sweep it around the bathroom. Clean the joint edges and remove contamination that could affect the new grout’s bond.
Prepare the joints to the moisture condition stated by the manufacturer. Some products require particular preparation for absorbent tiles, but standing water should not be left in the gaps.
4. Prepare the new grout
For powdered grout, measure the water and powder accurately. Follow the stated mixing method and any resting or remixing stage. Make a batch small enough to apply and clean within the product’s working time.
Do not add extra water to grout that has started setting. Discard expired material and mix a fresh batch. Keep mixing tools and buckets clean so old residue does not contaminate the next batch.
For ready-mixed or epoxy products, follow their own instructions. Do not apply the mixing or cleaning rules for cement-based grout to a different formulation.
5. Fill the joints with a rubber float
Work the grout diagonally across the tile joints, pressing it into the gaps rather than leaving a thin layer over the surface. Cover a manageable section and check that the joints are filled consistently.
Keep movement joints clear. Internal corners and connections to baths or shower trays generally need a suitable flexible seal rather than ordinary tile grout.
Scrape excess grout from the tile faces with the float held at a steeper angle. Continue moving diagonally so you do not drag the fresh material out of the joints.
6. Sponge the tiles at the correct time
Follow the product’s cleaning window. Washing too early can disturb the joints, while waiting too long can leave residue that is difficult to remove.
Use a well-wrung grout sponge and light diagonal passes. Rinse it regularly and change dirty water. Avoid repeatedly flooding the tile surface or pressing the sponge into the grout lines.
The aim is to clean the tile faces while leaving filled, even joints. If grout is washing out, stop and check the timing and sponge technique.
7. Remove haze and allow curing
When the product instructions allow, remove the remaining light film with a suitable cloth or finishing method. Do not reach straight for an acidic haze remover, particularly on natural stone or sensitive tile finishes.
Keep the area protected for the full curing period. Check the separate instructions for foot traffic, cleaning and water exposure. A floor that can accept light foot traffic is not necessarily ready for shower use.
A Note on Grout, Silicone and Waterproofing
Grout fills the joints between tiles. Silicone accommodates movement at suitable connections and corners. The waterproofing system behind or beneath the tiles has a separate role.
A grout described as water-repellent or suitable for showers does not repair missing or damaged waterproofing. If water is escaping into another room, investigate the cause instead of assuming fresh grout will stop it.
Renew failed silicone as a separate part of the job, following the grout and sealant manufacturers’ sequence and curing instructions. Our guide to removing bathroom sealant explains the preparation involved.
Check whether the grout needs a sealer. Some products do and others do not. Applying sealer is not a universal final step, and it will not correct loose tiles or poor preparation.
When to Call a Professional
Ask a tiler to inspect moving tiles, repeated cracking, damp backing or suspected leaks. A professional assessment is also sensible for delicate stone, very narrow joints, epoxy grout removal or a large area where mistakes would be costly.
Describe the problem before asking for a price. Include photographs, the approximate tiled area, tile size, whether the work is on walls or floors and whether silicone needs replacing.
Ask the quote to separate grout removal, preparation, new grout, sealant work and any tile or backing repairs. If the inspection reveals wider damage, compare the repair scope with the cost of a larger bathroom project.
Compare Bathroom Renovation Costs
Common Mistakes and What to Do Instead
Mistake: spreading ordinary grout over the existing surface. Prepare the joints to the new product’s required depth. A cosmetic coating or specialist overlay product is different from conventional regrouting.
Mistake: removing grout without checking tile thickness. Control the tool and avoid cutting into the backing or waterproofing. Stop if the required preparation cannot be achieved safely.
Mistake: filling flexible joints with grout. Keep designated movement joints clear and use a compatible flexible sealing system.
Mistake: mixing by eye. Measure the recommended proportions. Changing the water content between batches can affect performance and appearance.
Mistake: washing with a soaking sponge. Use the specified cleaning method and a well-wrung sponge where appropriate. Excess water can disturb fresh joints.
Mistake: treating recurring cracks as a colour problem. Find out whether movement, adhesion or the backing is responsible before replacing the grout again.
Mistake: using the shower when the surface feels dry. Follow the stated water-exposure time for both grout and silicone. Surface dryness alone is not proof of full curing.
What It Costs in the UK
InstantCost’s bathroom service page does not currently publish a standalone regrouting price, tiler’s day rate or grout-material price. A reliable regrouting estimate therefore needs a written quote for the actual work.
What InstantCost’s bathroom pricing covers in 2026 | ||
Work | Published price | Scope |
|---|---|---|
Bathroom tile regrouting | No separate price published | Request a quote for removal, preparation and replacement grout |
Silicone replacement alongside regrouting | No separate price published | Ask whether removal and resealing are included |
Standard budget bathroom renovation | £3,500 to £5,500 | Like-for-like renovation with basic finishes, not a regrouting price |
Source: InstantCost’s bathroom-renovation service page, fetched directly on 25 September 2026. Its pricing is labelled as updated in August 2026. The renovation range is included only as context if wider repairs are needed; it must not be used to estimate a small regrouting job.
Tile size affects the amount of joint work. A small area of mosaics can contain far more grout lines than the same area of large tiles. Existing grout hardness, access, damaged edges and separate sealant work also affect the scope.
Staying Safe
Removing grout and handling powdered products can release dust. Some materials contain crystalline silica, which is harmful when fine dust is breathed in. Reduce dust at source and use suitable extraction rather than relying on an open window.
The HSE construction-dust guidance explains why dust control matters and how work should be planned. For powered removal, follow the tool and material guidance on extraction and respiratory protection. A casual face covering is not a substitute for suitable controls.
Wear eye protection against chips and suitable gloves when handling grout. Cement-based products can irritate skin, so avoid prolonged contact and wash off splashes promptly according to the product instructions.
Keep children and pets outside the work area. Protect electrical equipment from water and keep cables clear of wet surfaces. If you cannot remove grout without uncontrolled dust or damage to the installation, use a professional.
Follow the grout, sealant and tool instructions throughout. HSE workplace guidance informs safe practice, while contractors must assess the requirements that apply to their work.
Frequently Asked Questions
Can you put new grout over old grout?
Ordinary replacement grout needs joints prepared to the depth and condition specified by its manufacturer. Spreading a thin layer over existing grout is not the same as regrouting. Specialist surface-renewal products may have different instructions, but they do not repair loose tiles, movement or failed waterproofing.
How much old grout should you remove?
Follow the new grout manufacturer’s joint-preparation requirements. The necessary depth can relate to tile thickness, so a fixed depth is not suitable for every installation. Remove loose material carefully without cutting into the backing or waterproofing, and get advice if you cannot prepare the joint safely.
How long after regrouting can you use the shower?
Wait for the full water-exposure period stated for your grout and any new silicone. These times vary by product and conditions. Do not use a light-foot-traffic time as a shower-use time, and do not assume that grout is ready simply because the surface feels dry.
Will regrouting stop a leaking shower?
It may address damaged grout as part of a repair, but it is not a guaranteed leak solution. Water can escape through failed seals, plumbing faults or problems with the waterproofing and backing. Find the cause before regrouting, particularly if there is dampness outside the shower.
Do you need to seal new bathroom grout?
Only if the grout manufacturer recommends it for the product and application. Some grouts need no additional sealer. Where one is appropriate, check compatibility and the waiting period before application. Sealer does not replace the waterproofing system or compensate for cracks caused by movement.
Can you regrout just a small section?
Yes, an isolated damaged section may be repairable if the tiles and surrounding installation are sound. Prepare it properly and expect a possible colour difference between old and new grout. Repeated failure in the same spot needs investigation rather than another small patch of fresh material.
After curing, inspect the joints under a light held at an angle. Look for pinholes, missed sections and gaps beside tile edges. Check that flexible joints remain correctly sealed. Put defects right before returning the area to use instead of testing an uncertain repair with running water.