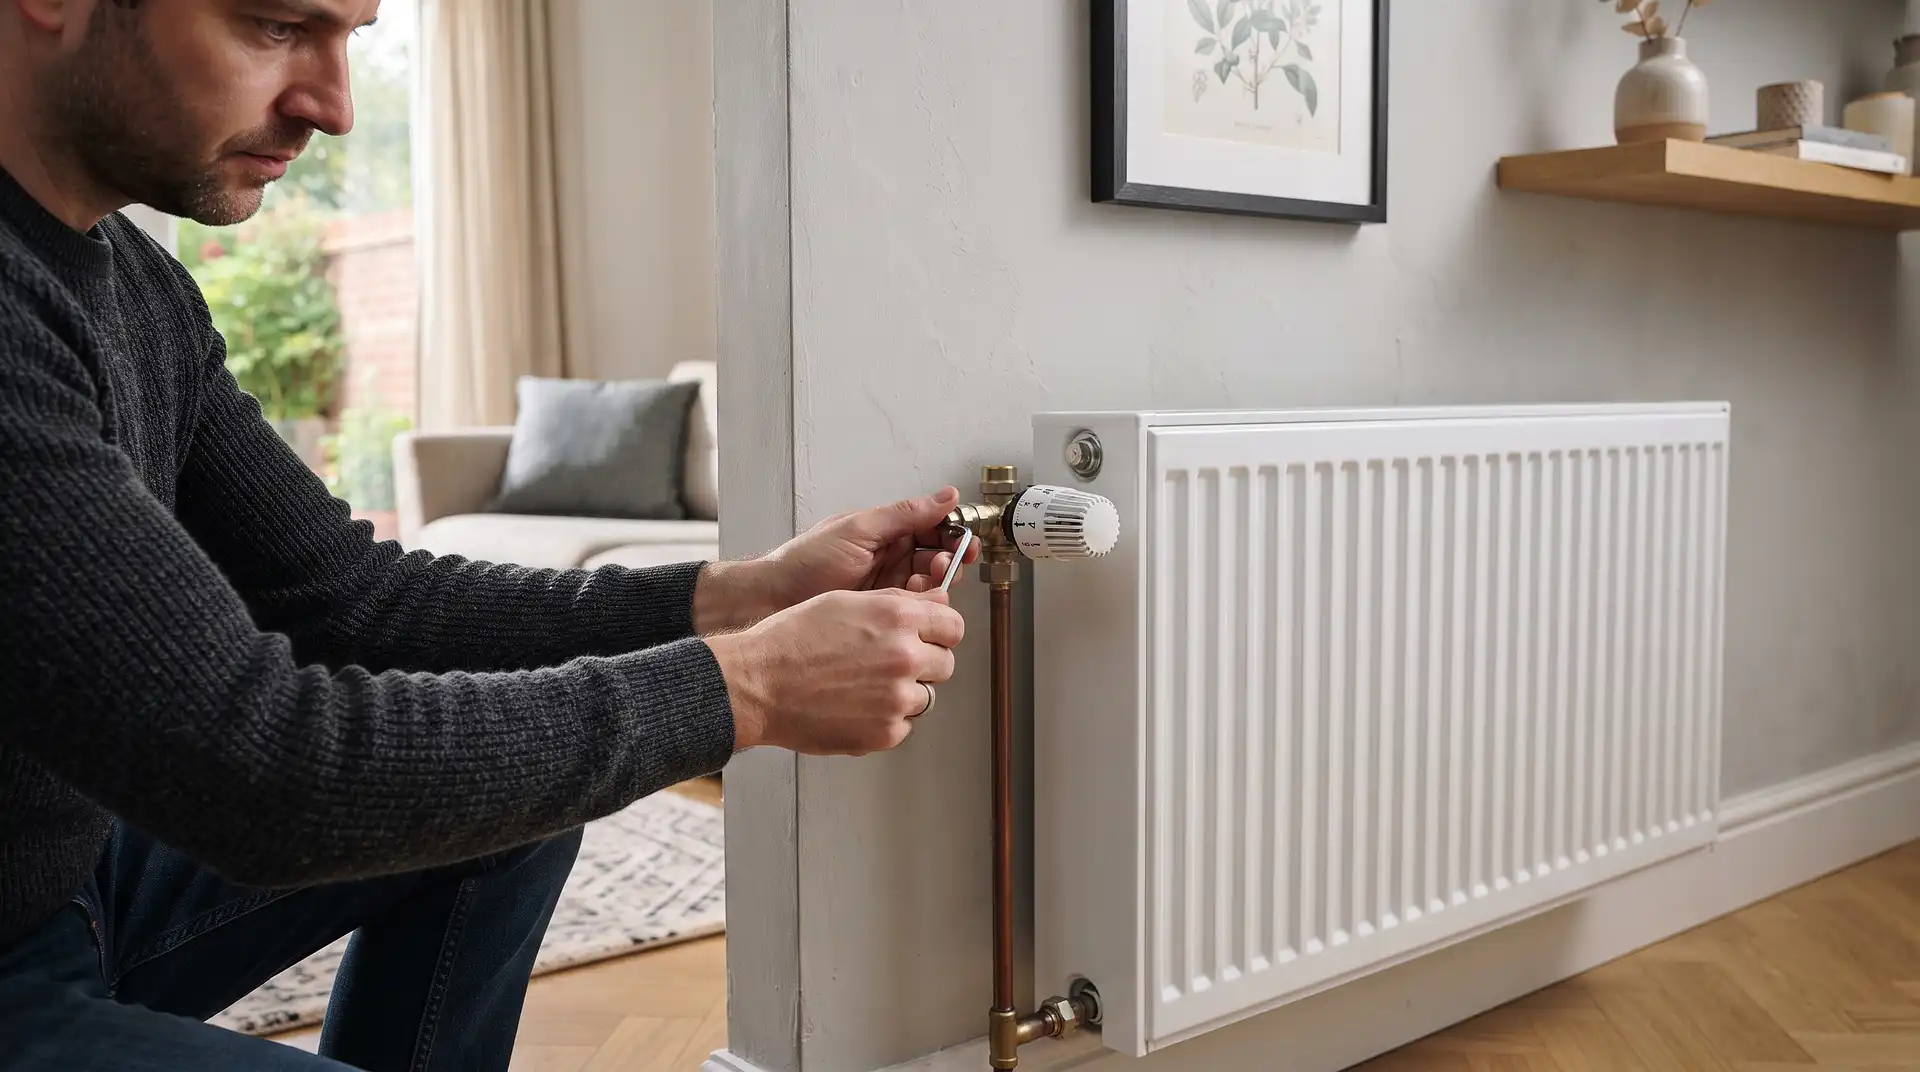
How to Change a Radiator Thermostat Safely
28 September 2026
How to Change a Radiator Thermostat
You can change a radiator thermostat without draining the heating system if you are replacing only the removable thermostatic head. The head is the numbered plastic control on top of the valve. It does not contain water.
Replacing the complete thermostatic radiator valve, including the metal valve body connected to the pipe, is a different job. The radiator or heating system must be isolated and drained before the valve body is disconnected.
Identifying which part has failed is the most important first step. Replacing a working valve body when only the plastic head is damaged creates unnecessary work and a greater risk of leaks.
Radiator Thermostat Head or Complete TRV?
A thermostatic radiator valve, usually called a TRV, has two main parts:
Thermostatic head: The numbered control that senses the room temperature and presses the valve pin.
Valve body: The metal fitting connected to the radiator and heating pipe. Hot water passes through this part.
If the plastic control is cracked, missing or no longer responds correctly, you may only need a replacement head. If the metal valve is leaking, badly corroded or seized internally, the complete valve may need replacing.
Problem | Likely action | Drain required? |
|---|---|---|
Plastic head is cracked or missing | Replace the thermostat head | No |
Dial turns but does not control the radiator | Check the head and valve pin | Usually no |
Valve pin is stuck | Free the pin carefully or replace the valve | Only if replacing the valve body |
Water leaks from the metal body or pipe connection | Repair or replace the complete valve | Yes |
Upgrading a manual valve to a TRV | Replace the complete valve body | Yes |
How a Radiator Thermostat Works
The thermostat head contains a temperature-sensitive element. As the room becomes warmer, this element expands and pushes down on a small metal pin in the valve body. The pin reduces the flow of hot water through the radiator.
When the room cools, the element contracts. The valve pin rises and allows more hot water into the radiator. The numbers on the head represent temperature levels rather than radiator speed.
The Energy Saving Trust explains that thermostatic radiator valves control the hot-water flow and automatically reduce it when the room reaches the selected temperature.
Tools Needed to Change a Thermostat Head
Changing only the head is normally a simple job. Depending on the model, you may need:
A compatible replacement thermostat head
The correct adapter, if supplied with the replacement
A small screwdriver or Allen key for a retaining clip
A clean cloth
The manufacturer's instructions
You should not need a bucket, hose or radiator key when replacing only the head because the water-carrying valve body remains connected.
How to Change a Radiator Thermostat Head
Step 1: Check the replacement is compatible
Radiator thermostat heads do not all use the same connection. Some screw directly onto an M30 threaded valve, while others use a clip, locking ring or manufacturer-specific fitting.
Look for a brand or model number on the old head and valve. A universal replacement may include adapters, but “universal” does not mean it will fit every valve.
Step 2: Turn off the heating
Switch the central heating off and allow the radiator to cool. A head can often be changed while the radiator is warm, but working on a cool radiator makes it easier to test the valve and avoids contact with hot pipework.
Step 3: Turn the old head to its highest setting
Set the thermostat to its maximum number. This usually retracts the mechanism inside the head and removes pressure from the valve pin, making the head easier to remove.
Step 4: Release the retaining fitting
Inspect the base of the head. It may have a threaded collar, a knurled retaining ring, a clip or a small screw.
Turn a threaded retaining ring anticlockwise by hand. Release a clip or screw using the appropriate tool. Do not turn or loosen the larger plumbing nuts below the head, as these connect the water-carrying valve body.
Step 5: Lift off the old thermostat head
Pull the head straight away from the valve. You should now see a small metal pin protruding from the centre of the valve body.
No water should escape. If water appears, stop immediately because the valve body or its seal may be damaged.
Step 6: Check the valve pin
Press the pin gently using a flat, solid object. It should move down slightly and rise again when released.
Do not pull the pin out with pliers. Pulling or bending it can damage the valve and cause a leak. If it will not move with gentle pressure, the valve may require professional attention.
Step 7: Fit the new thermostat head
Set the new head to its highest position. Fit any required adapter, place the head squarely over the valve and secure the retaining ring or clip.
Tighten a plastic or knurled ring by hand unless the manufacturer's instructions say otherwise. Excessive force can crack the fitting or prevent the head from moving correctly.
Step 8: Test the thermostat
Turn the heating on and set the new head to its highest number. The radiator should begin warming when the heating system is running.
Turn the head down after the room warms. The radiator will not become cold immediately because it contains hot water, but the valve should gradually reduce the flow.
Replacing a Smart Radiator Thermostat
Many smart radiator thermostats replace only the existing TRV head. If the metal valve body is compatible and working properly, the heating system does not need to be drained.
Remove the old head, select the correct adapter and attach the smart head according to its instructions. The device may then run a calibration cycle to measure how far the valve pin moves.
Check whether the smart thermostat requires a hub, compatible boiler controller or internet connection. A head that physically fits the valve may still be incompatible with your wider heating-control system.
Check Radiator and Plumbing Costs
How to Replace the Complete Thermostatic Radiator Valve
Replacing the metal valve body is a more involved plumbing job. Water must be removed from the relevant part of the heating system before the valve is disconnected.
The exact draining method depends on whether you have a sealed system, an open-vented system or valves designed for individual radiator draining. If you cannot identify the system or find a suitable drain point, use a heating engineer.
Step 1: Turn off the heating and let it cool
Switch off the boiler and central heating. Wait until the radiator, valves and water are completely cool. Draining a hot system creates a serious scalding risk.
Step 2: Protect the floor
Place waterproof sheeting, towels and a shallow tray around the valve. Dirty heating water can permanently stain carpets, timber and grout.
Step 3: Close the other radiator valve
Close the lockshield valve on the opposite side of the radiator. Count and record the number of turns so it can be returned to its original balancing position later.
InstantCost's guide to isolating a radiator explains how to identify and close both valve types safely.
Step 4: Drain the required section
Connect a hose to the appropriate drain point and direct it to a safe outlet. Open the drain point and a suitable bleed valve to allow air into the system as water leaves.
Do not assume that closing the radiator valves makes it safe to remove the complete TRV body. One side of the valve remains connected to the heating pipe and can release system water unless that section is drained or properly isolated.
Step 5: Remove the old valve
Use one spanner to support the valve body and another to loosen the connection. Supporting the valve prevents twisting the pipe below it.
Loosen the connection slowly and keep the tray underneath. Stop if water continues flowing strongly, as the system has not been drained or isolated correctly.
Step 6: Fit the new valve body
Check that the replacement has the correct pipe size, radiator connection and flow direction. Some TRVs can operate in either direction, while others must follow an arrow marked on the body.
Fit new seals, olives or adapters where required and follow the valve manufacturer's approved sealing method. Do not rely on excessive tightening to stop a leak.
Step 7: Refill and bleed the system
Close the drain point and refill the heating system slowly. Bleed trapped air from the radiator and check the boiler pressure if you have a sealed system.
Return the lockshield to its recorded position. Check every disturbed connection while cold and again after a full heating cycle.
How Much Does a Radiator Thermostat Cost to Replace?
InstantCost's 2026 heating data places a professionally fitted TRV upgrade at approximately £70 to £140 per radiator. The price depends on the valve, access, local labour rates and whether the heating system needs to be drained.
Work required | Typical InstantCost figure |
|---|---|
TRV upgrade or replacement, fitted | £70 to £140 per radiator |
Plumber visit to inspect or isolate a valve | £80 to £150 |
Standard radiator replacement | £150 to £350 |
Replacing several valves during the same visit may reduce the labour cost per radiator because the engineer only needs to drain and refill the system once. Ask for a written quotation showing the number and type of valves included.
When Does a Radiator Thermostat Need Replacing?
A thermostat may need changing if:
The plastic head is cracked or broken
The control turns without changing the radiator temperature
The radiator remains hot when the thermostat is set low
The radiator stays cold when the thermostat is fully open
The internal valve pin repeatedly sticks
Water is leaking from the valve body
You want to install programmable or smart controls
A cold radiator does not automatically mean that the thermostat has failed. Trapped air, low boiler pressure, sludge, incorrect balancing or a circulation fault can produce similar symptoms.
Common Mistakes When Changing a Radiator Thermostat
Loosening the wrong nut
The small retaining ring holds the thermostat head. The larger nuts below it connect the valve body to water-filled pipework. Loosening the wrong fitting can cause a leak.
Draining the system for a head-only replacement
The plastic thermostat head can normally be removed without releasing water. Draining the system adds unnecessary work when the metal valve body is sound.
Removing the valve body without draining
The complete metal valve cannot normally be removed safely from a filled heating system. Closing the thermostat does not isolate the pipe below the valve.
Buying an incompatible replacement
Thread sizes and connection methods vary. Check the existing valve brand and fitting before purchasing a new head.
Pulling the valve pin with pliers
The pin should be pressed gently rather than pulled. Bending or removing it can damage the internal seal and create a leak.
Overtightening the plastic retaining ring
Most thermostat heads need only hand tightening. Using a large spanner on a plastic fitting can crack it.
Failing to check for leaks when hot
A connection may remain dry when cold but begin weeping after the system heats and the components expand. Recheck the valve after a full heating cycle.
Radiator Thermostat Safety Guide
Switch off the heating and allow the system to cool before working near radiator valves. Water inside a working central-heating system can be hot enough to cause burns.
Replacing a dry thermostat head is generally a low-risk task. Replacing the metal valve body involves pressurised water and should only be attempted if you understand how to drain, refill, bleed and repressurise your particular heating system.
Do not remove the boiler casing or interfere with gas components. Gas boiler work must be carried out by an appropriately registered engineer. If a valve begins leaking and cannot be closed, switch off the heating, contain the water and call a plumber.
Frequently Asked Questions
Can I change a radiator thermostat without draining the system?
Yes, if you are replacing only the plastic thermostatic head. The head does not contain water. Replacing the complete metal valve body normally requires the radiator or heating system to be drained.
Are all radiator thermostat heads interchangeable?
No. Different manufacturers use different threaded connections, clips and adapters. Check the brand and fitting on the existing valve before buying a replacement. Universal heads fit many common valves but not every model.
Why is my radiator still hot when the thermostat is off?
The thermostat head may not be pressing the valve pin down, or the pin may be stuck open. Remove the head and inspect the pin carefully. A small amount of residual heat after turning the valve down is normal.
Why is the radiator cold after changing the thermostat?
Check that the new head is correctly fitted and not holding the valve permanently closed. The valve pin may also be stuck, or the radiator may contain trapped air. Boiler pressure and system balancing can also affect performance.
Can I replace a manual radiator valve with a thermostat?
Yes, but this requires replacement of the complete valve body rather than fitting a thermostat head onto an ordinary manual valve. The heating system must normally be drained before the new TRV is installed.
Should every radiator have a thermostatic valve?
TRVs are useful for controlling individual rooms, but the radiator in the same room as the main wall thermostat is often left without a TRV or kept fully open. The correct arrangement depends on the heating-control design.
The Important Check Before You Begin
First decide whether you are changing the removable thermostat head or the complete water-carrying valve. A head-only replacement is normally quick and does not require draining. A full valve replacement is a plumbing job that requires careful isolation, draining and leak testing.
If the metal body is corroded, the pipe moves when the nut is touched or you cannot identify how to drain the system, arrange a professional replacement. A fitted TRV typically costs between £70 and £140 according to InstantCost's current heating data.