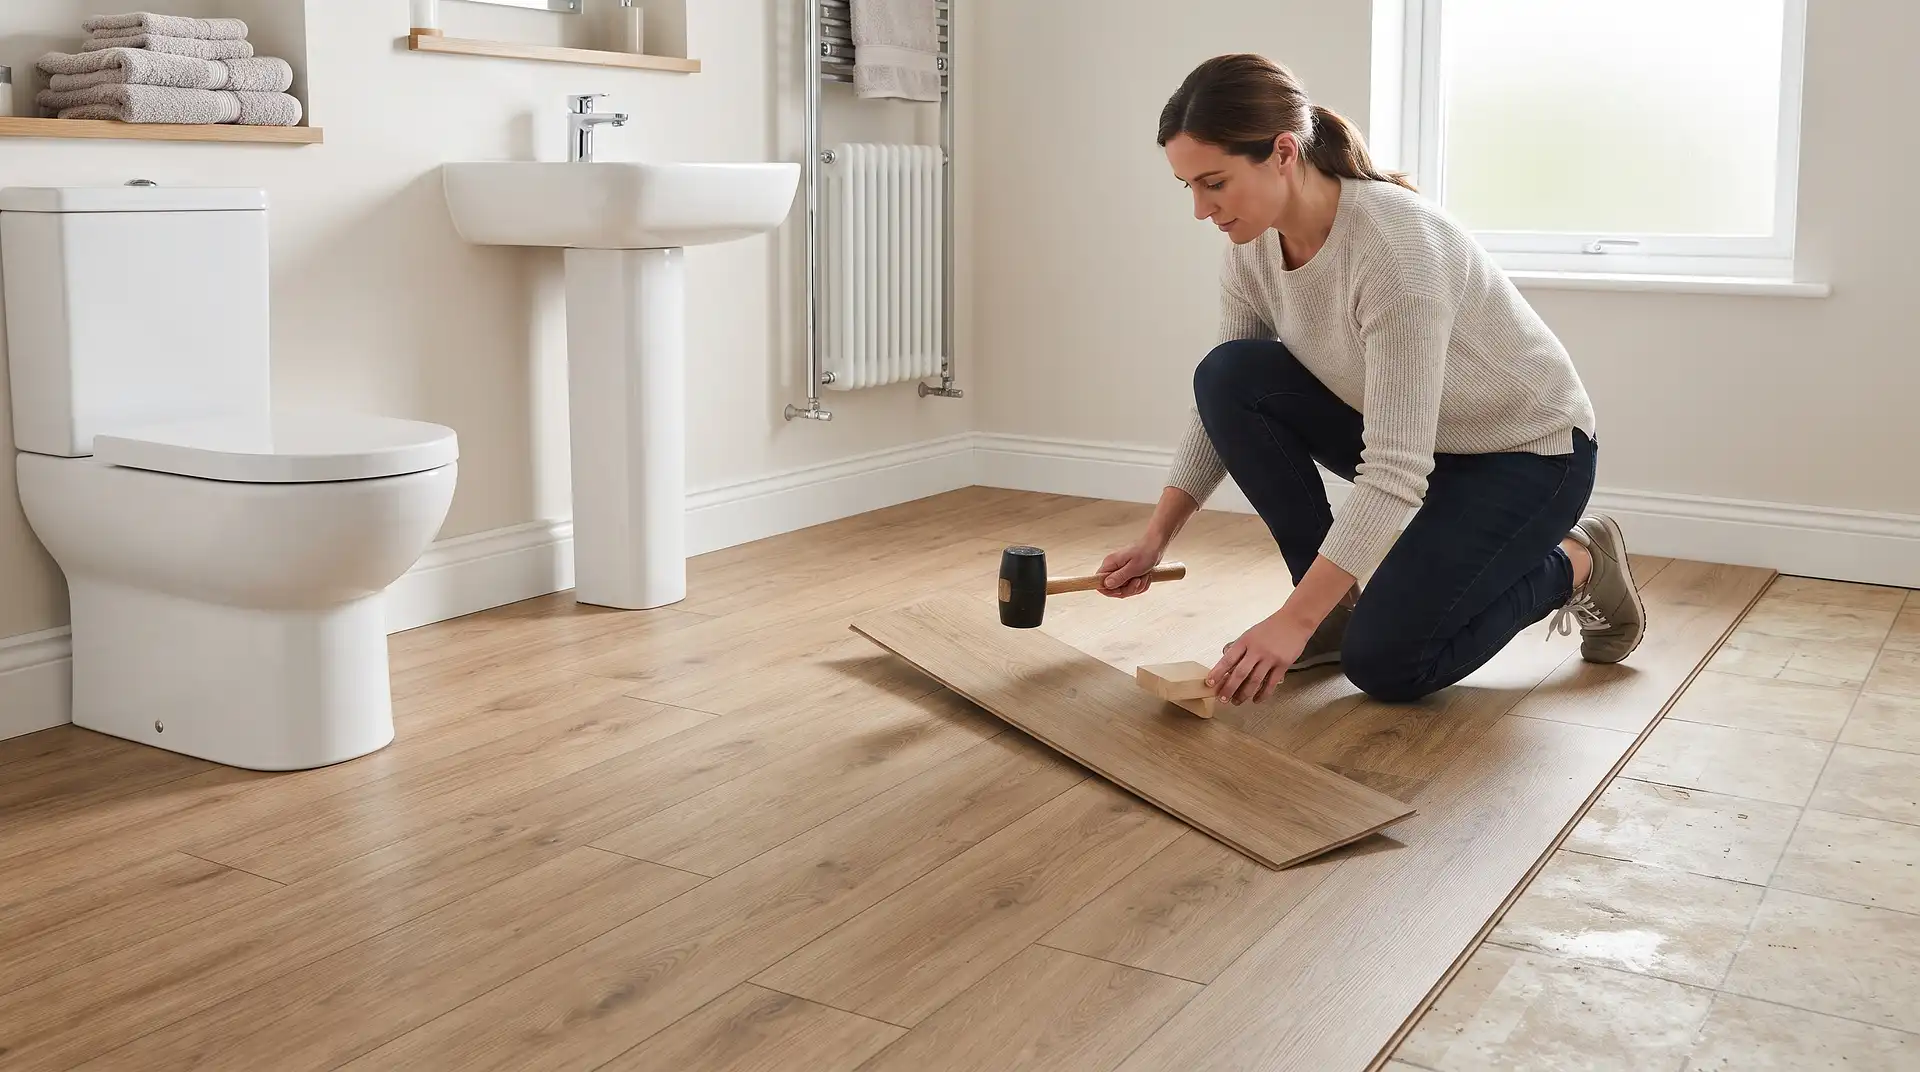
How to Lay Vinyl Flooring in a Bathroom
21 September 2026
How to Lay Vinyl Flooring in a Bathroom
Vinyl flooring is laid in a bathroom by preparing a smooth, flat, dry subfloor, then fitting either sheet vinyl as one continuous, heat-welded waterproof piece or click vinyl planks that interlock together, finishing with a proper seal at every wall junction and around fixtures like the toilet and bath. The choice between sheet and click genuinely matters for a bathroom specifically, since sheet vinyl with heat-welded seams offers the most reliably waterproof result, while click vinyl, though easier for a DIYer to fit, relies on individual joints staying sealed over time in a room that regularly sees standing water and splashing.
Subfloor preparation is where most vinyl bathroom floors actually succeed or fail long-term, not the vinyl itself. Any unevenness, damp, or debris left beneath the new floor will telegraph through the vinyl over time and can compromise the seal at joints, which is exactly where water finds its way through.
Choosing Between Sheet and Click Vinyl
Sheet vinyl comes in wide rolls, ideally covering a small to medium bathroom in one continuous piece with no seams at all, or with heat-welded seams if the room is too large for a single sheet, creating a genuinely continuous waterproof surface. This is generally the more reliably waterproof option for a bathroom specifically.
Click vinyl consists of individual planks or tiles that interlock using a tongue-and-groove style joint, and while modern click vinyl products are designed to be water-resistant at the joints, this relies on every joint being properly engaged and maintained over the floor's lifetime, which introduces more potential failure points than a single continuous sheet.
Step 1: Prepare the Subfloor
Remove the existing floor covering completely and check the subfloor beneath for damp, damage, or significant unevenness. Fill any dips or gaps with a suitable floor levelling compound, allowing it to fully cure according to the manufacturer's instructions before proceeding. Any lump, dip, or debris left under vinyl flooring will show through the finished surface and can affect how well it seals at joints.
Step 2: Fit a Suitable Underlay or Membrane
Depending on your subfloor type, a damp-proof membrane or a specific vinyl-suitable underlay may be needed before laying the flooring itself, particularly over a concrete subfloor prone to rising moisture, or over floorboards where a smooth, stable base layer improves the finished result considerably.
Step 3: Measure and Plan the Layout
For sheet vinyl, measure the room carefully, including any awkward corners around the toilet, bath panel, or vanity unit, and plan how the sheet will be cut to fit with minimal waste and, ideally, no seams in a small bathroom. For click vinyl, plan the layout starting from the most visually prominent wall, working outward and ending any necessary cuts in less visible areas like behind the toilet or under the bath panel.
Step 4: Fit Sheet Vinyl
Roll out the sheet and allow it to acclimatise to the room's temperature for the period stated by the manufacturer, typically 24 to 48 hours, before cutting or fitting.
Cut around fixtures carefully, using a template method for complex shapes like around a toilet base, checking fit before making a final cut.
Apply adhesive according to the manufacturer's specific instructions, working from the centre outward or as directed for your specific product.
Press the sheet down firmly, using a flooring roller to eliminate air bubbles and ensure full adhesive contact across the whole surface.
Heat-weld any seams if the room needed more than one piece, using the correct welding rod and tool for your specific vinyl product to create a genuinely continuous waterproof joint.
Step 5: Fit Click Vinyl
Lay the first row along your starting wall, using spacers to maintain the manufacturer's recommended expansion gap.
Click subsequent planks or tiles into place, working row by row across the room, cutting the last plank in each row to fit as needed.
Stagger joints between rows according to the manufacturer's pattern guidance, avoiding joints lining up directly next to each other, which can weaken the floor's overall structure.
Cut carefully around fixtures, using a template method for the toilet base and any pipework, checking the fit before committing to a final cut.
Step 6: Seal Every Wall and Fixture Junction
Once the flooring is fully laid, apply a proper waterproof sealant along every point where the vinyl meets a wall, the bath panel, or the toilet base. This sealing stage is arguably the single most important step for keeping water out of the subfloor over the floor's lifetime, since even the most waterproof vinyl surface can't prevent water reaching the subfloor through an unsealed edge.
A Note on Underfloor Heating Compatibility
Vinyl flooring is generally compatible with underfloor heating, but always check your specific vinyl product's maximum recommended surface temperature before installation, since excessive heat can affect adhesive bonding or cause the vinyl to soften and deform over time if the heating system isn't set within the product's stated limits.
A Note on Toilet and Bath Removal vs Working Around Them
Removing the toilet and any freestanding or panel-accessible bath before laying flooring gives a genuinely cleaner, more waterproof result than cutting vinyl to fit tightly around a fixture left in place, since it allows the flooring to run fully underneath rather than relying on a precise cut and seal against an awkward curved base. This adds time and, if plumbing needs disconnecting, potentially cost, but it's worth weighing against the improved long-term seal quality.
When to Call a Professional
While vinyl flooring is one of the more DIY-accessible bathroom flooring options, a professional fitter is worth considering for a larger or more complex bathroom, for sheet vinyl requiring heat-welded seams, which needs specific tools and technique, or if the job involves removing and refitting a toilet or bath as part of achieving a fully sealed result.
Use InstantCost's bathroom renovation cost calculator to see what a professional installation would cost as part of a wider bathroom refit. If you're considering wall coverings alongside new flooring, how to fit bathroom wall panels covers a tiling alternative that pairs well with a vinyl floor refresh.
Common Mistakes and What to Do Instead
Mistake: Laying vinyl over an unprepared, uneven subfloor. Any unevenness will telegraph through the finished vinyl and can affect how well it seals at joints and edges. Properly level and clean the subfloor before laying any flooring.
Mistake: Skipping the acclimatisation period for sheet vinyl. Cutting and fitting sheet vinyl before it's adjusted to the room's temperature can result in it expanding or contracting slightly after installation, affecting the fit. Always allow the manufacturer's stated acclimatisation time.
Mistake: Not sealing wall and fixture junctions properly. This is the single most common cause of water reaching the subfloor beneath an otherwise waterproof vinyl surface. Apply proper waterproof sealant at every junction, and don't treat this as an optional finishing touch.
Mistake: Choosing click vinyl without considering its joint-reliant waterproofing. For a bathroom specifically, seamless or heat-welded sheet vinyl offers more reliable long-term water resistance than click vinyl's individual interlocking joints. Weigh this against click vinyl's easier DIY installation when choosing between the two.
Mistake: Cutting around the toilet base without a proper template. A rushed, imprecise cut around the toilet leaves gaps that are both visually obvious and a genuine point where water can reach the subfloor. Take time to create an accurate template before making the final cut.
Mistake: Not checking underfloor heating compatibility before installation. Exceeding a vinyl product's stated maximum surface temperature can affect adhesive bonding and cause long-term deformation. Always check your specific product's guidance against your heating system's settings.
What It Costs in the UK
Item or Service | Typical UK Cost (2026) |
|---|---|
Sheet vinyl flooring, per m² | £15–£35 |
Click vinyl flooring, per m² | £20–£45 |
Underlay/damp-proof membrane | £5–£12 per m² |
Floor levelling compound | £15–£30 per bag |
Professional supply and fit, standard bathroom | £400–£900 |
Toilet removal and refit (if included) | £80–£180 |
Full bathroom renovation (for context) | £3,500–£8,500 |
Figures based on InstantCost.co.uk's 2026 UK bathroom renovation pricing data and vary by region, vinyl type, and whether fixtures need removing.
Staying Safe
If any part of the job involves disconnecting plumbing to remove the toilet or bath, ensure the relevant water supply is properly isolated first, and consider whether this specific element is better handled by a plumber if you're not confident with this type of work.
Wear knee protection when working on the floor for an extended period, and ensure good ventilation when using adhesives or sealants, particularly in a small bathroom with limited natural airflow. Keep children and pets out of the room while adhesives and sealants are curing.
General UK home improvement safety guidance recommends proper ventilation when using flooring adhesives and sealants, and isolating water supplies before disconnecting any plumbing fixture as part of a flooring project.
Frequently Asked Questions
Is vinyl flooring genuinely waterproof for a bathroom? Yes, when properly installed with correctly sealed edges and, for sheet vinyl, properly heat-welded seams. The vinyl material itself is waterproof, but the overall floor's water resistance depends heavily on how well junctions and joints are sealed.
Should I choose sheet or click vinyl for a bathroom? Sheet vinyl, particularly with heat-welded seams, generally offers more reliable long-term water resistance for a bathroom specifically, since it minimises or eliminates joints. Click vinyl is easier to fit yourself but relies on individual joints staying properly sealed over time.
Do I need to remove the toilet before laying vinyl flooring? Not necessarily, but removing it allows the flooring to run fully underneath rather than being cut and sealed tightly around the base, generally giving a cleaner and more reliably waterproof result.
Can vinyl flooring be laid over underfloor heating? Yes, in most cases, but always check your specific vinyl product's maximum recommended surface temperature against your underfloor heating system's settings before installation.
How long does vinyl flooring last in a bathroom? Well-installed vinyl flooring typically lasts 10 to 20 years in a bathroom, depending on the quality of the product and how well the initial installation and sealing were carried out.
Can I lay vinyl flooring myself, or do I need a professional? Many confident DIYers can fit click vinyl successfully. Sheet vinyl requiring heat-welded seams needs specific tools and technique, and a professional is generally recommended for this, or for any job involving removing and refitting the toilet or bath.