How to Tile a Kitchen Wall
21 September 2026
How to Tile a Kitchen Wall
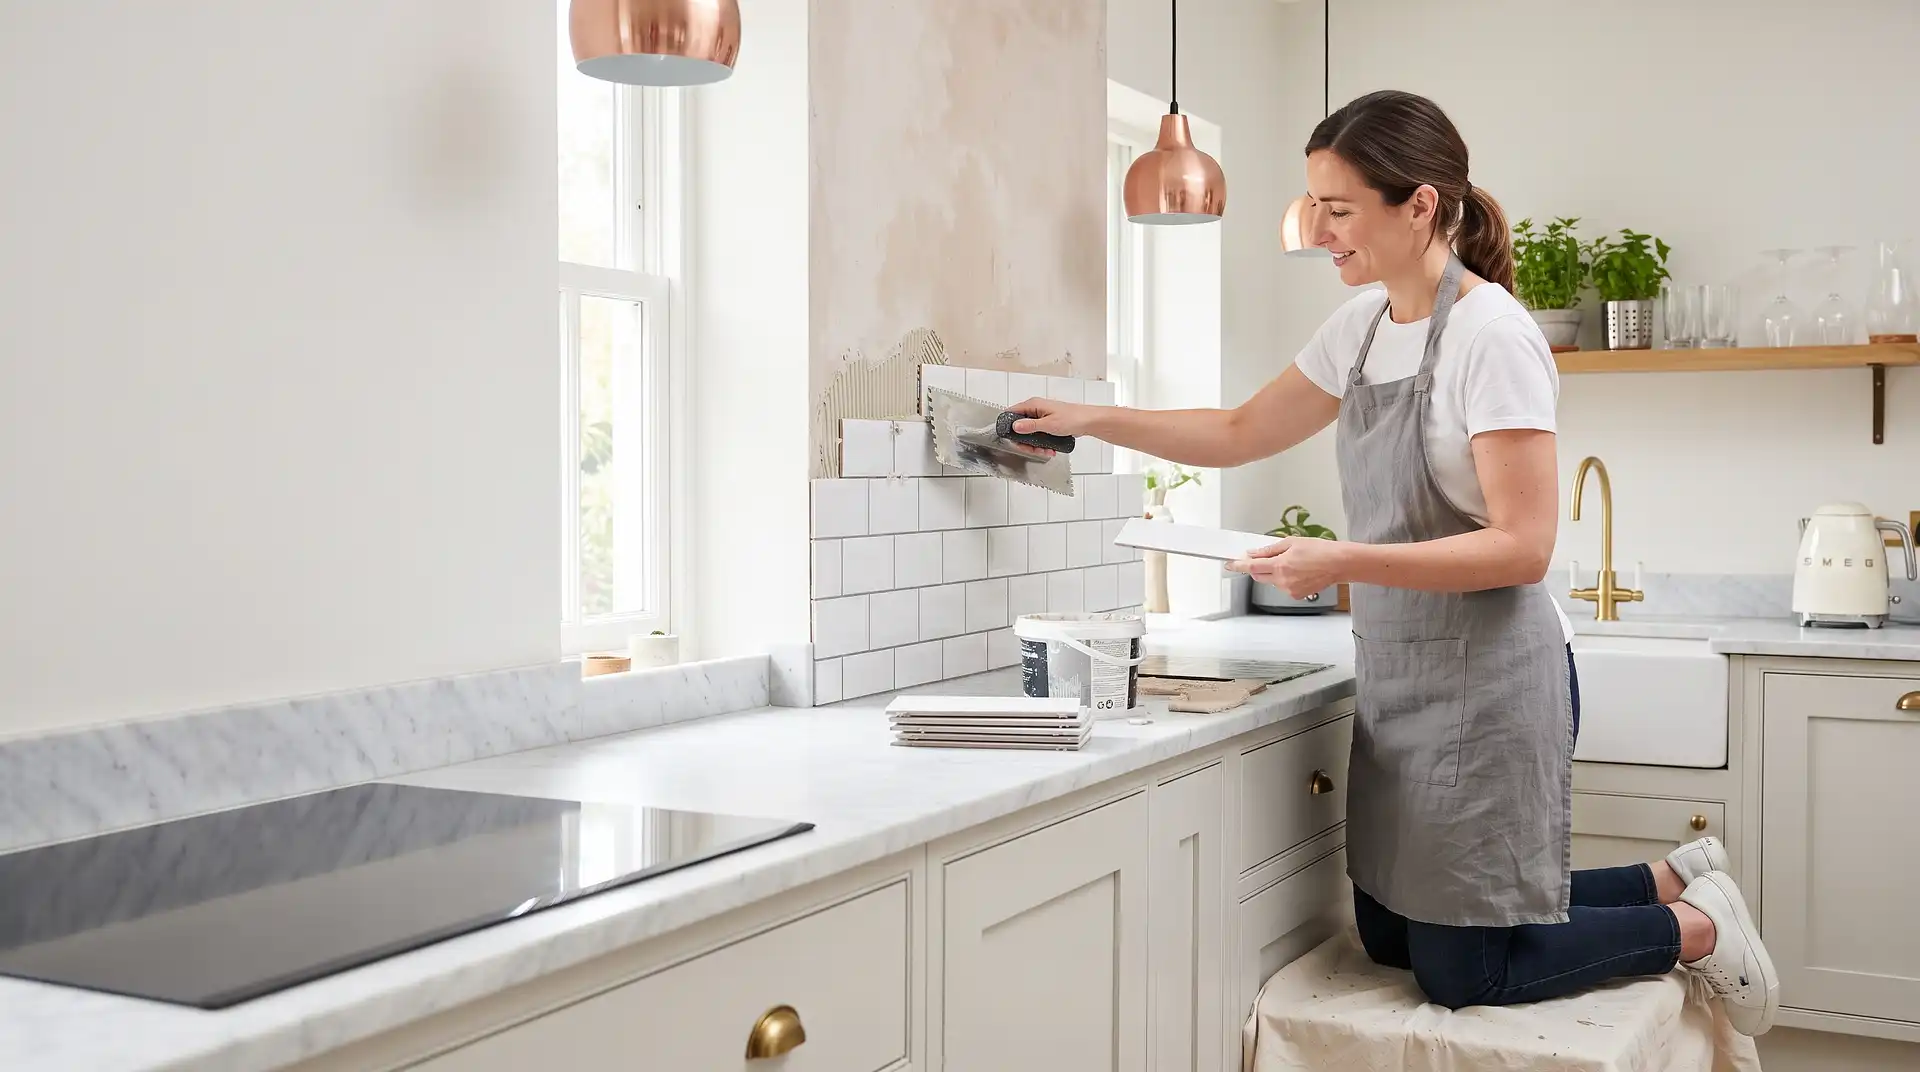
Tiling a kitchen wall means preparing a flat, clean surface, marking level guide lines, fixing tiles from a carefully chosen starting point outward using tile adhesive and spacers, then grouting once the adhesive has cured. Kitchen walls come with their own specific challenges compared with a plain bathroom wall: sockets, switches, and the gap above worktops and around wall units all need planning for before you fix a single tile, since getting the layout wrong here is far more visible than in a simpler room.
The starting point decision matters more in a kitchen than almost anywhere else, since a poorly planned layout can leave you with an awkward sliver of cut tile right next to a socket, above a hob, or at a visually prominent corner, all places where a full or neatly cut tile looks considerably better.
Step 1: Prepare the Wall Surface
The wall needs to be clean, dry, flat, and free of grease, which matters more in a kitchen than most rooms given cooking splatter and general kitchen grime. Wash the surface thoroughly with a degreasing cleaner and allow it to dry fully before doing anything else. Fill any significant holes or unevenness and sand smooth once cured.
Step 2: Turn Off Power to Any Sockets in the Tiling Area
Isolate the relevant circuit at the consumer unit before doing any work around sockets or switches, and confirm it's dead with a voltage tester. Kitchen walls typically have more electrical points than other rooms, so plan carefully around each one before starting.
Step 3: Plan the Layout Before Fixing Anything
Measure the full area to be tiled and dry-lay a row of tiles along the worktop line without adhesive, checking how they'll fall around sockets, the edge of wall units, and any external corners. Adjust your starting point so that any necessary cut tiles end up in the least visually prominent positions, behind an appliance, tucked under a wall unit, or in a corner, rather than as an obvious sliver next to a socket in the middle of a splashback.
Step 4: Establish Level Guide Lines
Use a spirit level to mark a horizontal guide line at the height of your first full row, typically starting just above the worktop, and a vertical guide line at your chosen starting point. These lines keep the whole job straight, since kitchen worktops themselves aren't always perfectly level, and tiling directly off the worktop edge without checking can result in a visibly sloping tile line by the far end of the run.
Step 5: Apply Adhesive and Fix Tiles
Apply tile adhesive to a manageable section of wall using a notched trowel, working in an area you can tile before the adhesive begins to skin over.
Press tiles firmly into place, following your guide lines, using tile spacers between each tile to maintain consistent grout line width.
Check level and alignment regularly as you go, adjusting individual tiles while the adhesive is still workable rather than waiting until a whole section is fixed.
Cut tiles as needed around sockets, switches, and edges using a tile cutter or wet saw for a clean, accurate cut, checking fit before final placement.
Step 6: Cut Precisely Around Sockets and Switches
Measure the exact position and size of each socket or switch carefully, marking this on the relevant tile before cutting a notch or hole to fit around it. A slightly oversized cut is easier to disguise behind the socket's faceplate than an undersized one that won't fit at all, but aim for as precise a cut as you can manage for the neatest result.
Step 7: Allow Adhesive to Cure, Then Grout
Leave the tiled area for the adhesive's stated curing time, typically 24 hours, before grouting. Apply grout with a rubber float, working it into the joints at a diagonal angle across the tiles, then wipe away excess with a damp sponge before it fully sets, leaving clean, consistent grout lines.
A Note on Choosing Between a Splashback Only and a Full Wall
Many kitchens tile only the splashback area directly behind the hob and worktop, a practical zone protecting the wall from cooking splashes, rather than the full wall height. A full wall of tiling gives a different, often more striking aesthetic but represents considerably more material and labour cost for a largely decorative rather than purely functional benefit beyond the splashback zone.
A Note on Large Format Tiles
Larger format tiles have become popular for a cleaner, more modern kitchen look with fewer grout lines, but they're generally less forgiving of an uneven wall than smaller tiles, since any dip or bump in the wall surface is more visible across a bigger tile surface. If your wall isn't perfectly flat, either invest more time in preparation or consider a smaller tile format that's naturally more tolerant of minor surface imperfections.
When to Call a Professional
Kitchen tiling around multiple sockets, an extractor hood, or a complex layout with several corners and cuts is a job where professional experience genuinely shows in the finished result. If you're not confident with precise cutting around electrical fittings or achieving a perfectly level, professional-looking finish, a tiler can complete this considerably faster and with fewer visible imperfections than a first attempt.
Use InstantCost's kitchen renovation cost calculator to see what professional tiling would cost as part of a wider kitchen project. If you're planning the electrical side of your kitchen alongside tiling, how to install a bathroom extractor fan covers a related electrical installation project that follows similar isolation and safety principles.
Common Mistakes and What to Do Instead
Mistake: Starting from a corner without checking the full layout first. This often results in an awkward, narrow strip of cut tile ending up somewhere highly visible, like right next to a socket or at the end of a prominent run. Always dry-lay and plan your starting point before fixing any tiles.
Mistake: Tiling directly off the worktop edge without checking it's level. Kitchen worktops aren't always perfectly level, and building your tile line directly from an uneven reference point can result in a visibly sloping line by the far end of the wall. Always establish your own level guide line with a spirit level.
Mistake: Not isolating the circuit before working around sockets. This is a genuine safety risk, not just a convenience issue. Always isolate the relevant circuit at the consumer unit and test it's dead before cutting tiles or working close to electrical fittings.
Mistake: Rushing the socket and switch cut-outs. An imprecise cut that leaves a visible gap around a faceplate looks noticeably unfinished, right in one of the most viewed areas of the kitchen. Take time to measure carefully and cut accurately, or slightly oversize rather than undersize if in doubt.
Mistake: Choosing large format tiles on an unprepared, uneven wall. Larger tiles show wall imperfections more readily than smaller ones. Either invest more time in wall preparation or choose a more forgiving tile size if your wall isn't genuinely flat.
Mistake: Grouting before the adhesive has fully cured. This can disturb tiles that haven't fully set, affecting alignment and adhesion. Always wait for the adhesive's full stated curing time before grouting.
What It Costs in the UK
Item or Service | Typical UK Cost (2026) |
|---|---|
Ceramic wall tiles, per m² | £15–£40 |
Large format or premium tiles, per m² | £40–£90 |
Tile adhesive and grout | £20–£40 |
Tiling tools (cutter, spacers, trowel) | £30–£60 |
Professional tiling, splashback only | £250–£500 |
Professional tiling, full kitchen walls | £700–£1,500 |
Full kitchen renovation (for context) | £8,000–£15,000 |
Figures based on InstantCost.co.uk's 2026 UK kitchen renovation pricing data and vary by region, tile choice, and area covered.
Staying Safe
Always isolate the relevant electrical circuit at the consumer unit and confirm it's dead with a voltage tester before cutting tiles or working close to sockets and switches. Never work on live sockets, even briefly, while tiling around them.
Wear eye protection when cutting tiles, particularly with a powered wet saw, and ensure good ventilation when using tile adhesive and grout. Keep children away from the work area while cutting tools and wet adhesive or grout are in use.
Any new electrical work carried out in a kitchen, as opposed to working around existing fittings, is notifiable under Part P of the Building Regulations. If your project involves anything beyond tiling around existing sockets, such as moving them, use a qualified electrician.
Frequently Asked Questions
Do I need to tile the whole kitchen wall or just behind the hob? Many kitchens tile only the splashback area directly behind the hob and worktop for practical protection against cooking splashes, while a full wall of tiling is a more decorative choice representing considerably more material and labour cost.
How do I cut tiles around kitchen sockets? Measure the exact position and size of the socket carefully, marking this on the tile before cutting a notch or hole to fit around it using a tile cutter or wet saw, checking fit before final placement.
Can I tile over existing kitchen tiles? Sometimes, if the existing tiles are sound, flat, and well-adhered, though this depends on the specific adhesive and tile type being used. A professional assessment can confirm whether your existing tiles are suitable to tile over.
What size tiles work best for a kitchen splashback? This is largely a design preference, though smaller tiles are generally more forgiving of a slightly uneven wall, while larger format tiles give a cleaner, more modern look but show wall imperfections more readily.
How long does it take to tile a kitchen wall? A straightforward splashback typically takes a confident DIYer a full day including preparation, with grouting completed the following day once adhesive has cured. A full kitchen wall with multiple sockets and corners takes considerably longer.
Do I need an electrician to tile around kitchen sockets? Not for tiling around existing sockets left in their current position, though you must isolate the relevant circuit yourself before working near them. An electrician is needed if you're moving or adding sockets as part of the project.